
How to Make a Teacup Bird Feeder
If you’ve ever found a pretty teacup at the thrift store and thought, “This is too cute not to use,” here’s the perfect project for you. Making your own teacup bird feeder is a fun and functional way to repurpose vintage or mismatched cups and saucers while giving your backyard birds a stylish spot to snack.
This idea actually came from my daughter Taylor who shares my love for thrifting. While her dad and I were at the Mayo clinic with her brother she put this together took her own photos and sent me a text that said “mom I made this for your blog”. I was so proud of her and it turned out so pretty.
This easy DIY fits perfectly into a homesteader’s mindset—reduce waste, reuse what you can, and make your outdoor space more inviting to pollinators and wildlife.


What You’ll Need
- A teacup and saucer or small plate (ceramic or porcelain work best)
- Gorilla Glue or another strong outdoor adhesive
- String, twine, or ribbon for hanging
- Scissors
- Optional: Drill if you’d rather create a hole for hanging, but not necessary
- Free PDF printable Instruction card

Instructions for Teacup Bird Feeders
Step 1: Prep Your Pieces
Remove any price tags or stickers from your plate and teacup. Wash them thoroughly and dry completely. Clean surfaces help the glue bond better.
Step 2: Apply the Glue
Add a small amount of Gorilla Glue to the side of the teacup (opposite the handle) and a bit of glue to the center of the plate or saucer.
Step 3: Position the Teacup
Press the teacup onto the plate, tilted slightly so the handle is sticking up. This makes it easier to tie your hanging string later. Hold for a few seconds until the glue grips.
Step 4: Let It Dry
Leave the glued pieces to dry for several hours or overnight to ensure a strong bond. Make sure it’s somewhere safe and undisturbed.
Step 5: Attach the String
Tie your string, twine, or ribbon around the teacup handle. Create a loop so you can hang it easily from a tree branch or garden hook.
Step 6: Hang and Fill
Hang your feeder outdoors and fill the cup with birdseed. That’s it—you’ve just created a charming, upcycled bird feeder!
👉 Want to make your own eco-friendly birdseed?
Click here to see how to make your own zero waste birdseed


Teacup Bird Feeder Gift Idea:
These also make adorable handmade gifts. Pair one with a small bag of homemade birdseed and a handwritten tag. Great for Mother’s Day, birthdays, teacher gifts, or holiday baskets!
Final Thoughts
This is one of those simple projects that brings a lot of joy—to you and your feathered friends. Whether you’re a homesteader or just enjoy a little DIY, this teacup bird feed

Teacup Bird Feeder
This cute Teacup Bird Feeder is made from thrifted items.
Materials
- teacup
- saucer
Tools
- string
- gorilla glue
Instructions
- Remove any price tags or stickers from your plate and teacup. Wash them thoroughly and dry completely. Clean surfaces help the glue bond better.
- Add a small amount of Gorilla Glue to the side of the teacup (opposite the handle) and a bit of glue to the center of the plate or saucer.
- Press the teacup onto the plate, tilted slightly so the handle is sticking up. This makes it easier to tie your hanging string later. Hold for a few seconds until the glue grips.
- Leave the glued pieces to dry for several hours or overnight to ensure a strong bond. Make sure it’s somewhere safe and undisturbed.
- Tie your string, twine, or ribbon around the teacup handle. Create a loop so you can hang it easily from a tree branch or garden hook.
- Hang your feeder outdoors and fill the cup with birdseed. That’s it—you’ve just created a charming, upcycled bird feeder!
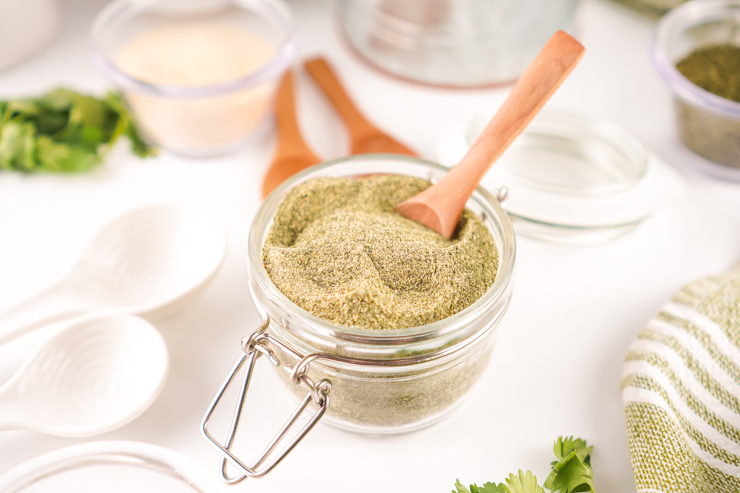
Make your own ranch seasoning in minutes! Easy, affordable, and perfect for dips, dressings, and more. Also makes a perfect gift.
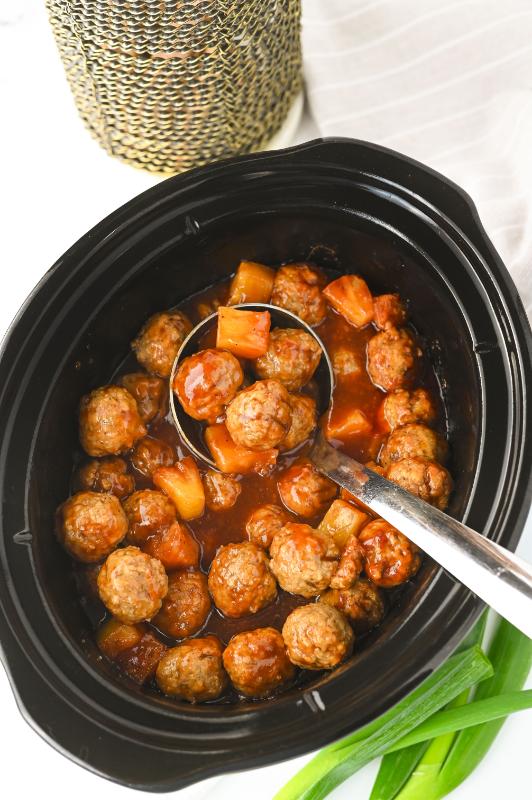
Slow Cooker Hawaiian Meatballs bring sweet, tangy flavor to the table with almost no effort. Juicy meatballs simmer in a pineapple‑rich sauce that feels bright…

Easy Dutch oven shredded chicken made with simple ingredients. A hands-off homestead recipe perfect for batch cooking and busy nights.

Discover the best essential oils for dogs! Learn which ones are safe for dogs and how to use them effectively.

If you want greenery without the guilt of forgetting to water it, low-maintenance houseplants are the way to go. These resilient plants thrive on neglect,…

Learn how to make delicious freeze-dried banana pudding bites with easy tips for extra sweet, creative twists!

