Homemade Stage 1 Baby Food with Fresh Fruit
When my baby was ready to begin trying solid foods, I knew I wanted to make as much of the food at home as possible. With so many questions surrounding ingredients, processing, and what may be found in foods on grocery store shelves, I felt better knowing exactly what was going into each little serving. Making homemade stage 1 baby food also turned out to be much easier and less expensive than I expected. You do not need a specialty baby food machine, a long list of ingredients, or an entire afternoon in the kitchen. For these simple fruit purees, all you need is fresh fruit, a little water and a food processor.
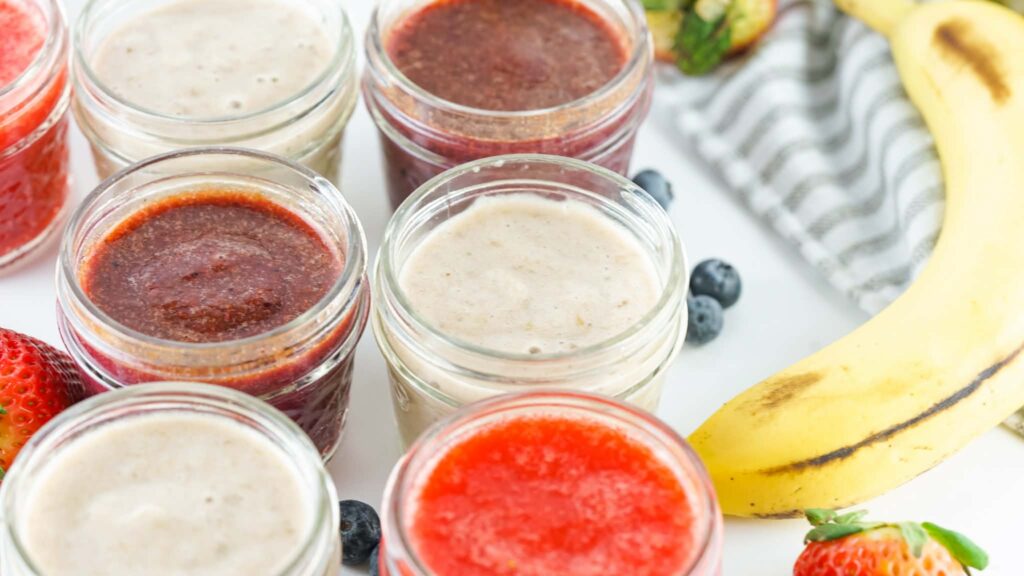
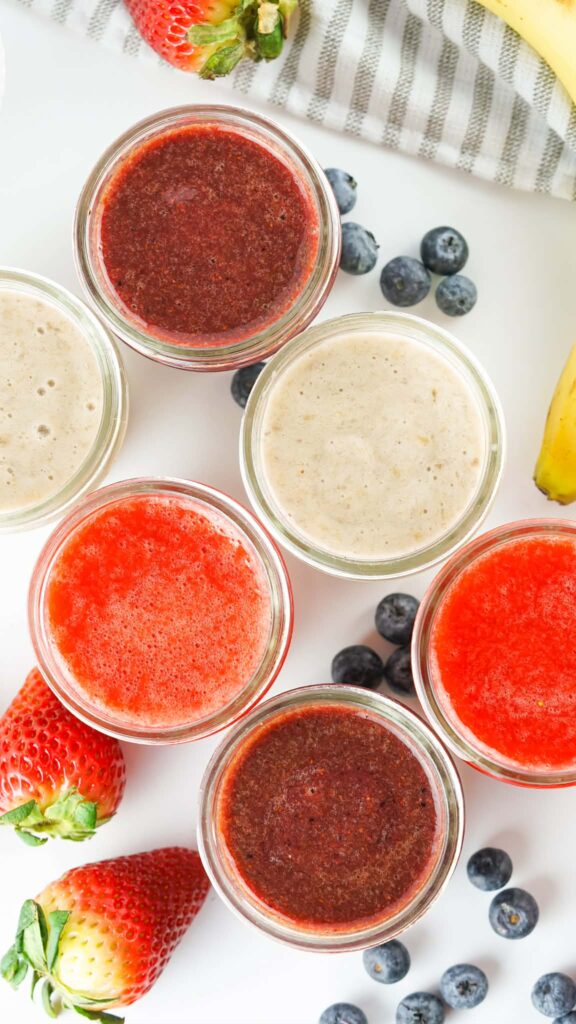
These strawberry, blueberry and banana purees take only a few minutes to prepare. They are smooth enough for babies who are just beginning to explore food, and each recipe makes several small servings that can be refrigerated or frozen for later.
Homemade baby food does not have to be another complicated project added to your day. Start with one fruit, make a small batch, and see how your baby responds. Once you are comfortable with the process, it becomes easy to prepare several different foods at once.
The CDC recommends introducing foods other than breast milk or infant formula at around 6 months of age, once a baby shows signs of developmental readiness. Babies develop at different rates, so speak with your child’s pediatrician before beginning solid foods. Breast milk or infant formula should remain an important part of your baby’s nutrition while new foods are introduced.
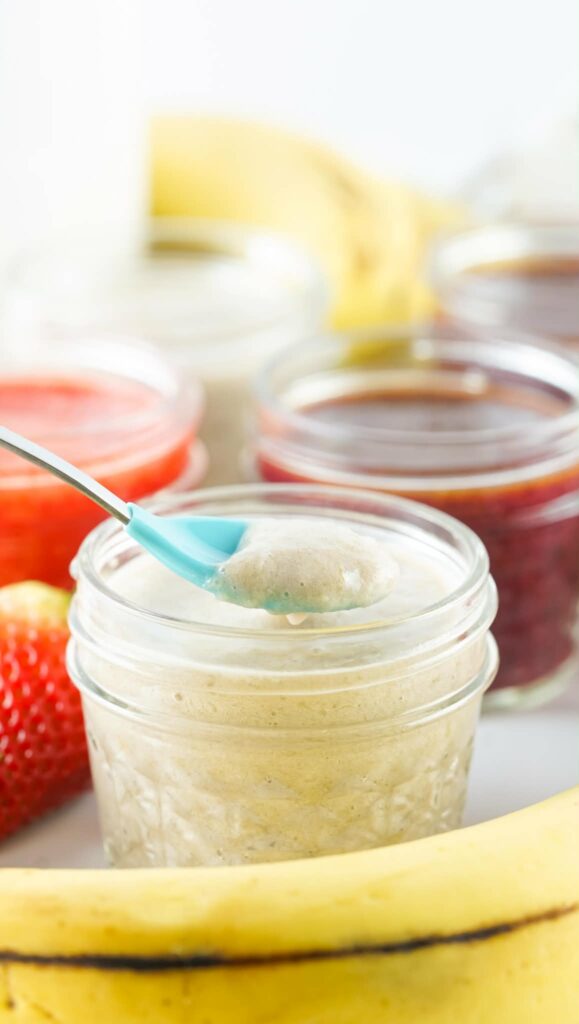
What Is Homemade Stage 1 Baby Food?
Stage 1 baby food is a smooth, thin puree made from a single ingredient. It is designed for babies who are just beginning to eat foods other than breast milk or formula.
While “Stage 1” is a common label on commercial baby foods, babies do not need to follow a strict feeding schedule. The most important factor is offering textures that match your baby’s developmental readiness.
Start with smooth, easy-to-swallow purees, then gradually introduce thicker purees and mashed foods as your baby gains eating skills.
Signs of readiness include sitting with support, having good head and neck control, opening the mouth for food, and swallowing instead of pushing food back out. The CDC recommends waiting until at least 4 months of age before introducing solid foods.
Why Make Homemade Stage 1 Baby Food?
The biggest benefit of homemade baby food is knowing exactly what you are feeding your child. When you make a strawberry puree, the ingredients are strawberries and water. There are no mystery ingredients and nothing unnecessary has been added.
Making baby food at home may also help reduce your grocery bill. A container of fresh fruit can make several servings, especially when produce is purchased in season or on sale.
Other benefits include:
- You control the ingredients and consistency.
- You can use fresh produce your family already enjoys.
- Small batches take only a few minutes to prepare.
- Extra portions can be frozen for convenient meals.
- Your baby can experience the natural flavor of individual foods.
- You can gradually change the texture as your baby develops.
- It can reduce the number of individual jars and pouches you purchase.
Homemade food does not have to be an all-or-nothing decision. You can make some foods at home and use store-bought baby food when it is more practical. The goal is to find a routine that works for your family, budget, and schedule.
Items Needed to Make Homemade Stage 1 Baby Food
- Food processor
- Fine mesh sieve
- Medium mixing bowl
- Rubber spatula
- Measuring spoon
- Child-safe storage containers
A blender may also work, although a food processor can be easier when making these smaller batches.
Strawberry Baby Food
Prep Time: 5 minutes
Yield: Approximately 8 ounces
Ingredients
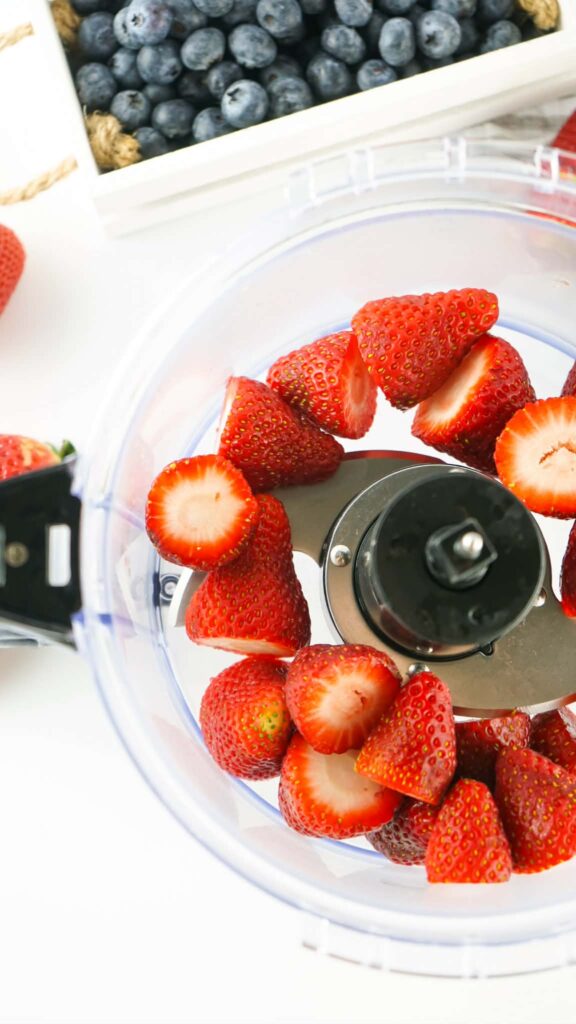
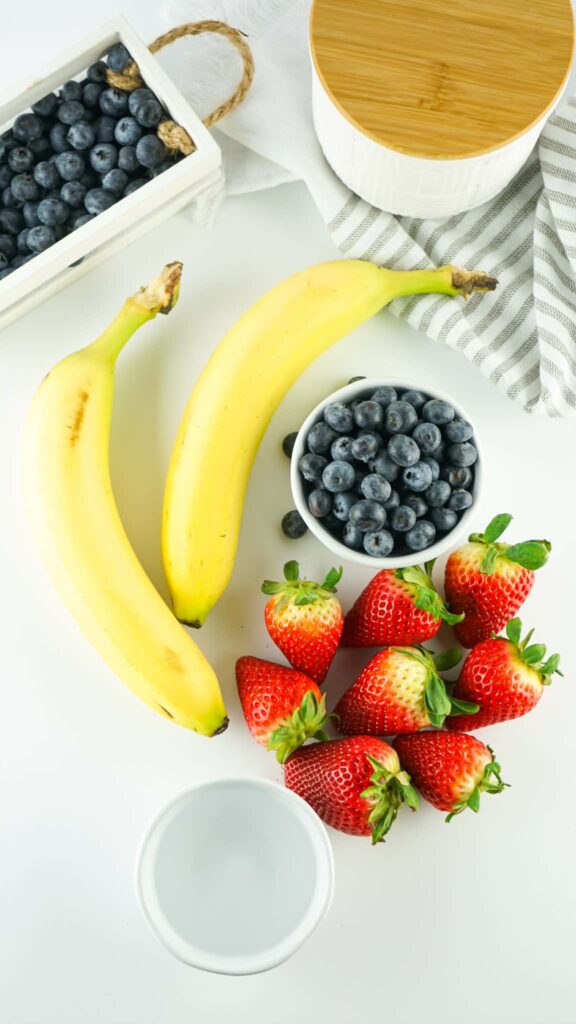
- 2 cups fresh strawberries, washed and destemmed
- 1 tablespoon water
Directions
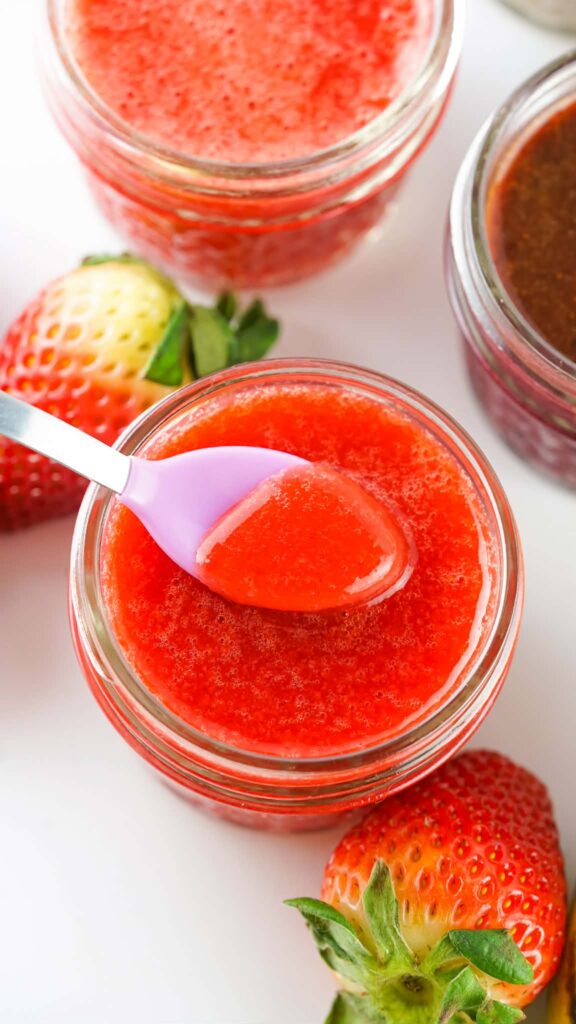
Place the washed and destemmed strawberries in a food processor. With the processor running, slowly add the water and blend until the mixture is as smooth as possible. Stop as needed and scrape down the sides with a rubber spatula to keep the puree blending evenly.
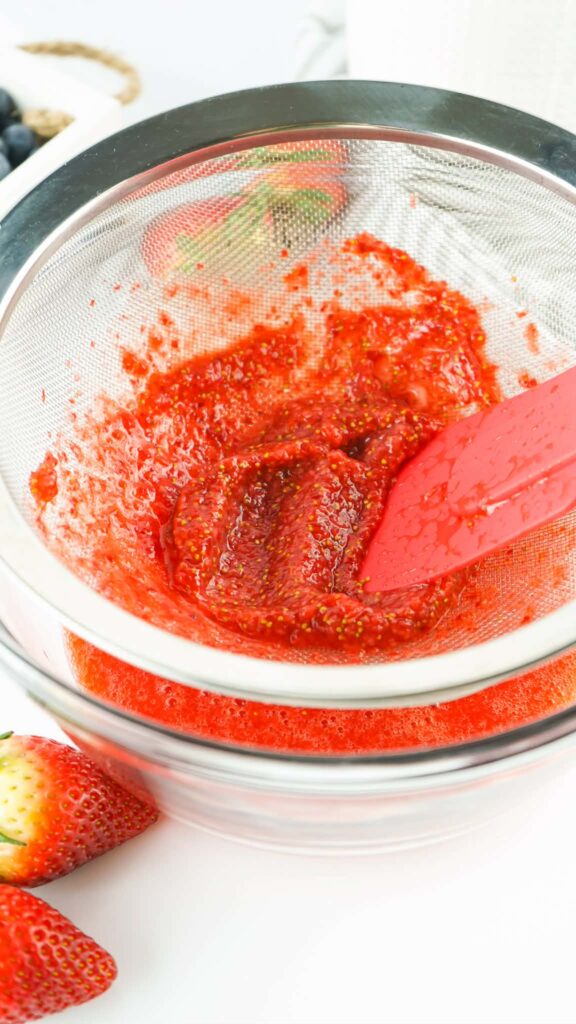
Set a fine-mesh sieve over a medium mixing bowl and pour the strawberry puree into the sieve. Using a rubber spatula, gently press the puree through the mesh until only the seeds and thicker pulp remain. Discard the leftover seeds and pulp, or save them to add to an adult smoothie.
Stir the strained puree well before serving or transferring it to storage containers. The puree may seem slightly thin right after blending, but it will naturally thicken a bit after chilling in the refrigerator.
Blueberry Baby Food
Prep Time: 5 minutes
Yield: Approximately 8 ounces
Ingredients
- 2 cups fresh blueberries, washed
- 1 tablespoon water
Directions
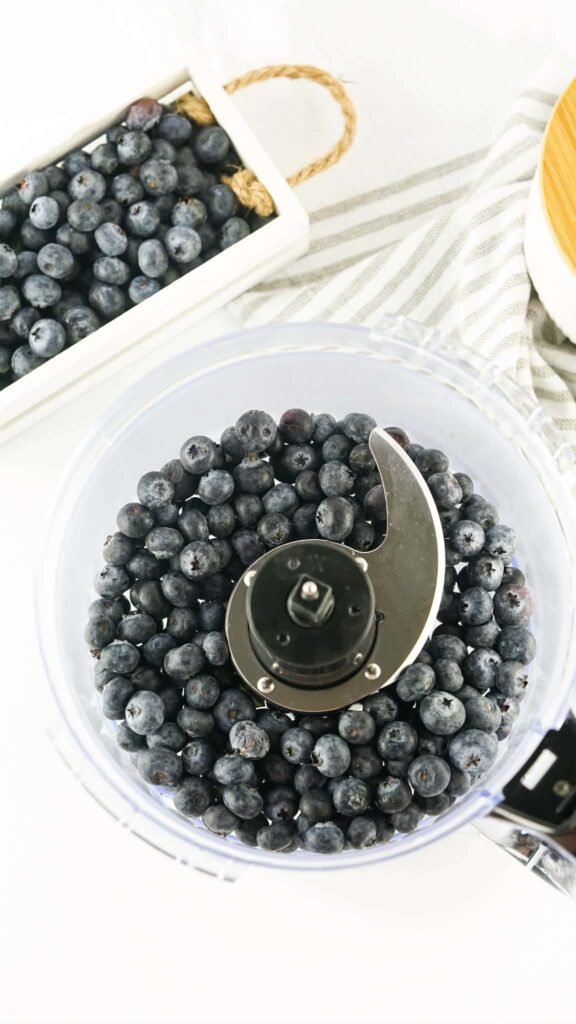
Place the washed blueberries in a food processor. With the processor running, slowly add the water and blend until the mixture is completely smooth. Stop the processor as needed and scrape down the sides with a rubber spatula to fully incorporate all of the blueberries.
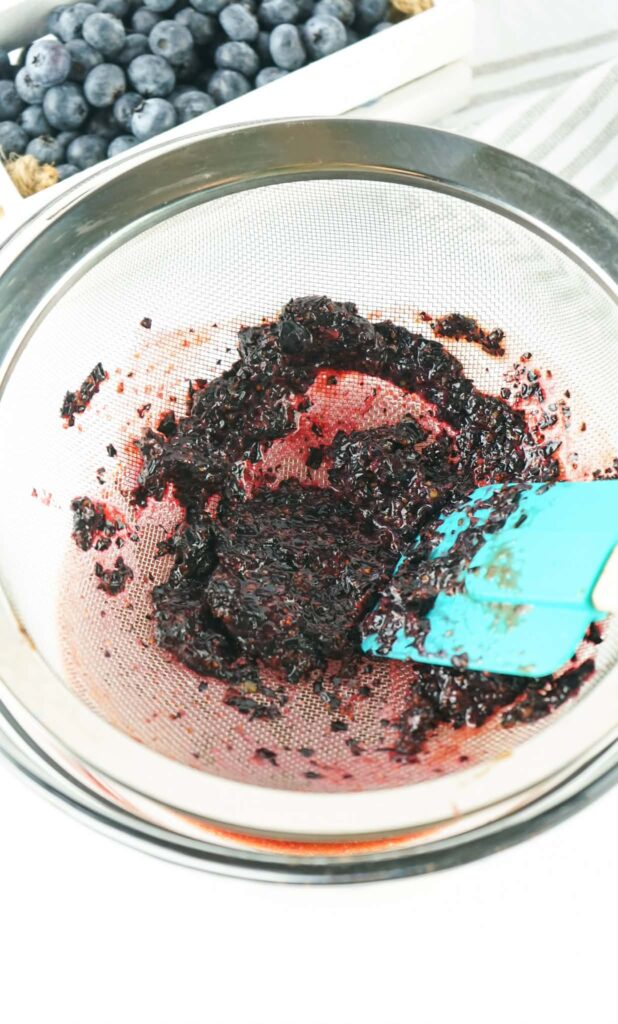
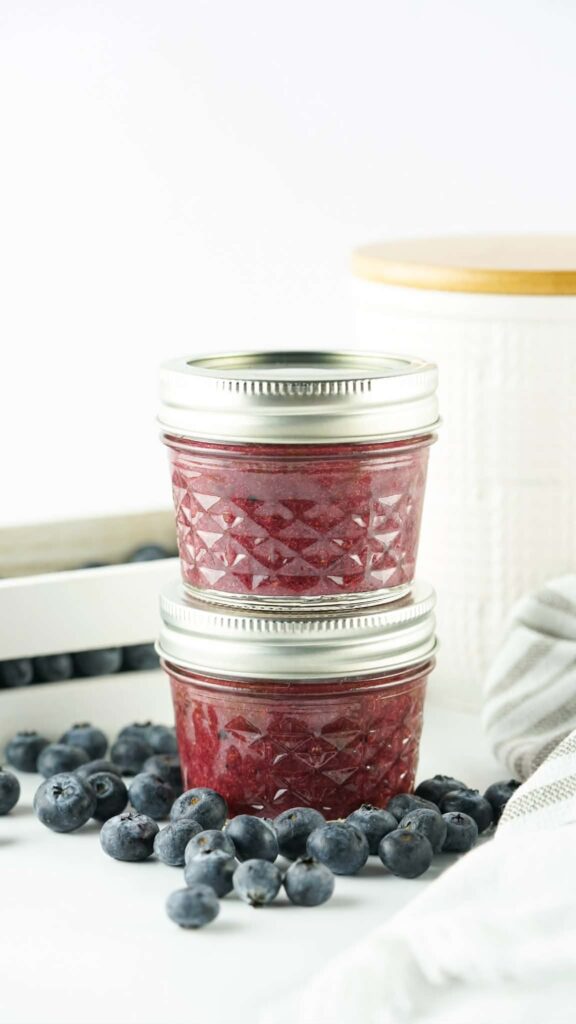
Set a fine-mesh sieve over a medium mixing bowl and pour the blueberry puree into the sieve. Using a rubber spatula, gently press the puree through the mesh until only the skins, seeds, and thicker pulp remain. Stir the strained puree well before serving or transferring it to storage containers.
The puree may seem a little thin immediately after blending, but it will thicken slightly after chilling in the refrigerator. Because blueberries stain easily, consider using an easy-to-clean bib and protect clothing, countertops, and other surfaces during mealtime.
Banana Baby Food
Prep Time: 2 minutes
Yield: Approximately 12 ounces
Ingredients
- 2 medium ripe bananas
- 1 tablespoon water
Directions
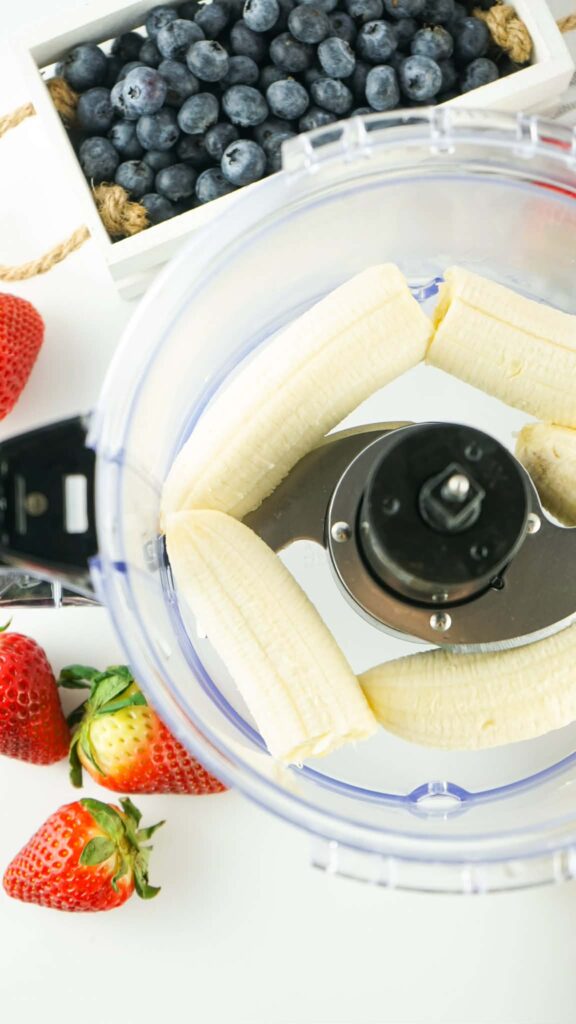
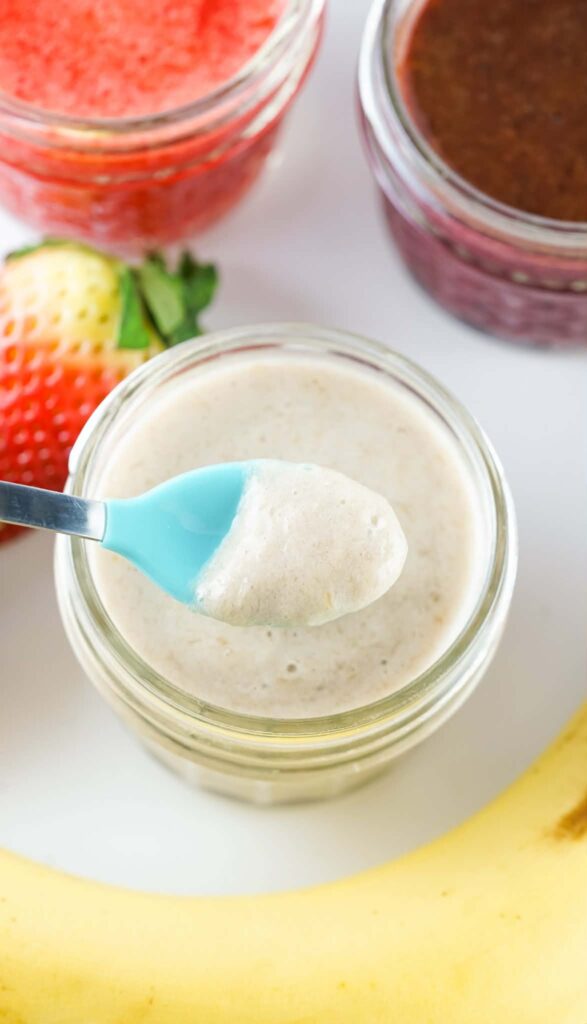
Peel the bananas and place them in a food processor. Turn on the processor, slowly add the water, and blend until the bananas become completely smooth. Stop as needed to scrape down the sides with a rubber spatula so the puree blends evenly.
Skip the straining step because bananas do not contain small seeds or tough skins. Choose very ripe bananas for the smoothest texture and sweetest flavor.
Serve the banana puree immediately or transfer it to a clean storage container. Exposure to air causes banana puree to brown over time, but this natural color change does not necessarily mean it has spoiled. Before serving stored puree, check for an off odor, mold, or any other signs of spoilage.
How to Get a Smooth Homemade Stage 1 Baby Food Texture
Strain the strawberry and blueberry purees if you want a smoother texture. Removing the seeds and thicker pieces creates a silkier puree that is easier for beginning eaters to manage.
If the puree becomes too thick, add a small amount of water and blend again. Add the liquid a little at a time because you can thin a puree more easily than thicken it. You can also stir prepared infant formula or breast milk into an individual serving just before feeding. For safer storage, prepare the full batch with water and add breast milk or formula only to the portion you plan to serve.
Never mix powdered formula directly into the puree. Instead, prepare the formula according to the package directions before adding it. Skip fruit juice when thinning baby food, as the American Academy of Pediatrics recommends avoiding fruit juice for infants younger than 12 months.
Introducing New Foods Safely
When your baby is beginning solid foods, start with single-ingredient recipes like these. This makes it easier to notice whether your child has a reaction to a particular food.
The CDC recommends offering one new single-ingredient food at a time and waiting three to five days before introducing another new food. Watch for possible reactions such as a rash, vomiting, diarrhea, swelling, coughing, or difficulty breathing.
Stop serving the food and contact your pediatrician if you notice a possible reaction. Seek immediate emergency assistance for symptoms such as trouble breathing, severe swelling, unusual sleepiness or loss of responsiveness.
A baby with severe eczema, a known food allergy, or other medical concerns may need an individualized plan for introducing foods. Discuss the timing and selection of first foods with the child’s healthcare provider.
Always supervise your baby during meals and keep your baby seated upright in a safe, appropriate high chair or feeding seat.
How Much Should You Serve?
A full batch of baby food makes more than most babies will eat at one meal. Babies who are new to solid foods may only eat one or two small spoonfuls, and that is completely normal.
Serve a small portion in a separate bowl instead of feeding directly from the storage container. This prevents saliva from introducing bacteria into the remaining puree. Never return leftover food from the serving bowl to the storage container. Discard any food left after the meal.
Follow your baby’s hunger and fullness cues rather than encouraging them to finish a specific amount. Turning away, closing the mouth, or losing interest may signal that your baby has had enough.
Storing Homemade Baby Food Safely
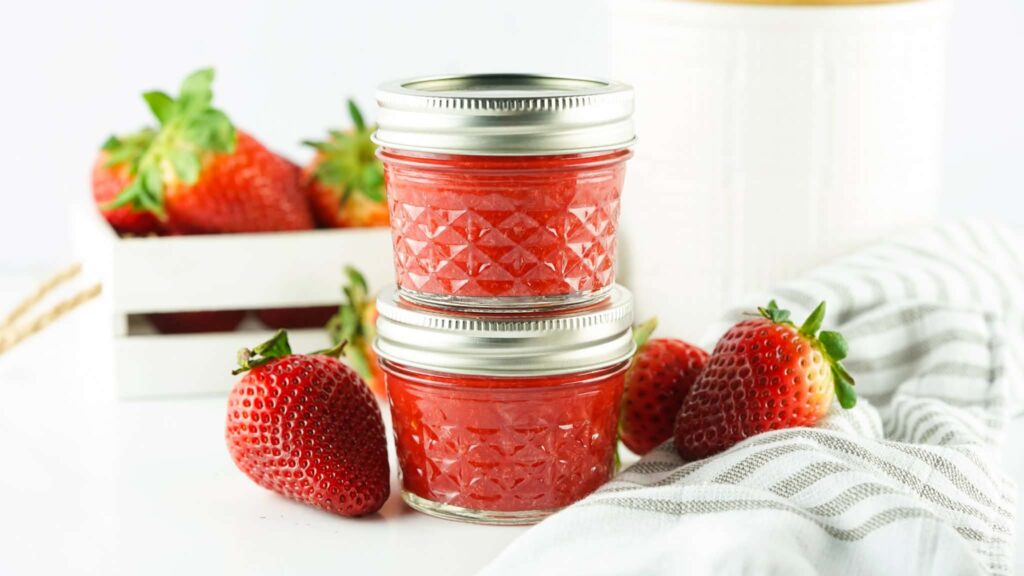
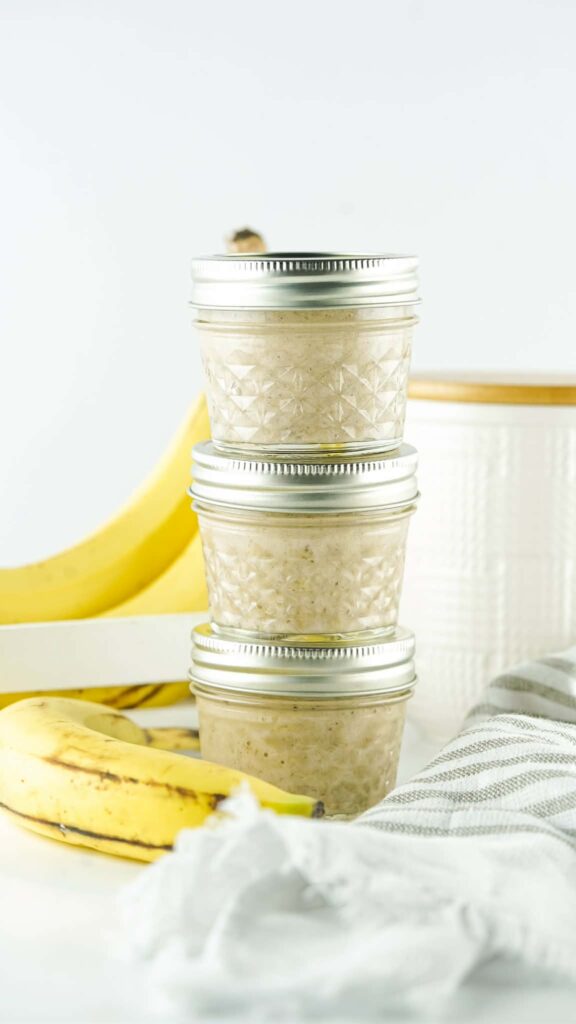
Because babies and young children are more vulnerable to foodborne illness, proper storage is essential. Transfer freshly made puree to clean, airtight, child-safe containers as soon as it has cooled, and label each container with the type of puree and the preparation date.
According to FoodSafety.gov, homemade baby food should be refrigerated for no more than one to two days. Even if fruit appears fresh longer, it’s safest to follow this recommendation when feeding an infant. Keep your refrigerator at 40°F or below, and return stored puree to the refrigerator promptly after use.
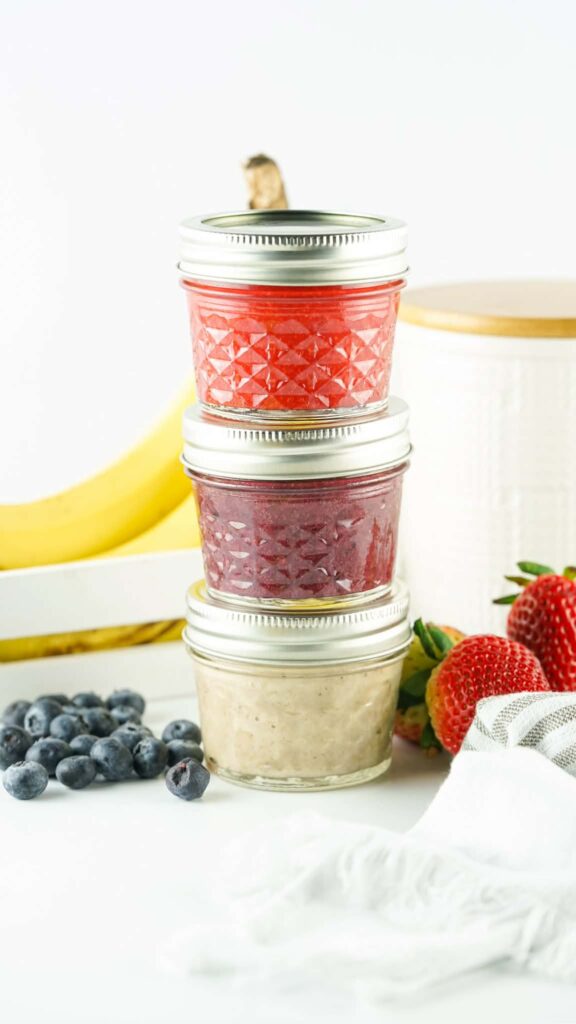
Discard any puree that has been served from, partially eaten, or left at room temperature for an extended period. For refrigerator storage, small glass jars work well because they are easy to clean and label. Just be sure the containers are designed to safely withstand refrigeration and your chosen storage method.
How to Freeze Homemade Baby Food
Freezing small portions is one of the easiest ways to make homemade baby food convenient.
Spoon the puree into a clean baby food freezer tray or another freezer-safe container. Freeze until solid, then transfer the portions to a labeled freezer bag or airtight freezer container.
Another option is to place small portions in freezer-safe bags and lay the bags flat. Flat packages take up less space and thaw more quickly.
FoodSafety.gov recommends using frozen homemade baby food within one to two months. Label every package with the fruit and the date so older food is used first.
Thaw frozen puree in the refrigerator rather than leaving it on the counter. You can also warm it gently on the stove or in the microwave.
When microwaving baby food, transfer it to a microwave-safe dish, stir it thoroughly, and allow it to stand before testing the temperature. Microwaves may create hot spots that can burn a baby’s mouth.
Baby food should be lukewarm or cool before serving, never hot.
Do not refreeze food that has already been thawed.
Can You Make Baby Food From Other Fruits?
The same basic method can be used with many fruits.
Soft, ripe fruits such as peaches, pears, mangoes, plums and avocados can often be pureed with a small amount of water. Remove all pits, seeds, peels and hard pieces before blending.
Hard fruits such as apples should be peeled, chopped and cooked until soft before pureeing. The CDC recommends cooking hard fruits and vegetables until they can be easily mashed with a fork.
Some fruits may require a fine mesh sieve, while smooth fruits such as bananas and avocados usually do not.
One tablespoon of water is a good starting point, but the exact amount may depend on the fruit’s ripeness and natural water content. Begin with less liquid and add more only when needed.
Do You Have to Use Fresh Fruit?
Fresh fruit makes an excellent choice for homemade baby food, but plain frozen fruit works well when fresh fruit is out of season. Choose frozen fruit without added sugar, syrup, or flavorings. Thaw or cook it as needed before pureeing, and do not refreeze previously frozen fruit unless you cook it during preparation.
Wash all fresh produce under clean running water before cutting it. Even if you plan to peel the fruit, washing the outside first helps prevent germs from transferring from the peel to the flesh with your knife.
Select ripe, high-quality fruit, and discard any fruit that is moldy, badly bruised, or showing signs of spoilage.
Frequently Asked Questions about Homemade Stage 1 Baby Food
Does homemade baby food save money?
It often can, particularly when you buy fruit in season, shop sales, or use produce your family is already eating. A couple of cups of fruit can produce several small servings without requiring a separate jar or pouch for every meal.
Do strawberries and blueberries need to be cooked?
Ripe berries can be washed and pureed, but individual feeding recommendations may vary. Parents should follow their pediatrician’s advice, particularly for premature babies, babies with immune system concerns, or children with special medical needs.
Can I leave the seeds in berry baby food?
You can, but straining produces a smoother puree that may be easier for a baby who is new to solid food. As feeding skills develop, you can gradually offer more texture.
Can I add sugar or honey?
These recipes do not need added sweeteners. Fruit is naturally sweet enough.
Never give honey to a baby younger than 12 months because it can contain spores that cause infant botulism.
Can I use breast milk instead of water?
You can use breast milk to thin the portion you plan to serve immediately. Use water for the main batch so storage stays simple and safe. Water also prevents wasting breast milk if your baby doesn’t finish the food. Add breast milk only at serving time. This keeps the flavor fresh and protects the nutrients.
Can I use formula instead of water?
You can stir prepared infant formula into the serving portion. Always mix formula according to the manufacturer’s directions first. Never add dry powdered formula directly to baby food. Prepared formula blends smoothly and keeps the texture consistent. Add it only to the amount your baby will eat right away.
Why did my banana baby food turn brown?
Bananas darken naturally when exposed to air. The color change alone doesn’t always mean the food is spoiled. Discard the food if it develops an unusual smell. Throw it out if you see mold or any other sign of spoilage. Natural browning is normal, but safety always comes first.
Can I feed directly from the storage jar?
It is better to place a small amount in a separate bowl. A spoon that has been in a baby’s mouth can transfer saliva and bacteria back into the jar, making the remaining food less safe to store.
More Than Just Fruit
Fruit purees are an easy way to become comfortable making baby food, but babies also need opportunities to try a variety of nutritious foods.
As your baby becomes ready, talk with your pediatrician about introducing vegetables, iron-rich foods, proteins, healthy fats, grains and common allergens in developmentally appropriate forms.
Offering a variety of foods is more helpful than relying heavily on a single fruit, vegetable, or grain. Breast milk or infant formula should continue alongside complementary foods during the first year.
Final Thoughts on Making Homemade Stage 1 Baby Food
Homemade stage 1 baby food is one of those from-scratch skills that sounds more complicated than it really is. Once you wash the fruit, everything else takes only a few minutes.
I loved being able to choose the fruit myself, control the consistency, and know exactly what was in each serving. It also helped us save money by turning a few cups of produce into multiple meals rather than purchasing individual jars or pouches.
You do not need to make every bite your baby eats from scratch to benefit from homemade baby food. Begin with one simple recipe, prepare only what you can safely store, and build from there.
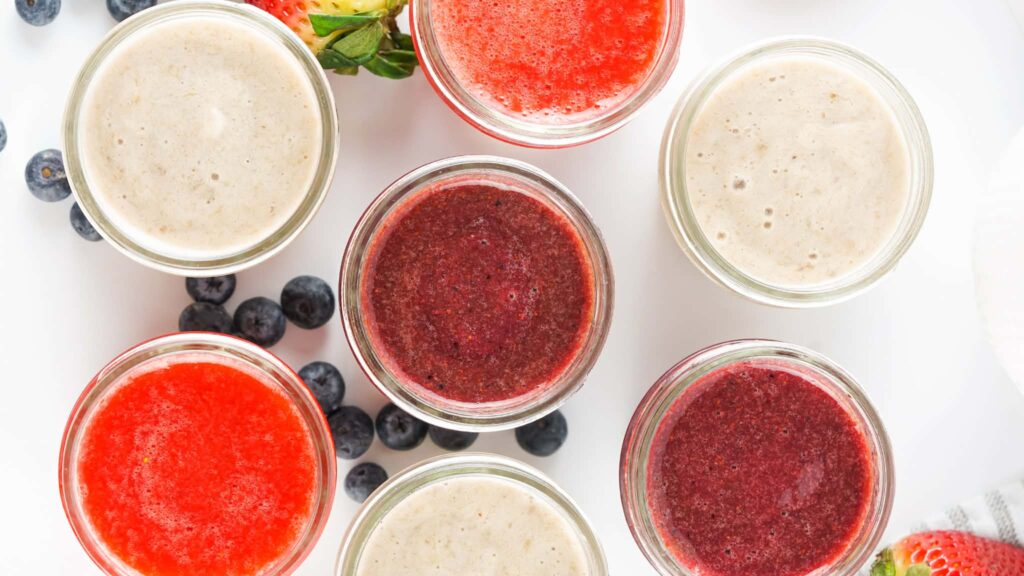
These strawberry, blueberry, and banana purees are an easy starting point for families who want to buy less at the grocery store, make more at home, and feel confident about the ingredients they are serving their little ones.
For additional food-handling information, review the Children Under Five food safety guidance at FoodSafety.gov and speak with your baby’s pediatrician about readiness, allergies, textures, and individual nutritional needs.
Homemade Stage 1 Fruit Baby food
Learn how to make simple Stage 1 baby food at home using fresh fruits and easy preparation methods. These smooth, single-ingredient purees are beginner-friendly, budget-conscious, and perfect for babies starting their solid food journey.
Ingredients
- Strawberry Baby Food
- 2 cups fresh strawberries
- 1 tablespoon water
- Blueberry Baby Food
- 2 cups fresh blueberries
- 1 tablespoon water
- Banana Baby Food
- 2 medium ripe bananas
- 1 tablespoon water
Instructions
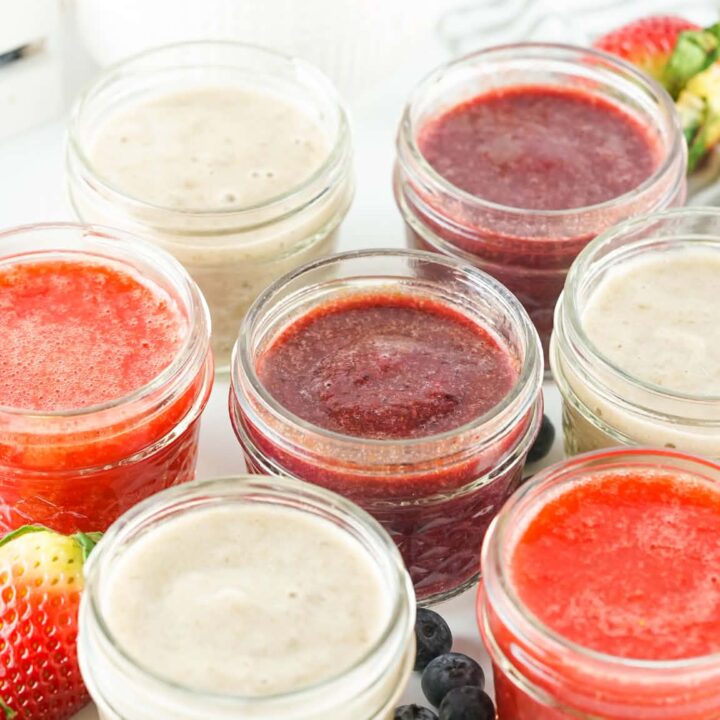
This simple baby food trio uses fresh strawberries, blueberries, and ripe bananas to create smooth, naturally sweet purees. Each fruit blends quickly with a small amount of water, making fast, beginner‑friendly recipes.
The strawberry and blueberry purees are strained through a fine‑mesh sieve for an extra‑smooth texture, while the banana puree requires no straining at all.
All three purees thicken slightly after chilling and can be served immediately or stored safely for later meals. These recipes offer easy, wholesome options for homemade baby food using fresh produce and minimal ingredients.
-
How to Make Homemade Buttermilk (Perfect for Baking)
Learn how to make homemade buttermilk in minutes. A simple, perfect substitute for baking and everyday recipes.
-
Easy Rustic Homemade Tomato Paste (No Additives)
Make rustic homemade tomato paste with fresh tomatoes. No additives, rich flavor, and perfect for preserving your garden harvest.
-
Homemade Hot Dog Buns (Soft and Easy Homestead Recipe)
These homemade hot dog buns bake up soft, golden, and perfect for any backyard meal. The dough comes together with simple ingredients and a gentle rise that keeps each bun tender. They hold their shape without feeling heavy, making them ideal for hot dogs, sausages, or easy weeknight sandwiches.
-
How to Freeze Homemade Stock
Freezing homemade chicken stock is a great way to preserve its flavor and nutrition. Let the stock cool completely, then strain out any solids. Pour into freezer-safe containers, leaving space for expansion. Ice cube trays or souper cubes are perfect for small portions. Once frozen, transfer cubes to a labeled freezer bag. Stock keeps well in the freezer for up to 6 months.
-
Make your own pasta
Welcome to the delightful world of homemade pasta! If you’ve ever savored the taste of fresh pasta, you know there’s nothing quite like it. Making pasta from scratch may seem daunting, but it’s simpler than you think and deeply satisfying. In this post, we’ll guide you through the process, from flour to fork! The Joy…
-
Homemade Sourdough Bread
Welcome to the wonderful world of homemade sourdough bread! There’s something almost magical about the process of making sourdough. It’s not just baking; it’s an age-old tradition, a craft that has been passed down through generations. Today, I want to share with you how you can start this journey in your own kitchen. The Magic…