Butterfinger Balls Recipe: Easy No-Bake Candy Treat
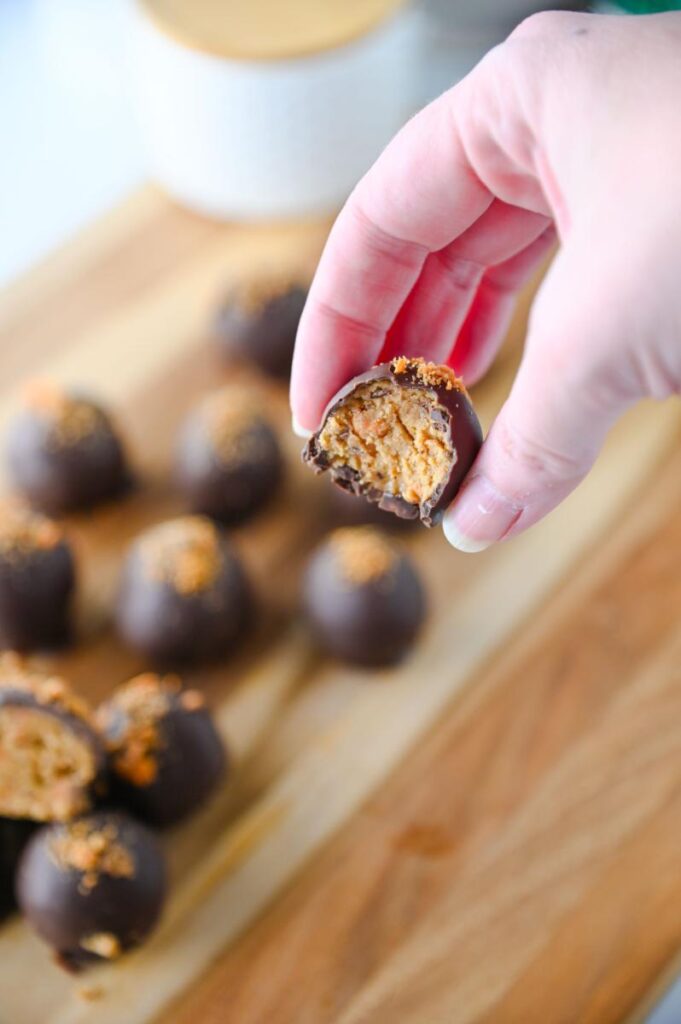
Some recipes are just recipes, while others immediately make you think of someone you love. This Butterfinger Balls Recipe is one of those recipes for me because they remind me so much of my mom.
My mom absolutely loved Butterfingers. They were her favorite candy. If you’ve followed me for a long time, you may remember her as Queen Mum. She helped me with the blog over the years and was a big part of everything we did behind the scenes. Losing her in March 2025 left so many little reminders of her scattered throughout everyday life, and Butterfingers will probably always be one of them. I know she would have loved these.
This Butterfinger Balls Recipe makes an easy no-bake treat with the crunchy peanut butter flavor Butterfinger fans love, all covered in a smooth chocolate coating. They’re simple enough to make when you’re craving something sweet, but they also look right at home on Christmas candy trays, holiday dessert tables, or in homemade gift boxes.
Now that I’m selling at local farmers’ markets, I find myself looking at recipes from that perspective, too. I can easily picture these little candy balls sitting on a bakery cart or holiday market table. They’re familiar, easy to portion and have that homemade look that makes people want to stop and take a closer look.
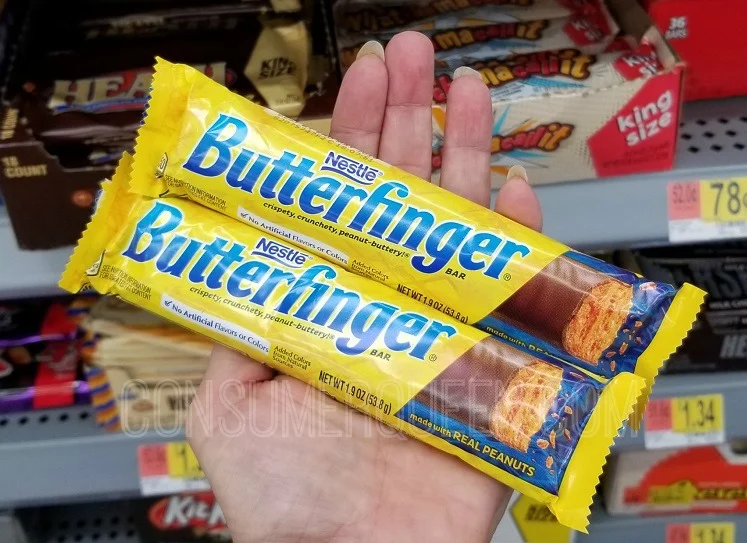
Butterfinger Balls Recipe
One of the best things about this Butterfinger Balls Recipe is that there’s no baking involved.
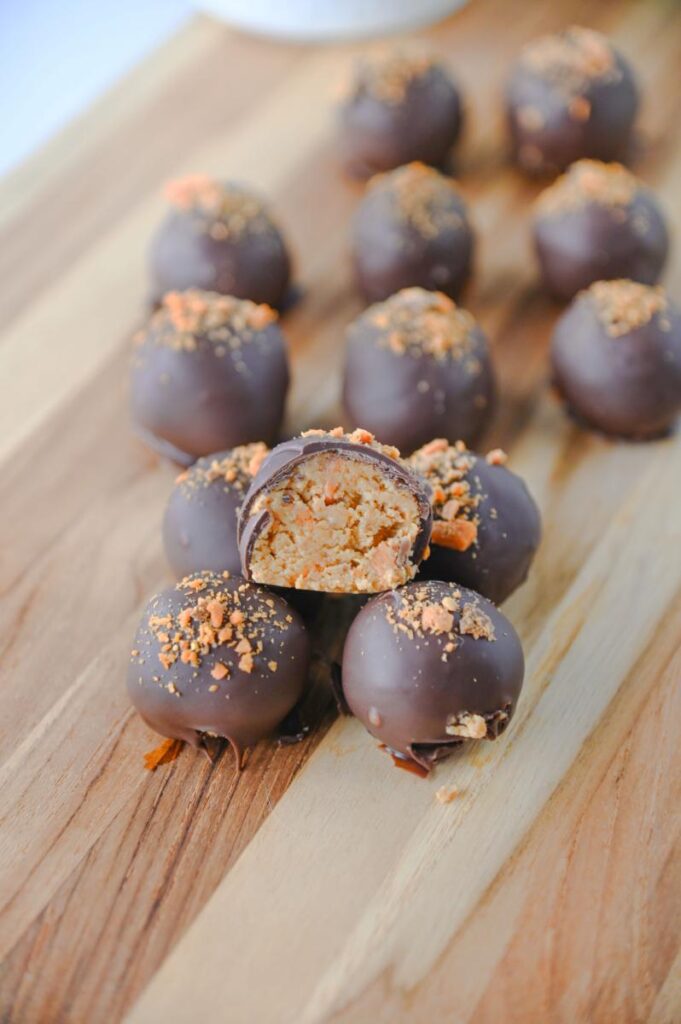
You get a creamy, crunchy peanut butter center with crushed Butterfinger candy and graham crackers, surrounded by a chocolate coating. Because they’re made individually, they’re also easy to serve, package, and give as gifts.
Prep Time: 20 minutes
Freeze Time: 30 minutes
Time to Set: 1 hour
Makes: About 20 balls
Ingredients
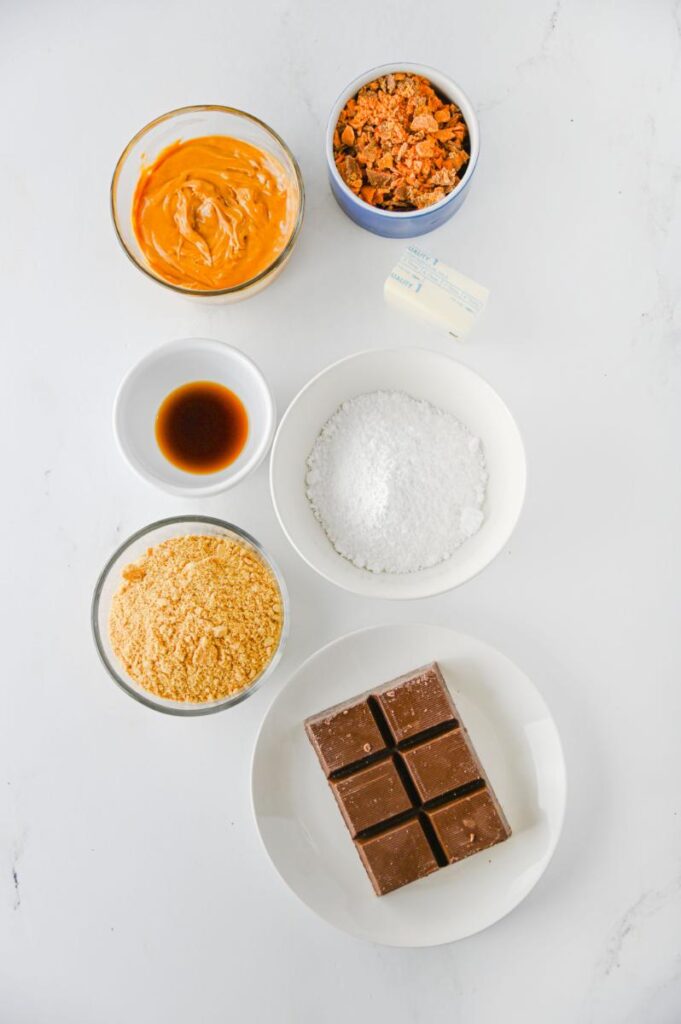
You’ll need:
- 1 cup creamy peanut butter
- 4 tablespoons unsalted butter, softened
- 1/2 teaspoon vanilla extract
- 1 cup powdered sugar
- 3/4 cup crushed graham crackers
- 1/2 cup crushed Butterfinger candy
- Extra crushed Butterfinger candy for topping, optional
- 12 ounces chocolate almond bark
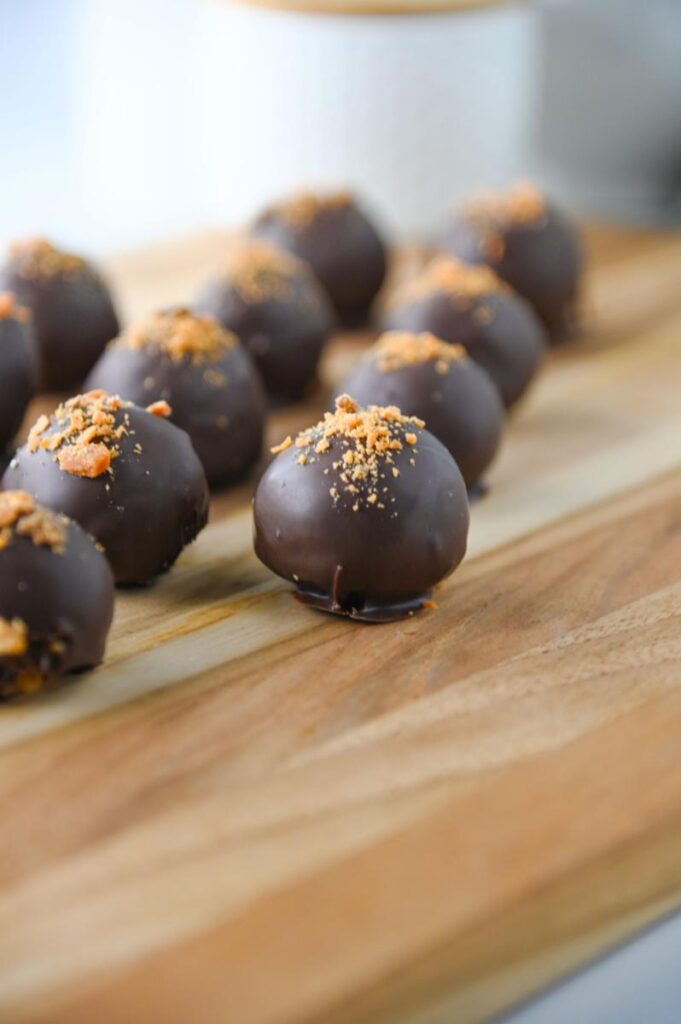
I like saving a little of the crushed Butterfinger candy to sprinkle over the top. Besides adding more of that Butterfinger flavor, it lets everyone know what’s hiding inside that chocolate coating.
How to Make Butterfinger Balls
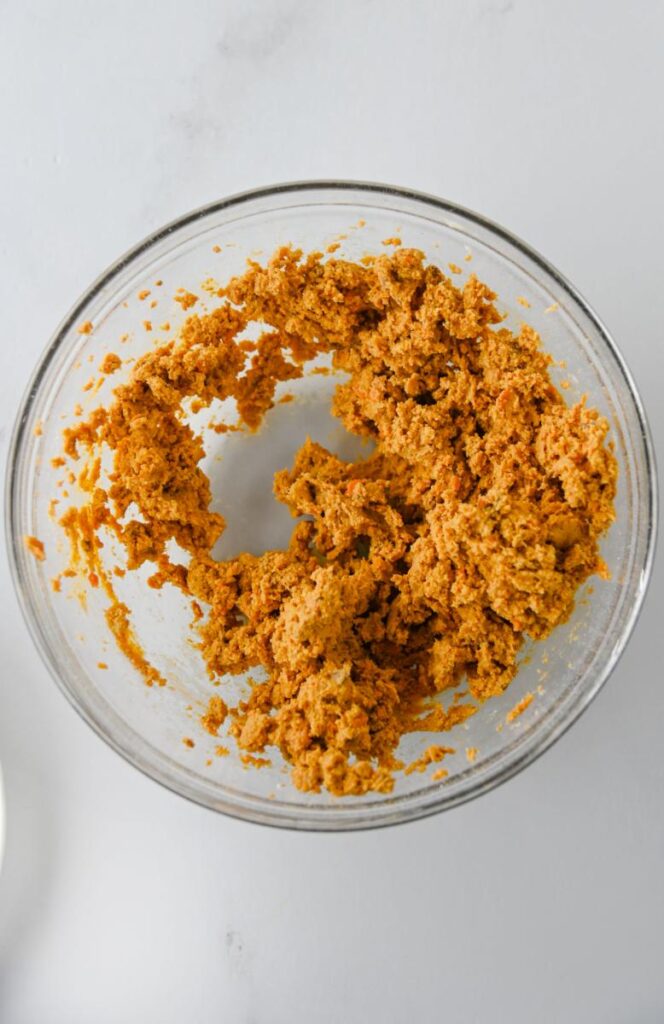
In a large mixing bowl, combine the creamy peanut butter, softened butter, vanilla extract, powdered sugar, crushed graham crackers, and crushed Butterfinger candy.
Mix until everything is thoroughly combined.
Line a baking sheet with parchment paper.
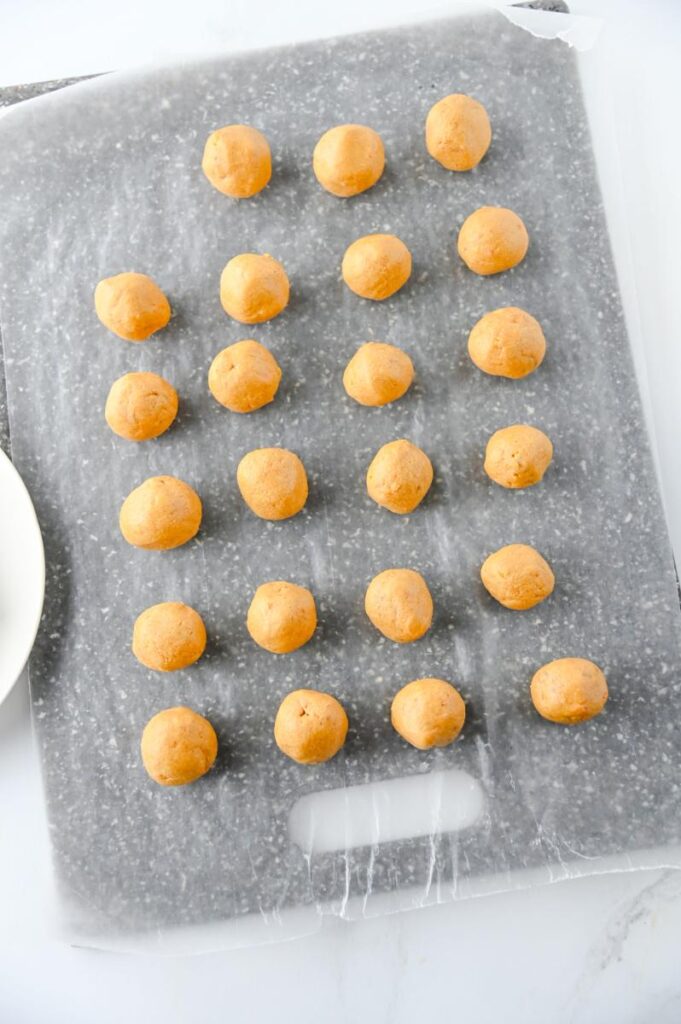
Roll the Butterfinger mixture into approximately 1-inch balls and arrange them on the parchment-lined baking sheet.
Try to keep them fairly uniform, especially if you’re making these for gifts or planning to sell them. A small cookie scoop can make this much easier.
Place the tray in the freezer for 30 minutes.
Don’t skip this step. Freezing helps the peanut butter balls firm up so they’re much easier to dip into the warm chocolate without falling apart.
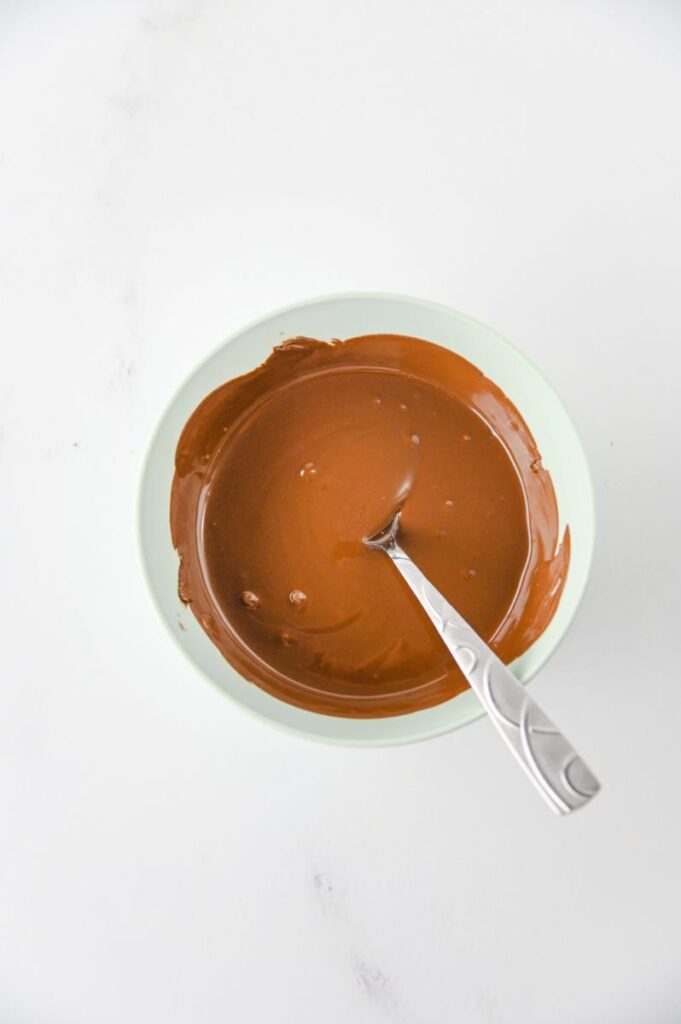
When you’re ready to dip them, place the chocolate almond bark in a microwave-safe bowl.
Heat for 30-second increments, stirring well after each one, until completely melted and smooth.
Dip each chilled Butterfinger Ball into the melted almond bark, coating it completely.
Lift it out and allow the excess chocolate to drip back into the bowl before placing the candy back onto the parchment paper.
While the chocolate is still wet, sprinkle a little extra crushed Butterfinger candy over the top if desired.
Allow the candies to set for approximately 1 hour.
Then they’re ready to enjoy.
What Are Butterfinger Balls?
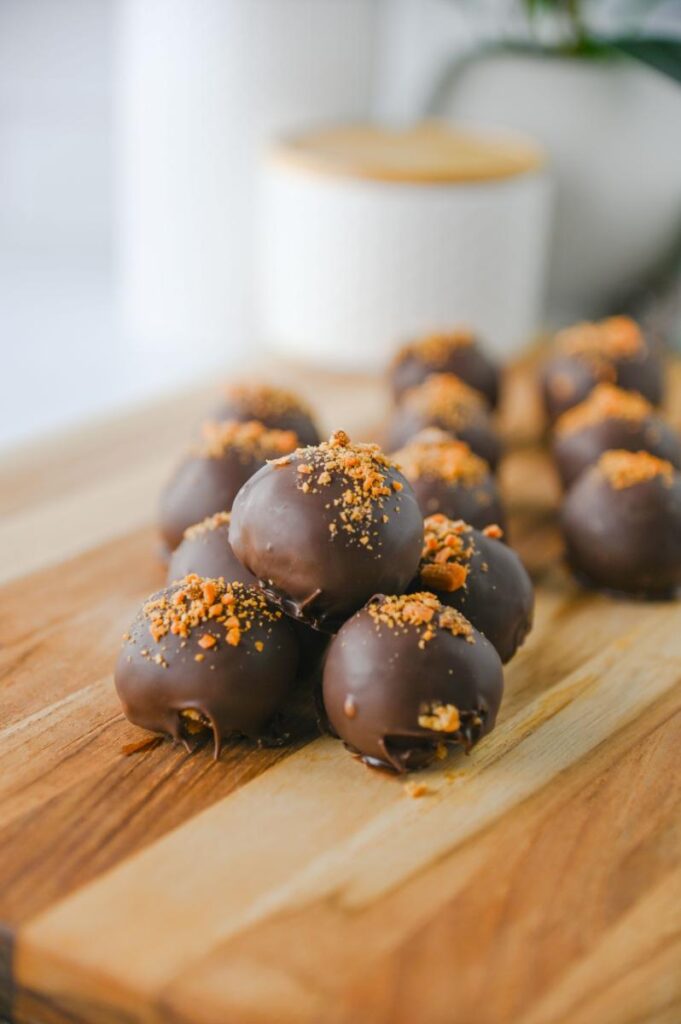
Butterfinger Balls are a homemade no-bake candy inspired by the familiar combination of peanut butter, crispy candy pieces and chocolate.
Think of them as a cross between peanut butter balls and Butterfinger candy.
In this recipe, graham cracker crumbs and crushed Butterfingers are mixed into a peanut butter filling. After chilling, each ball gets dipped in chocolate almond bark and can be finished with even more crushed Butterfinger pieces.
That’s part of what makes them such an easy homemade candy recipe.
This Butterfinger Balls recipe is easy to customize. You can make them small for Christmas candy trays or slightly larger if you’re packaging them individually.
Tips for Making the Best Butterfinger Balls
No-bake doesn’t necessarily mean there aren’t a few tricks that can make the recipe easier.
First, try to make your candy balls approximately the same size.
If you’re making these for your family, they certainly don’t need to be perfect. But if you’re giving them as gifts or making them for a market, a small cookie scoop can help keep everything uniform.
Crush your graham crackers fairly finely. Large pieces can make it harder to roll the filling into smooth balls.
The same goes for the Butterfingers. You still want that crispy texture, but you don’t want huge chunks that cause your candy balls to fall apart.
And definitely give them the full 30 minutes in the freezer before dipping.
If they start becoming too soft while you’re working, put them back in the freezer for a few minutes rather than struggling to coat them.
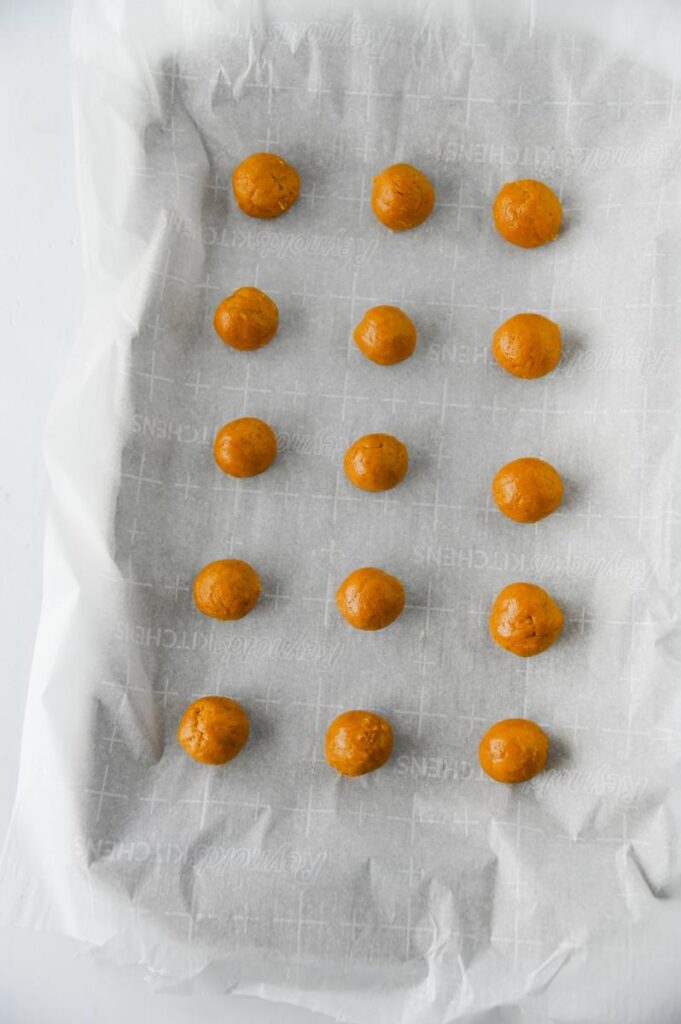
How to Dip Butterfinger Balls in Chocolate
This is probably the messiest part of making chocolate peanut butter balls, but there are a few tricks that can make it much easier.
Make sure your Butterfinger Balls are chilled before you begin dipping.
Drop one ball into your melted almond bark and use a fork or dipping tool to turn it until it’s completely coated.
Lift it from the chocolate and gently tap the fork against the side of your bowl. This allows excess chocolate to drip away instead of pooling around the bottom of your candy.
Transfer the dipped candy onto parchment paper.
If you’re adding crushed Butterfinger pieces, sprinkle them on immediately while the coating is still wet so they’ll stick.
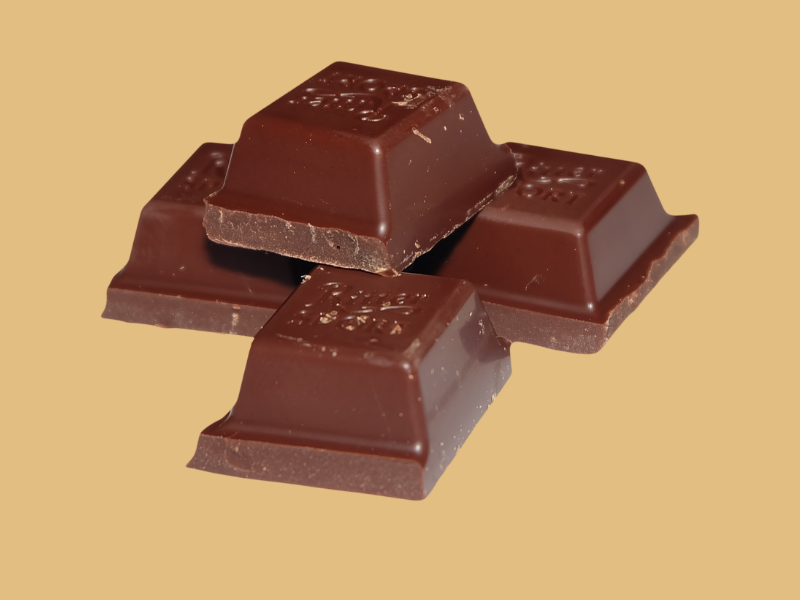
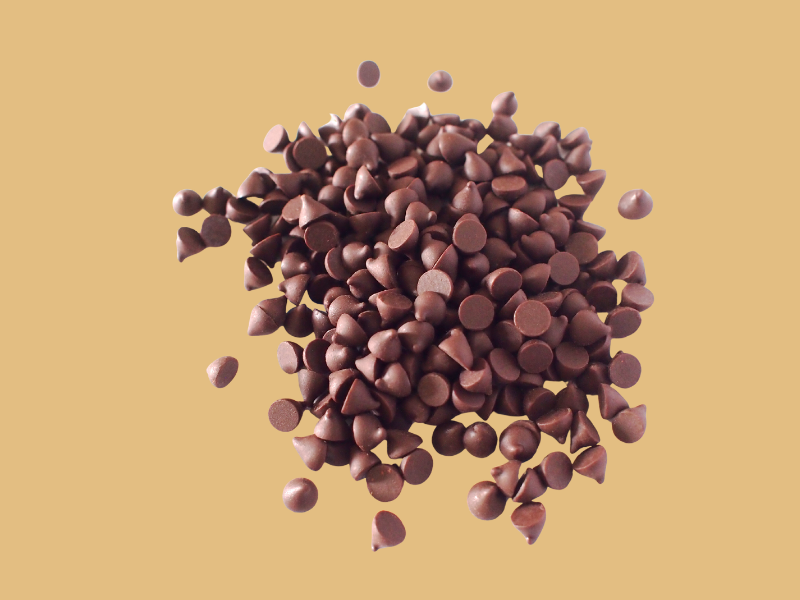
Why Use Chocolate Almond Bark?
For this recipe, we’re using chocolate almond bark instead of regular chocolate chips.
Almond bark is made for melting and coating. It melts easily, doesn’t require tempering and firms back up nicely after you dip your candy.
That’s especially helpful if you’ve never made homemade candy before.
Chocolate chips can sometimes be thicker when melted because they’re designed to hold their shape during baking. You can certainly find other chocolates specifically made for dipping, but almond bark keeps this recipe simple.
How Do You Keep the Chocolate Coating Smooth?
If you’ve ever dipped homemade candy and wondered why yours didn’t look like the picture, you’re not alone.
The biggest thing is consistency.
Your almond bark needs to be completely melted and smooth before dipping.
Don’t try to rush the melting process by microwaving it for several minutes at once. Those 30-second intervals give you much more control and help prevent scorching.
Make sure the bowl and utensils you’re using are completely dry. Even a small amount of water can cause problems with melted chocolate coatings.
Work with a few chilled candy balls at a time and leave the rest cold if your kitchen is warm.
And remember that homemade doesn’t have to look like it came out of a factory.
A little crushed Butterfinger sprinkled over the top can hide plenty of imperfections.
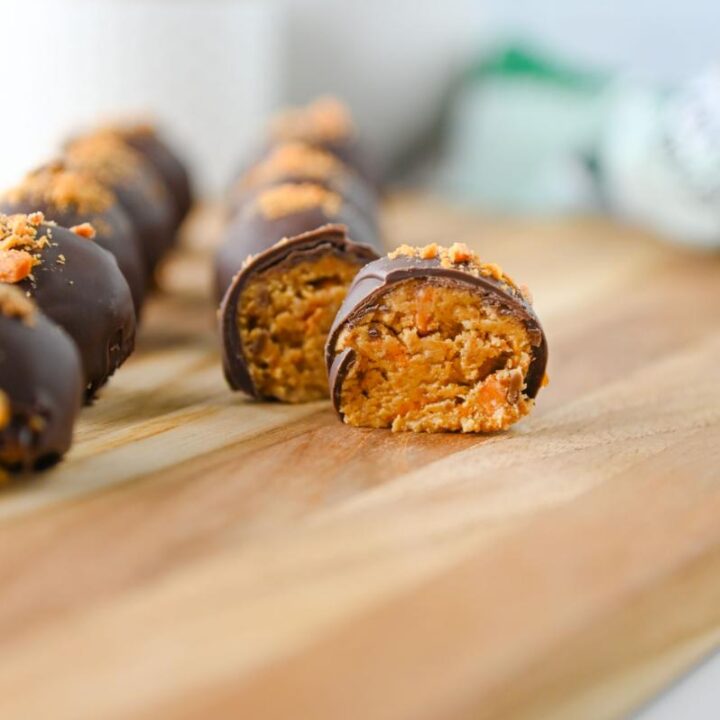
Butterfinger Balls Recipe
Butterfinger Balls are an easy no-bake treat made with crushed Butterfinger candy, creamy peanut butter, and a chocolate coating. They have a delicious combination of crunchy, peanut butter flavor and rich chocolate, making them perfect for Christmas candy trays, cookie exchanges, and homemade holiday gifts.
Ingredients
- 1 cup creamy peanut butter
- 4 tbsp. unsalted butter, softened
- 1/2 tsp. vanilla extract
- 1 cup powdered sugar
- 3/4 cup crushed graham crackers
- 1/2 cup crushed butterfinger candy, plus extra, optional, to top
- 12 ounces chocolate almond bark
Instructions
In a large mixing bowl, mix together the peanut butter, softened butter, vanilla extract, powdered sugar, graham cracker crumbs, and crushed butterfingers. Mix until well combined.
Line a baking sheet with parchment.
Roll the butterfinger ball mixture into about 1 inch balls. Place onto the parchment.
Freeze the balls for 30 minutes.
Then, add the almond bark to a microwave safe bowl. Heat for 30 second increments, stirring well in between, until melted.
Dip the butterfinger balls into the almond bark to coat, letting the excess drip away.
Place onto the parchment, and sprinkle with extra butterfinger crumbs.
Allow the candy to set for about an hour, then enjoy.
Easy Ways to Decorate
You don’t have to decorate these at all, but adding something to the top makes them look extra special.
My first choice is obviously more crushed Butterfinger candy.
Not only does it look good, but it gives people a clue about what’s inside.
You could also drizzle a contrasting chocolate coating over the top.
For Christmas, place each one in a small candy cup and arrange them in a holiday box with your other homemade Christmas candy.
If you’re making them for a farmers market or bakery cart, that little bit of decoration can make a simple homemade candy look much more polished.
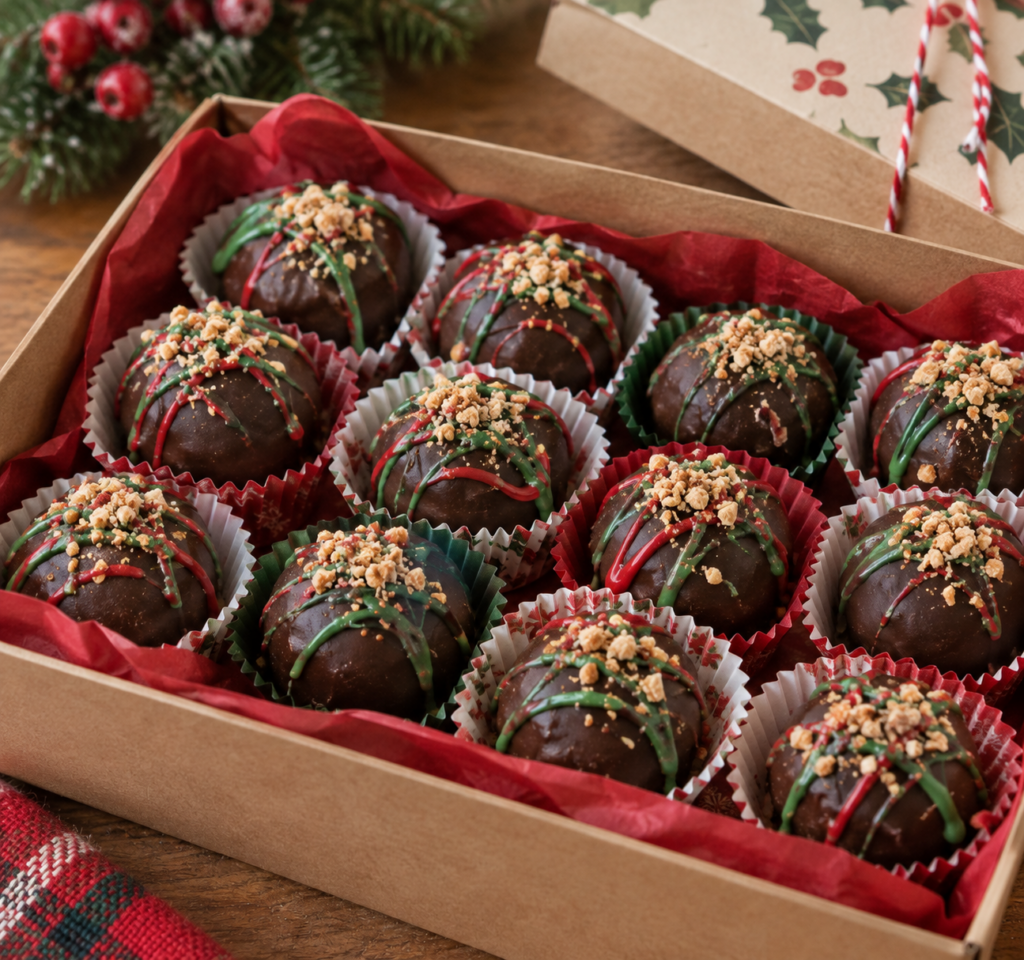
Butterfinger Balls Make an Easy Christmas Candy
I love recipes that I can make ahead during the holidays. There is already enough going on at Christmas without having to make every dessert right before everyone arrives. This no-bake Butterfinger Balls recipe is easy to prepare ahead of time, so you can make them early and add them to a Christmas candy tray when you are ready to serve.
They are also easy to pair with other homemade candies and cookies, giving your Christmas dessert tray a nice mix of textures and flavors. Butterfinger Balls make a fun choice for a Christmas cookie exchange, too, especially when you want to bring something besides another cookie. Technically, they are not cookies, but I don’t think anyone will complain when they see chocolate and Butterfingers!
Homemade Butterfinger Balls for Christmas Gifts
Homemade food gifts are still some of my favorite gifts to give. They don’t have to be expensive or complicated to feel special.
Put several Butterfinger candy balls into individual candy cups and arrange them in a bakery box or holiday tin. Add some parchment paper and a ribbon, and you’ve got a homemade gift that looks beautiful without spending a fortune.
They would make great gifts for:
- Neighbors
- Teachers
- Coworkers
- Friends
- Hostesses
- Sunday school teachers
- Delivery drivers
- Holiday party hosts
You could also include them in a larger homemade Christmas gift basket. And if you’re giving them to someone who loves Butterfingers as much as my mom did, you might want to make an extra batch.
Selling Butterfinger Balls at Farmers Markets
Now that I’ve started selling at local farmers’ markets, I find myself looking at homemade recipes differently. I often wonder whether something would work well at a farm stand, bakery cart, or local market. Butterfinger Balls have several qualities that make them worth considering.
They’re recognizable, visually appealing, and easy to portion. Depending on your local regulations, you could sell them individually or package several together. They would also be especially fun for fall and Christmas markets.
If you’re making them to sell, consistency is important. A small cookie scoop makes it easy to keep each Butterfinger Ball about the same size. For even more consistent portions, you can weigh the finished candies.
Presentation matters, too. Individual candy cups can help keep the chocolate looking neat, while clear packaging lets customers see the candy and crushed Butterfinger topping.
Keep in mind that Butterfinger candy bars contain common allergens, and the peanut butter filling contains peanuts. Be sure to follow applicable ingredient and allergen-labeling requirements when selling them.
Before selling homemade candy, check your state’s current cottage food regulations. Rules can vary based on the ingredients, storage requirements, and where you plan to sell.
That’s something I’m learning more about myself as I continue adding products to our local market.
How to Store Butterfinger Balls
Once the chocolate coating has completely hardened, place your Butterfinger Balls in an airtight container.
If you’re stacking them, put parchment or wax paper between the layers so they don’t stick together or damage the chocolate coating.
Keep them somewhere cool so the coating doesn’t soften.
For longer storage, you can also refrigerate them in a covered container.
Can You Freeze Butterfinger Balls?
Yes, these are a great make-ahead treat.
Once your Butterfinger Balls are completely set, arrange them in a freezer-safe container with parchment between the layers.
When you’re ready to use them, allow them to thaw gradually.
One thing to watch for with chocolate-covered candy is condensation. Moving very cold candy directly into a warm, humid room can cause moisture to form on the surface.
If appearance matters, especially if you’re making them for gifts or an event, let them thaw in their closed container before opening it.
Butterfinger Balls Recipe FAQ
What are Butterfinger Balls made of?
These Butterfinger Balls are made with creamy peanut butter, butter, vanilla, powdered sugar, graham cracker crumbs, and crushed Butterfinger candy. They’re chilled and then coated in melted chocolate almond bark.
Do Butterfinger Balls need to be refrigerated?
You can keep the finished candy in a cool location for serving, but refrigeration is useful for longer storage and helps keep the chocolate coating firm, particularly if your home is warm. If you’re making them commercially, follow the storage requirements that apply to the ingredients and your local food regulations.
Can you make Butterfinger Balls ahead of time?
Yes. That’s one reason they’re such a good option for holiday entertaining and Christmas candy boxes. Make them ahead and store them in an airtight container until you’re ready to serve or package them.
Can you freeze Butterfinger Balls?
Yes. Store completely set Butterfinger Balls in an airtight freezer-safe container with parchment between the layers. Let them thaw gradually in the closed container to help reduce condensation on the chocolate.
How long do Butterfinger Balls need to freeze before dipping?
Freeze the rolled peanut butter balls for about 30 minutes before dipping. You want them firm enough to hold their shape when they’re dipped into the warm almond bark.
How do you keep Butterfinger Balls from falling apart?
Make sure you measure the ingredients accurately and mix the filling thoroughly. Freezing the balls for 30 minutes before dipping also makes a big difference. If they become too soft while you’re dipping them, return them to the freezer for a few minutes.
Why is my chocolate coating too thick?
If your almond bark starts to thicken while you’re dipping, it may simply be cooling down. Warm it again briefly and stir until smooth. Avoid overheating it, and make sure no water gets into your melted coating.
Can I use chocolate chips instead of almond bark?
You can use chocolate intended for melting and dipping, but ordinary chocolate chips may not behave exactly the same way. They’re formulated to retain some of their shape during baking and can be thicker when melted. Chocolate almond bark makes this recipe especially easy because it’s designed for coating candy.
Can I make Butterfinger Balls for a cookie exchange?
Absolutely. Even though they’re technically candy rather than cookies, they’re an easy addition to a Christmas cookie exchange, dessert table, or holiday treat box.

A Recipe That Will Always Make Me Think of Mom
Food has a funny way of bringing memories back.
Sometimes it’s a family recipe. Sometimes it’s a smell coming from the kitchen. And sometimes it’s something as simple as seeing your mom’s favorite candy bar.
For me, Butterfingers will always make me think of Queen Mum.
She spent years helping me with this blog, and I wish she were still here to taste all the new recipes we’re making. I already know what she would have said about these.
She would have loved them.
So while these Butterfinger Balls may be an easy no-bake candy recipe for most people, they’ll always be a little more special to me.
And I think that’s one of the best things about making food for the people we love. Sometimes a recipe becomes more than something we eat.
It becomes part of the memories we keep.
-
Santa Hat Brownie Bites: An Easy Semi-Homemade Holiday Treat
Santa Hat Brownie Bites are a quick and festive holiday dessert made with strawberries, brownies, and whipped topping.
-
Homemade Caramel Apple Pie Squares
Homemade Caramel Apple Pie Squares are everything you love about classic apple pie, reimagined in easy-to-serve dessert bars. A golden crust forms the base, topped with tender cinnamon-spiced apples and a golden oat crumb topping. Once baked, each square is drizzled with rich, velvety caramel for the perfect balance of sweet and buttery flavor. They’re simple to make, beautiful on a dessert tray, and taste just like autumn in every bite. Serve them warm with a scoop of vanilla ice cream—or chilled straight from the fridge for a chewy, caramelized treat
-
Ritz Cracker Thin Mints (No Bake, 2 Ingredients!)
Ritz Cracker Thin Mints are a quick, no-bake 2-ingredient dessert topped with crushed peppermint. Perfect for last-minute treats!