Homemade Self-Rising Flour

If you catch yourself in a pinch, making Homemade Self-Rising Flour is super easy. It takes only three common pantry ingredients. You need just a minute to mix them together. Then you are ready to bake. This is a super handy recipe to keep on hand in any homestead kitchen.
Many homesteaders prefer making pantry staples from scratch. It saves money and reduces extra trips to town. It also helps you avoid running out of baking essentials. When a biscuit craving hits, you will be prepared. This simple flour blend keeps your baking plans on track.
Self-rising flour is simply all-purpose flour with baking powder and salt already mixed in. That means fewer steps when baking. It is commonly used for biscuits, pancakes, muffins, and quick breads. Having it premixed makes baking faster and easier.


Ingredients for Homemade Self-Rising Flour
- 4 cups all-purpose flour
- 2 tablespoons baking powder
- 2 teaspoons salt
- Prep Time: 3 minutes
Yields: 4 cups


Directions
- Combine all ingredients in a medium mixing bowl.
- Mix well until everything is evenly incorporated.
- Store in an airtight container for up to 3 months in a cool, dry area.
That is it. No complicated steps or special tools are required. A whisk works well for blending. You can also sift the mixture if you prefer a lighter texture.

Why Make Your Own Self-Rising Flour?
Making homemade self-rising flour gives you control over freshness. Baking powder loses strength over time. When you mix your own, you know it is fresh. That leads to better rise and fluffier baked goods.
It is also budget-friendly. Buying ingredients in bulk costs less per batch. Many homesteaders already keep flour and baking powder stocked. This recipe simply combines what you already have.
Another benefit is convenience. You can quickly substitute this blend in any recipe that calls for store-bought self-rising flour. There are no adjustments needed. Use it cup-for-cup, just as the recipe states.

Storage Tips for Best Results
Store your flour mixture in an airtight container. Keep it in a cool, dry pantry. Avoid storing this mixture in the fridge or freezer. Moisture can reduce its effectiveness over time.
Label your container with the date. This helps you track freshness. For best results, use within three months. If the mixture sits for a while, stir well before using. This ensures the baking powder and salt remain evenly distributed.

If you live in a humid climate, consider adding a small food-safe moisture absorber nearby. Keeping humidity low protects your ingredients. Dry storage keeps your baked goods light and fluffy.


How to Use Homemade Self-Rising Flour
Use this blend just as you would store-bought self-rising flour. It works beautifully in classic southern biscuits. It is also perfect for pancakes and quick breads. Try it in muffins or cobblers for dependable results.
This mix is not intended for yeast breads. Yeast recipes rely on different leavening methods. For those recipes, stick with regular flour.
Keeping simple pantry staples like Homemade Self-Rising Flour on hand makes homestead cooking easier. It supports from-scratch baking without extra cost. With just three ingredients and three minutes, you can stay prepared for whatever recipe the day brings.

Homemade Self-Rising Flour
Making homemade self-rising flour is so easy.
Ingredients
- 4 cups all-purpose flour
- 2 tablespoons baking powder
- 2 teaspoons salt
Instructions
- Combine all ingredients in a medium mixing bowl.
- Mix well until everything is evenly incorporated.
- Store in an airtight container for up to 3 months in a cool, dry area.
Notes
Store your flour mixture in an airtight container. Keep it in a cool, dry pantry. Avoid storing this mixture in the fridge or freezer. Moisture can reduce its effectiveness over time.
Label your container with the date. This helps you track freshness. For best results, use within three months. If the mixture sits for a while, stir well before using. This ensures the baking powder and salt remain evenly distributed.
If you live in a humid climate, consider adding a small food-safe moisture absorber nearby. Keeping humidity low protects your ingredients. Dry storage keeps your baked goods light and fluffy.
-
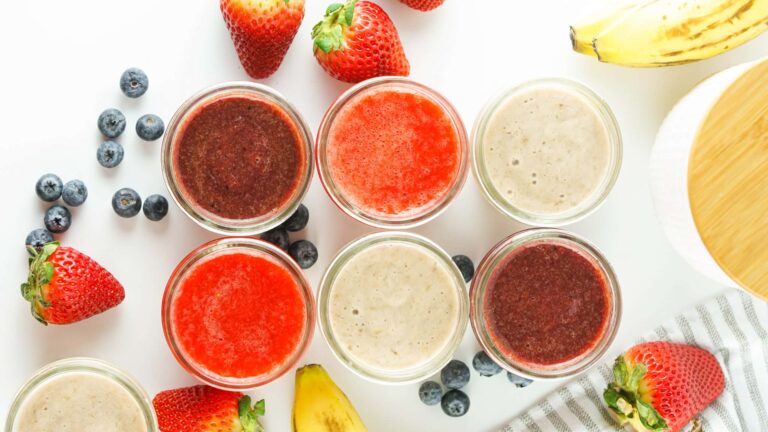
Homemade Stage 1 Baby Food with Fresh Fruit
Make homemade stage 1 baby food with fresh fruit and simple ingredients. Includes strawberry, blueberry and banana recipes.
-
Cook | Drinks | Homemade Pantry | Recipe
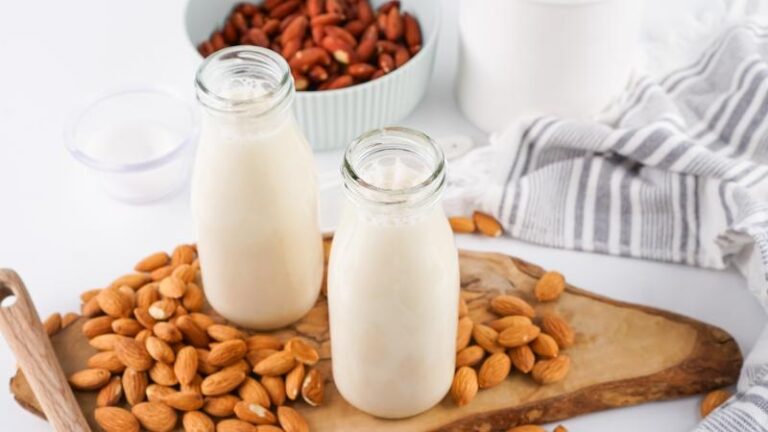
How to Make Almond Milk at Home (Easy Guide)
How to Make Almond Milk at Home with simple ingredients, easy steps, and helpful tips for fresh, creamy homemade milk.
-
Baking | Cook | Desserts | Homemade Pantry
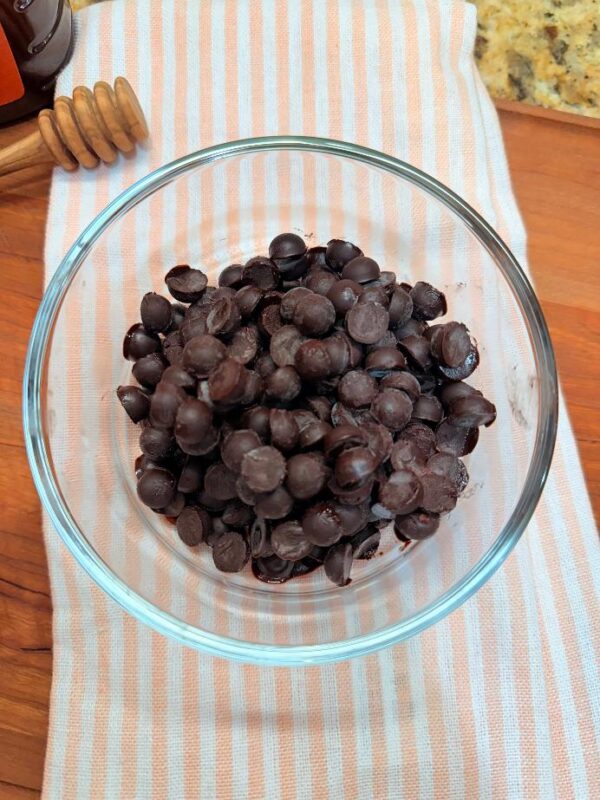
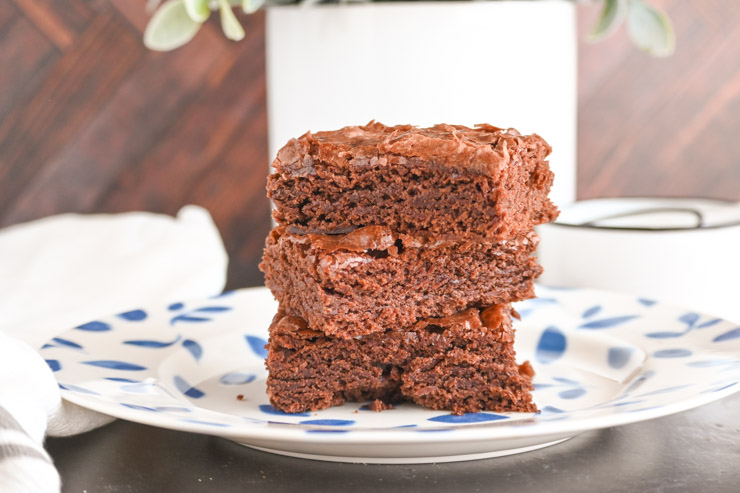
How to Make Homemade Chocolate Chips (Simple & Budget-Friendly)
Make homemade chocolate chips with simple ingredients and honey. Easy, natural, and perfect for baking. They are also cost effective.
-
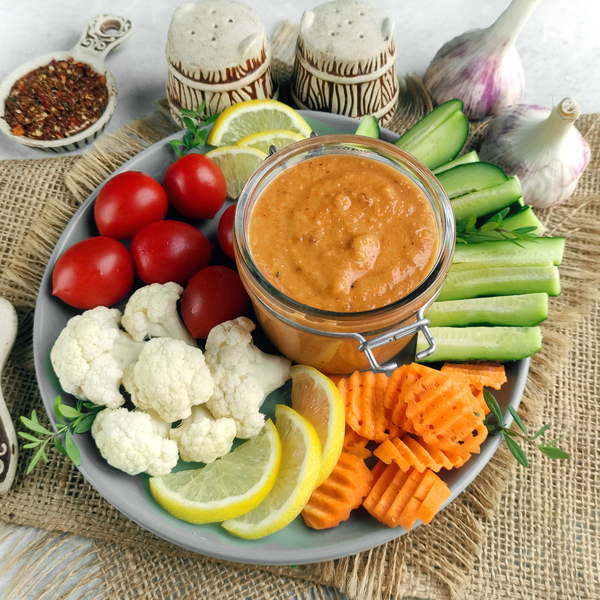
Homemade Thai Peanut Sauce Recipe (Better Than Takeout)
Make homemade Thai peanut sauce that’s creamy, flavorful, and better than takeout. Perfect for noodles, chicken, and veggies.
-
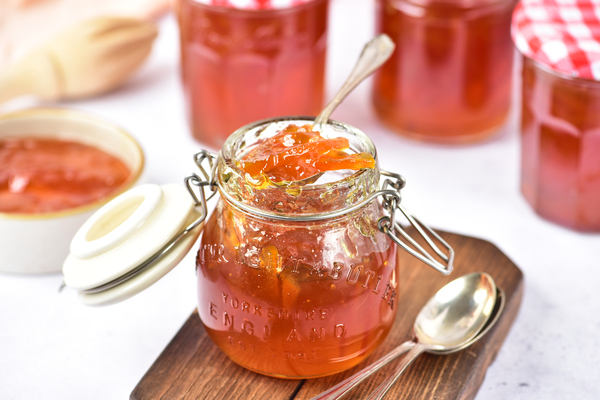
How to Make Homemade Orange Marmalade from Scratch
Learn how to make orange marmalade from scratch with fresh citrus. Sweet, tangy, and perfect for toast or gifts.
-
How to Make Homemade Buttermilk (Perfect for Baking)
Learn how to make homemade buttermilk in minutes. A simple, perfect substitute for baking and everyday recipes.