Homemade Bread Crumbs

Homemade Bread Crumbs take just one ingredient and come together quickly. They are simple, frugal, and perfect for homestead kitchens. You can make a large batch with very little time or cost. Add a few seasonings, and you have Italian-style bread crumbs, too.
Making your own bread crumbs helps reduce food waste. Day-old bread works perfectly for this recipe. Instead of tossing stale slices, turn them into a useful pantry staple. This is one of those old-fashioned kitchen habits that simply makes sense.
- Prep Time: 5 minutes
Cook Time: 15 minutes
Rest Time: 10 minutes
Yields: 2 cups (may vary slightly based on bread used)

Ingredients
For Regular Bread Crumbs
- 4 cups cubed white or brown bread (about 6 slices)
For Italian-Style Bread Crumbs
- 2 cups bread crumbs
- 2 tablespoons Italian seasoning
- 1 teaspoon garlic powder
- 1 teaspoon onion powder
- ½ teaspoon salt

Items Needed
- Standard baking sheet
- Food processor
How to Make Homemade Bread Crumbs
Preheat your oven to 300°F.
Place the cubed bread into a food processor. Blend for 20 to 30 seconds. Pause every 10 seconds if needed. The crumbs should be slightly larger than your desired texture. They will shrink a bit during baking.
Spread the crumbs evenly on an ungreased baking sheet. Bake for 5 minutes. Stir gently to promote even drying.
Bake another 5 minutes and then stir the crumbs again. Then bake for a final 5 minutes. The crumbs should feel dry but not browned.
Remove the pan from the oven. Let the crumbs cool in the pan for 10 minutes. Once cooled, they are ready to use or store.


How to Make Italian-Style Bread Crumbs
Place 2 cups of prepared bread crumbs in a mixing bowl. Sprinkle the Italian seasoning, garlic powder, onion powder, and salt over the top. Stir gently until well combined.
Store seasoned crumbs just as you would regular bread crumbs. Keep them sealed tightly to maintain freshness.


Why Make Homemade Bread Crumbs?
Making homemade bread crumbs saves money. Store-bought versions often cost more than a loaf of bread. This recipe stretches your grocery budget.
You also control the ingredients. There are no preservatives or unnecessary additives. This is especially helpful for families avoiding certain ingredients.
Another benefit is flexibility. You can adjust the crumb size to fit your recipe. Make them fine for meatballs or coarser for casseroles. You can even experiment with different seasonings.

What Can I Do With Homemade Bread Crumbs?
Homemade bread crumbs are a simple, versatile pantry staple. They add texture, structure, and flavor to many dishes. They are also a great way to use stale bread, loaf ends, or leftover buns.
One of their most common uses is as a crispy coating. They create a golden crust on mozzarella sticks, chicken, fish, seafood, and vegetables. Dip food in flour, then egg, and press into seasoned crumbs before cooking.
Bread crumbs also act as a binding agent. They help hold together meatballs, meatloaf, burgers, and vegetarian patties. They improve texture and help retain moisture.
As a topping, they add crunch to casseroles, macaroni and cheese, and vegetable bakes. Toasted in butter or oil, they can be sprinkled over/in pasta, soups, sauces, or salads for extra flavor.
They also work well in fillings for stuffed vegetables and rolled meats. In addition, bread crumbs can thicken soups and sauces. They even appear in desserts like fruit crumbles and bread pudding.
Keeping homemade bread crumbs on hand reduces waste and stretches your grocery budget.

Homemade Bread Crumb Tips
Store bread crumbs in an airtight container. Keep them in a cool, dry pantry for up to 2 weeks. They often last longer, but two weeks is a safe guideline.
Avoid storing them in the fridge or freezer. Moisture can ruin their texture. Dry storage keeps them crisp and ready to use.
Regular white sandwich bread works great for this recipe. Any white bread can be used, including gluten-free varieties. Just match the measurements to keep the yield consistent.
Brown bread makes flavorful, fiber-rich bread crumbs. Keep in mind they will be darker in color and may toast faster than white bread crumbs. Brown bread works wonderfully for breading fish or chicken, giving a deeper color and rustic flavor. It also makes a hearty topping for casseroles.
Moisture content varies by brand. Your final yield may differ slightly. Usually, the difference is minimal.

Homemade Bread Crumbs
Making your own bread crumbs helps reduce food waste. Day-old bread works perfectly for this recipe. Instead of tossing stale slices, turn them into a useful pantry staple. This is one of those old-fashioned kitchen habits that simply makes sense.
Ingredients
- For Regular Bread Crumbs
- 4 cups cubed white bread (about 6 slices)
- For Italian-Style Bread Crumbs
- 2 cups bread crumbs
- 2 tablespoons Italian seasoning
- 1 teaspoon garlic powder
- 1 teaspoon onion powder
- ½ teaspoon salt
Instructions
Preheat your oven to 300°F.
Place the cubed bread into a food processor. Blend for 20 to 30 seconds. Pause every 10 seconds if needed. The crumbs should be slightly larger than your desired texture. They will shrink a bit during baking.
Spread the crumbs evenly on an ungreased baking sheet. Bake for 5 minutes. Stir gently to promote even drying.
Bake another 5 minutes and stir again. Then bake a final 5 minutes. The crumbs should feel dry but not browned.
Remove the pan from the oven. Let the crumbs cool on the pan for 10 minutes. Once cooled, they are ready to use or store.
How to Make Italian-Style Bread Crumbs
Place 2 cups of prepared bread crumbs in a mixing bowl. Sprinkle the Italian seasoning, garlic powder, onion powder, and salt over the top. Stir gently until well combined.
Store seasoned crumbs just as you would regular bread crumbs. Keep them sealed tightly to maintain freshness.
Notes
Store bread crumbs in an airtight container. Keep them in a cool, dry pantry for up to 2 weeks. They often last longer, but two weeks is a safe guideline.
Avoid storing them in the fridge or freezer. Moisture can ruin their texture. Dry storage keeps them crisp and ready to use.
Regular white sandwich bread works great for this recipe. Any white bread can be used, including gluten-free varieties. Just match the measurements to keep the yield consistent.
Moisture content varies by brand. Your final yield may differ slightly. Usually, the difference is minimal.
-
Baking | Cook | Desserts | Homemade Pantry
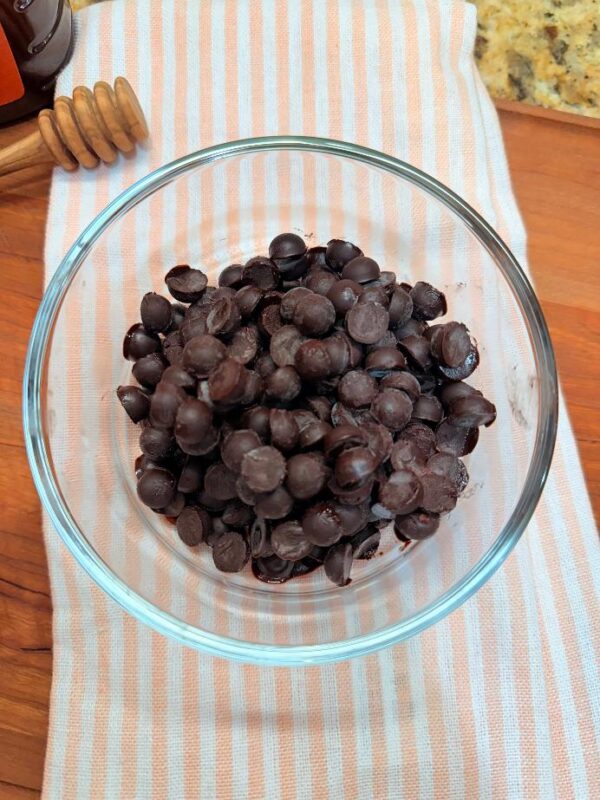
How to Make Homemade Chocolate Chips (Simple & Budget-Friendly)
Make homemade chocolate chips with simple ingredients and honey. Easy, natural, and perfect for baking. They are also cost effective.
-
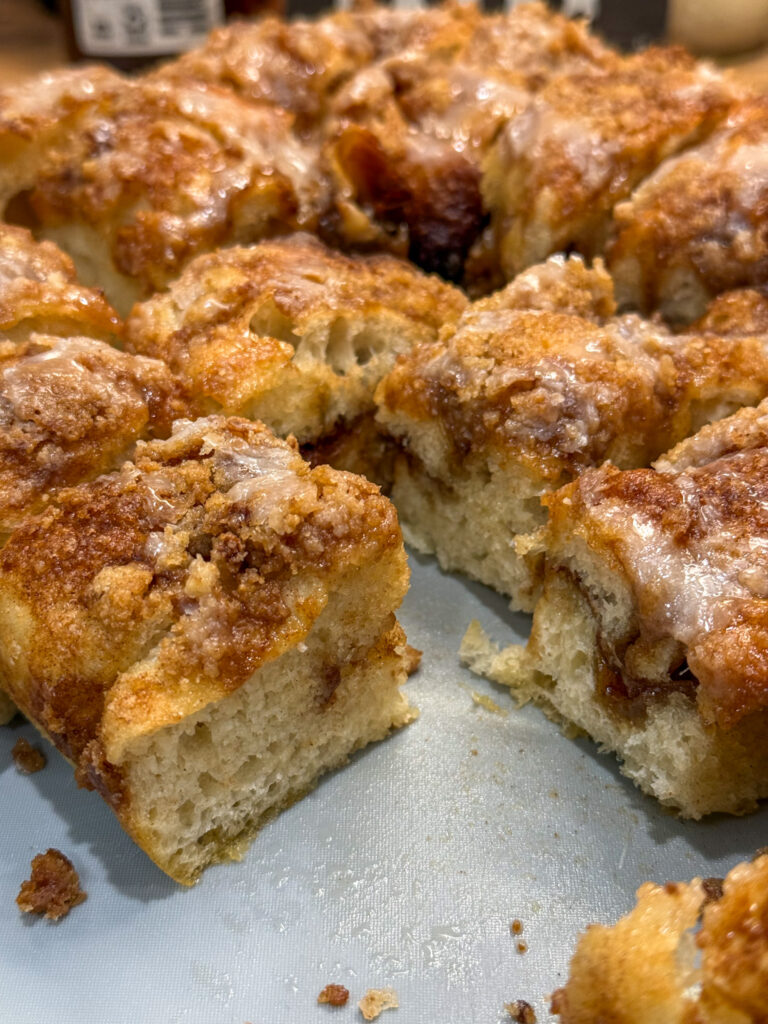
Cinnamon Roll Focaccia Bread Recipe (Better Than Cinnamon Rolls!)
Try this cinnamon roll focaccia recipe with buttery cinnamon filling, crumble topping, and sweet icing. Better than cinnamon rolls.
-
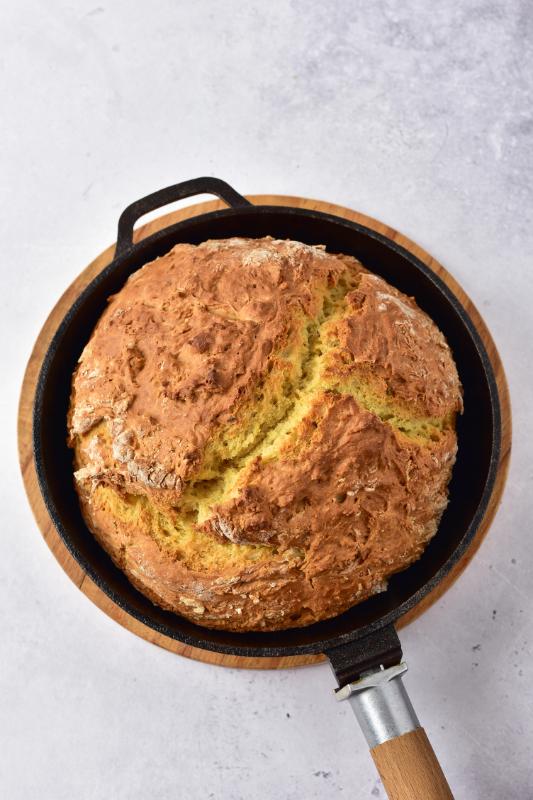
How to Make Traditional Irish Soda Bread at Home
This easy Irish soda bread recipe brings old-fashioned comfort to your homestead kitchen. The loaf bakes with a golden crust, tender center, and rich buttery flavor. Simple pantry ingredients and a quick mixing method make this bread perfect for busy days. Serve warm slices with soup, stew, or fresh butter straight from the table.
-
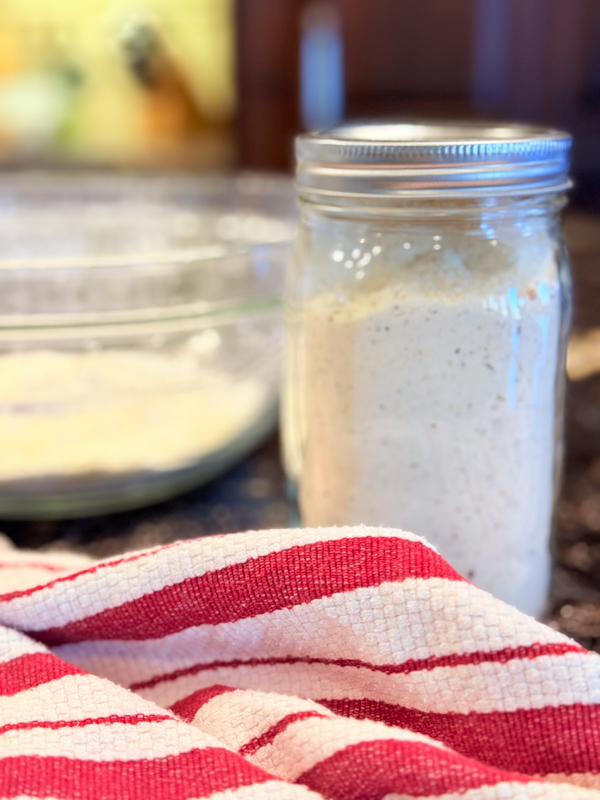
How to Make Homemade Buttermilk (Perfect for Baking)
Learn how to make homemade buttermilk in minutes. A simple, perfect substitute for baking and everyday recipes.
-
Homemade Hot Dog Buns (Soft and Easy Homestead Recipe)
These homemade hot dog buns bake up soft, golden, and perfect for any backyard meal. The dough comes together with simple ingredients and a gentle rise that keeps each bun tender. They hold their shape without feeling heavy, making them ideal for hot dogs, sausages, or easy weeknight sandwiches.
-
Freezer-Friendly Egg Bites
These freezer-friendly egg bites are a simple, protein-packed breakfast you can make ahead for busy mornings. Blended with cottage cheese and filled with spinach, bell pepper, and onion, they bake up tender and reheat beautifully. Store them in the fridge for the week or freeze for a quick, nourishing meal anytime.