Instant Pot Ricotta and Hummus: Homemade Kitchen Staples
Instant Pot ricotta and hummus are the two kitchen projects in Part 4 of this series. Use the appliance to heat milk for ricotta or cook dried chickpeas before blending hummus. The printable recipes below cover each project separately.
Explore the Instant Pot series: Beans, broth and everyday staples (Part 1) · Jam, bread dough and chicken (Part 2) · Vegetables and grains (Part 3) · Ricotta and hummus (Part 4) · Syrups and desserts (Part 5)
Jump to: Instant Pot Ricotta Cheese · Easy Homemade Hummus Recipe
As an Amazon Associate I earn from qualifying purchases.
Whether you’re stocking your refrigerator with homemade staples or looking for new ways to stretch your grocery budget, these Instant Pot recipes deserve a place in your regular meal rotation.
22. Make Homemade Ricotta Cheese
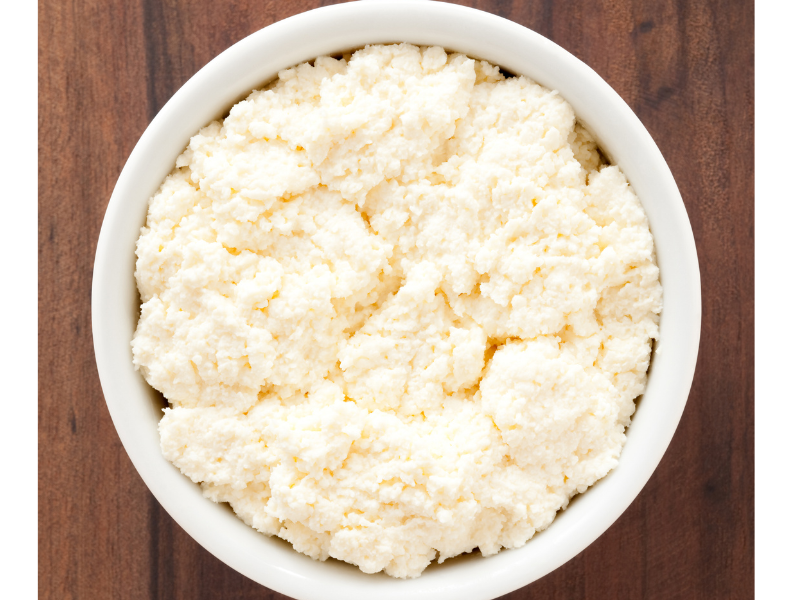
Fresh ricotta cheese is surprisingly easy to make, and the Instant Pot takes much of the guesswork out of the process. Instead of purchasing containers from the grocery store, you can transform a few simple ingredients into soft, creamy cheese that’s perfect for both sweet and savory recipes.
One of the must-know Instant Pot uses is making homemade cheeses with very little equipment. Ricotta requires only milk, an acid such as lemon juice or white vinegar, and a little salt. As the milk heats, the acid causes the proteins to separate into soft curds and whey. After draining the whey, you’re left with fresh ricotta that tastes noticeably better than many store-bought brands.
Making ricotta at home also allows you to control the texture. Drain it briefly for a soft, creamy consistency or a little longer for a firmer cheese that’s easier to spread or use in baking. Because it’s made fresh, the flavor is mild, clean, and incredibly versatile.
Homemade ricotta freezes well for many cooked recipes, but it’s at its best when enjoyed fresh. Store it in an airtight container in the refrigerator and use it within a few days for the best flavor and texture.
Instant Pot Ricotta Cheese
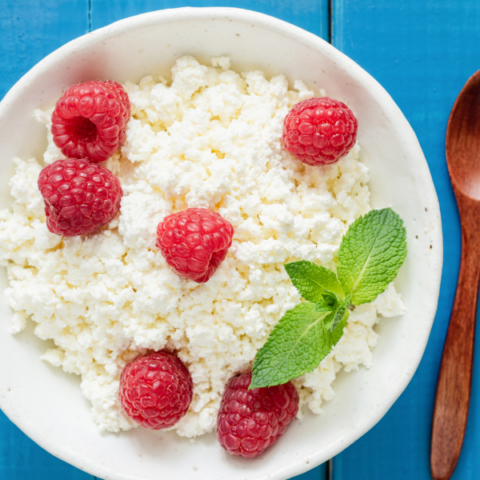
Fresh, creamy ricotta made right in the Instant Pot. Just heat the milk, add lemon juice or vinegar, let the curds form, and drain. Simple, reliable, and perfect for pasta, desserts, or spreads
Ingredients
- 1 gallon whole milk
- ¼ cup fresh lemon juice or distilled white vinegar
- 1 teaspoon salt
Instructions
Pour the milk into the Instant Pot.
Press the Yogurt button and select the Boil setting.
When the cycle ends, check that the milk has reached about 180°F.
Turn off the Instant Pot and slowly stir in the lemon juice or vinegar.
Let the mixture rest for 20 to 30 minutes while the curds form.
Line a colander with cheesecloth and carefully pour in the mixture.
Allow the whey to drain for 10 to 20 minutes, depending on your preferred texture.
Stir in the salt and refrigerate until ready to use.
Notes
Whole milk gives the best yield —Low fat milk makes drier ricotta.
Lemon juice = softer curds
Vinegar=firmer curds.
Rest time is essential for the full formation or your curds.
Drain time controls texture:
10 minutes makes it soft and spreadable
20 minutes makes it firmer which is great for lasagne
Save the whey for bread, pancakes, soups, or smoothies.

Delicious Ways to Use Homemade Ricotta
Fresh ricotta works well in countless recipes.
Here are some fun, delicious ways to try it:
- Spread on toasted sourdough with honey
- Layered into lasagna
- Mixed into stuffed pasta shells
- Dolloped onto pizza
- Served with fresh berries
- Added to pancakes or waffles
- Blended into creamy pasta sauces
- Spoonfuls over roasted vegetables
Its mild flavor also pairs beautifully with herbs like basil, thyme, parsley, and chives from the garden.
23. Cook Dried Chickpeas for Homemade Hummus
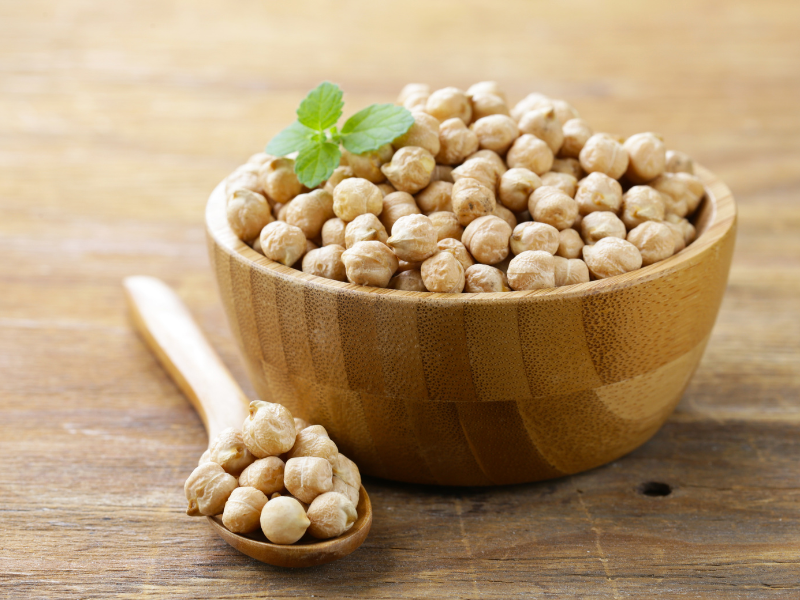
Dried chickpeas are one of the most affordable pantry staples you can keep on hand. They store for years, cost less than canned beans, and can be used in dozens of recipes. The Instant Pot makes preparing them easy, even if you forgot to soak them overnight.
One of the must-know Instant Pot uses is cooking dried chickpeas until they’re perfectly tender for homemade hummus. Pressure cooking the chickpeas creates soft beans that blend into a smooth, creamy dip with little effort. Cooking your own chickpeas also lets you skip the added sodium often found in canned beans.
Making hummus from scratch is surprisingly inexpensive. A single batch of dried chickpeas produces much more hummus than a typical store-bought container. You can also adjust the flavors to match your family’s preferences and avoid unnecessary preservatives.
Cook a large batch of chickpeas and freeze portions for future recipes. Besides hummus, they’re perfect for soups, salads, curries, grain bowls, and roasted snacks.
Amount: 3 cups cooked chickpeas = 1 cup dried chickpeas
Water: 1 cup dried chickpeas needs 3 cups water (1:3 ratio)
Cook Time (Instant Pot)
- Unsoaked chickpeas: 35 minutes on High Pressure + 10‑minute natural release
- Soaked chickpeas (8 hours): 20 minutes on High Pressure + 10‑minute natural release
Soaking gives a softer, creamier hummus, but both work.
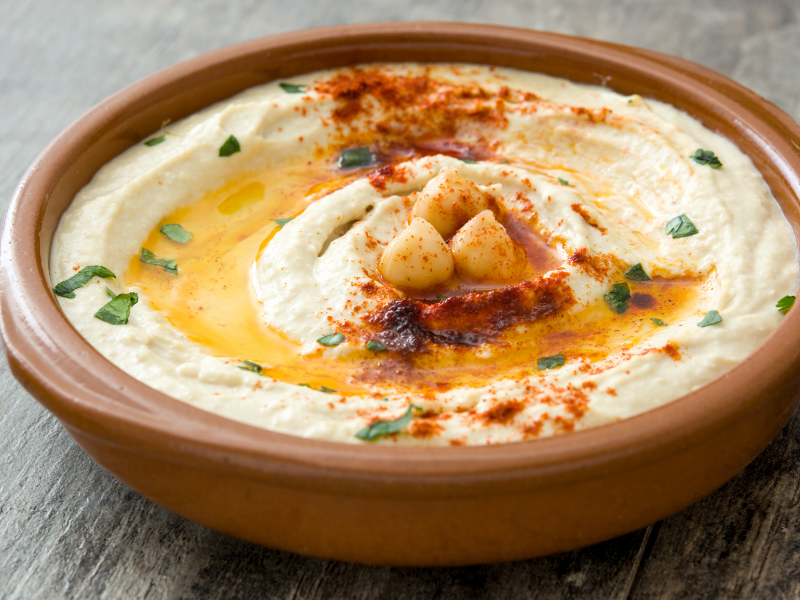
After cooking, let the chickpeas cool before blending. A countertop blender is an option for combining the hummus ingredients; follow its instructions and avoid blending hot ingredients in a sealed container.
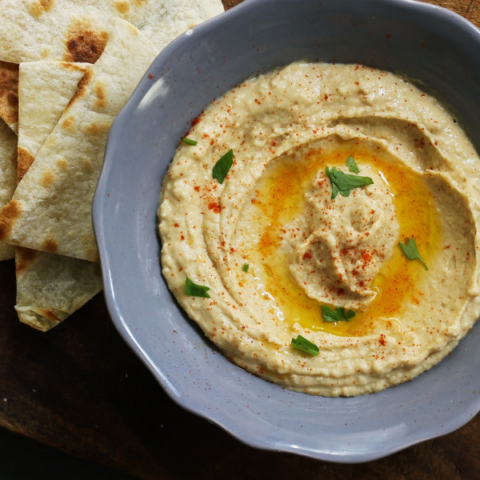
Easy Homemade Hummus Recipe
Hummus is a delicious way to enjoy the nutritional benefits of
chickpeas. With fiber, plant-based protein, and healthy fats, it
makes a satisfying dip, spread, or addition to meals.
Ingredients
- 3 cups cooked chickpeas
- ¼ cup tahini
- 2 tablespoons olive oil
- 2 tablespoons fresh lemon juice
- 2 cloves garlic
- ½ teaspoon ground cumin
- ½ teaspoon salt
- 2 to 4 tablespoons cold water
Instructions
Add all ingredients to a food processor.
Blend until mostly smooth.
Add cold water one tablespoon at a time until the hummus reaches your desired consistency.
Taste and adjust the seasoning.
Drizzle with olive oil before serving.
Garnish with a few cooked chickpeas and a sprinkle of cumin.
Notes
Four Easy Hummus Flavor Variations
Once you've mastered the basic recipe, you can try experimenting
with different flavors.
Roasted Garlic
Blend in one whole head of roasted garlic for a rich, mellow
flavor that pairs well with vegetables and sandwiches.
Roasted Red Pepper
Add one roasted red pepper and a pinch of smoked paprika for a
colorful, slightly sweet hummus.
Jalapeño Lime
Mix in one seeded jalapeño, extra lime juice, and chopped
cilantro for a fresh, zesty version that's perfect for tacos or
tortilla chips.
Everything Bagel
Sprinkle everything bagel seasoning into the hummus and on top
before serving. It adds garlic, onion, sesame seeds, plus a
satisfying crunch.
More Ways to Use Cooked Chickpeas
Cooked chickpeas are much more than a hummus ingredient.
Use them to make:
- Roasted chickpea snacks
- Homemade falafel
- Vegetable soups
- Curry dishes
- Pasta salads
- Grain bowls
- Chickpea salad sandwiches
- Protein-packed wraps
Keeping cooked chickpeas in the freezer makes meal preparation much faster throughout the week.
Continue to Syrups and Desserts
In Part 5, we’ll finish our 25 Must-Know Instant Pot Uses for Homesteaders series with even more creative ideas. You’ll learn how to make homemade herbal syrups, steam delicious desserts in your Instant Pot, and discover answers to frequently asked questions about getting the most from this versatile appliance. We’ll also wrap up the series with final homestead kitchen tips and resources to help you continue cooking more meals from scratch.
-
Instant Pot Syrups and Desserts: Mint & Bread Pudding
Finish the Must-Know Instant Pot Uses series with homemade herbal syrups, easy steamed desserts, helpful FAQs, and practical tips for saving time, money, and food in the kitchen.
-
Instant Pot Vegetables and Grains: 5 Kitchen Uses
Discover more Must-Know Instant Pot Uses for your homestead kitchen, including homemade tomato sauce, whole grains, sweet potatoes, fresh corn, and pumpkin purée. Learn simple ways to save time, use seasonal produce, reduce food waste, and get more value from your Instant Pot.
-
Creative Instant Pot Uses: Jam, Bread Dough & Chicken
Discover practical Instant Pot homestead uses that save time, reduce food waste, and simplify from-scratch cooking. From rendering tallow and making jam to proofing bread dough and cooking whole chickens, these creative ideas will help you get more value from one of the most versatile appliances in your kitchen.
-
Instant Pot Pantry Staples: Beans, Broth, Yogurt & More
Discover practical Must-Know Instant Pot Uses for your homestead kitchen, from making homemade yogurt and broth to cooking beans, preserving harvests, and reducing food waste. Learn how this versatile appliance can help you save time, stretch your grocery budget, and create more homemade staples from scratch.
-
Cook | Desserts | Instant Pot
Instant Pot Banana Bread in a Jar
Instant Pot Banana Bread in a Jar is a cozy, single‑serve treat made with simple ingredients and steady, even pressure‑cooking. These little jars cool quickly, store beautifully, and make an easy grab‑and‑go snack for busy homestead days.
-
Instant Pot Boiled Eggs Made Easy
Learn how to make Instant Pot Boiled Eggs perfectly every time with minimal prep and easy cleanup.