25 Must-Know Instant Pot Uses for Homesteaders (Part 2)
If you thought your Instant Pot uses were only for soups and stews, think again. This versatile appliance can help you save time, reduce food waste, and make the most of ingredients you already have on hand. In Part 1 of this series, we covered everything from homemade yogurt to steaming garden vegetables and making broth from kitchen scraps.
In Part 2, we’re sharing even more must-know Instant Pot uses that can simplify everyday tasks around the kitchen. Whether you’re preserving food, preparing homemade staples, or stretching your grocery budget, these ideas will help you get even more value from one of the hardest-working appliances in your home.
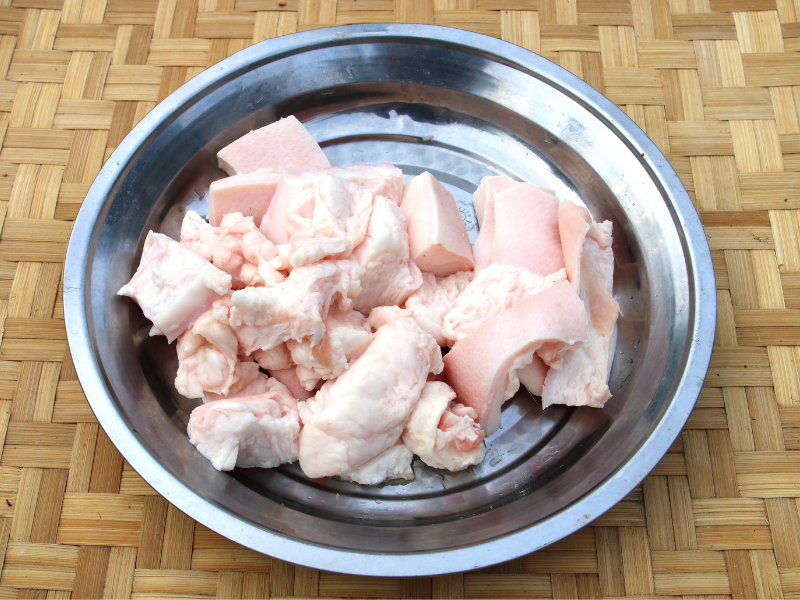
Render Homemade Tallow and Lard
Rendering your own cooking fat is an excellent way to reduce waste and make use of every part of the animal. Instead of discarding beef fat or pork fat, turn it into shelf-stable tallow or flavorful lard for cooking and baking.
The Instant Pot makes rendering much easier because it maintains a steady temperature without constant attention. Simply cut the fat into small pieces, add a splash of water, and cook until the fat melts completely. Strain out the solids and pour the liquid fat into clean jars.
Homemade tallow works well for frying, roasting vegetables, seasoning cast-iron cookware, and making homemade soap. Lard creates flaky pie crusts, tender biscuits, refried beans, and delicious fried foods.
Rendering your own fat also helps stretch your grocery budget while reducing waste in the kitchen.
Tips for Instant Pot Uses for Success
- Trim away any meat attached to the fat.
- Strain through cheesecloth for the cleanest result.
- Store rendered fat in the refrigerator or freezer for longer shelf life.
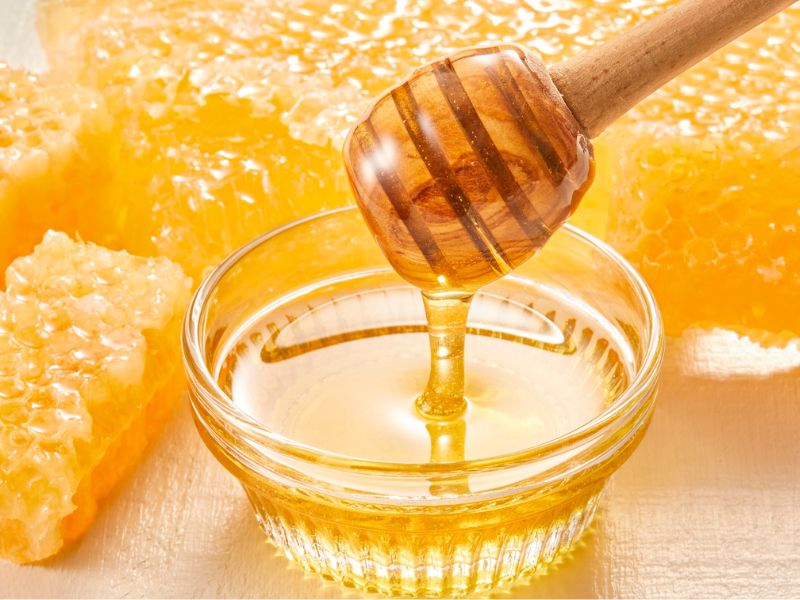
Soften Crystallized Honey
Honey crystallizes naturally over time, especially raw local honey. This doesn’t mean it has spoiled or gone bad. Its sugars have simply formed crystals.
One of the easiest Instant Pot tricks is gently warming crystallized honey. Add warm water to the pot, switch on Keep Warm, and set the sealed honey jar in the water until the crystals melt. Avoid boiling or high heat. Too much heat dulls the flavor and reduces some of the beneficial properties in raw honey.
Once you get it softened again, the honey will be perfect for baking, sweetening tea, drizzling over biscuits, making hot honey, or stirring into homemade yogurt.
Why This Works
Gentle heat restores honey’s smooth consistency while helping preserve its natural flavor.
Instant Pot Uses: Make Small-Batch Homemade Jam
Fresh fruit doesn’t have to go to waste when you have an Instant Pot. Small batches of homemade jam are perfect when your garden produces just a few extra cups of berries, peaches, or plums.
Pressure cooking quickly softens the fruit, making it easy to mash into a spreadable consistency. Add sugar, lemon juice, and pectin if desired, then finish the jam on the sauté setting until it thickens.
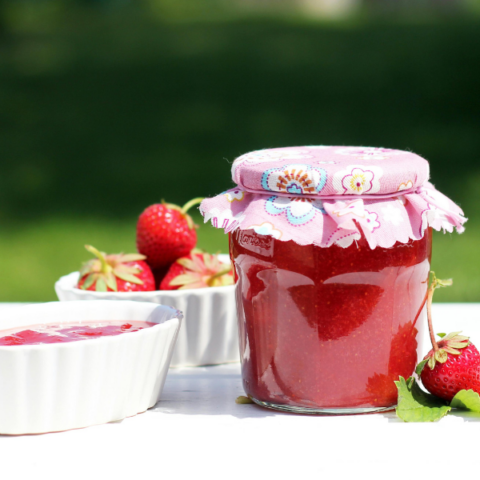
Small-Batch Instant Pot Mixed Berry Jam
This easy small-batch jam is perfect when you have a few cups of
fresh berries to use up. It cooks quickly in the Instant Pot and
stores well in the refrigerator, making it ideal for everyday use.
This recipe is intended as a refrigerator or freezer jam
and is not for shelf-stable canning.
Ingredients
- 4 cups fresh or frozen mixed berries (strawberries, blueberries, raspberries, or blackberries)
- ½ cup granulated sugar (adjust to taste)
- 2 tablespoons lemon juice
- 1 teaspoon lemon zest (optional)
- 2 tablespoons chia seeds or
- 1 tablespoon cornstarch mixed with 2 tablespoons cold water (for a smoother jam)
Instructions
Add the berries, sugar, lemon juiceand lemon zest to the Instant Pot.
Stir gently to combine.
Secure the lid and set the valve to Sealing.
Pressure cook on High for 2 minutes.
Allow a 10-minute natural pressure release, then carefully release any remaining pressure.
Mash the fruit with a potato masher for a chunky jam or use an immersion blender for a smoother texture.
Turn on the Sauté function.
Stir in the chia seeds, or add the cornstarch slurry if using.
Simmer for 3–5 minutes, stirring often, until the jam thickens.
Remove from heat and let cool completely. The jam will continue to thicken as it cools.
Notes
Prep Time: 10 minutes
Cook Time: 20 minutes
2 minutes pressure cooking
10 minutes natural pressure release
3–5 minutes on Sauté to thicken
Time to come to pressure
Additional Time: 30 minutes
Cooling and thickening time
Total Time: About 1 hour
Recipe Yield: 2 to 2½ cups (about 2 half-pint jars)
Flavor Variations
Try one of these easy combinations:
Strawberry Vanilla:
Add 1 teaspoon vanilla extract after cooking.
Blueberry Lemon:
Increase the lemon zest to 2 teaspoons.
Peach Cinnamon:
Replace the berries with chopped peaches and add ½ teaspoon
cinnamon.
Blackberry Lavender:
Stir in ¼ teaspoon culinary lavender after pressure cooking.
Mixed Berry Mint: Add 1 tablespoon finely chopped
fresh mint after the jam cools slightly.
Storage
Store the jam in a clean glass jar with a tight-fitting lid in the refrigerator for up to 3 weeks. For longer storage, freeze in freezer-safe containers for up to 6 months, leaving about ½ inch of headspace for expansion.
Ways to Enjoy It
Spread this homemade jam on biscuits, toast, English muffins, or homemade sourdough bread. Stir it into yogurt or oatmeal, spoon it over pancakes and waffles, or use it as a filling for thumbprint cookies and pastries. It also makes a delicious topping for cheesecake, vanilla ice cream, or homemade cottage cheese.
Storage Tip
Refrigerator jam stays fresh for several weeks because it’s chilled, not preserved. Properly canned jam, on the other hand, can be stored for much longer—often a year or more—when you use approved, safe canning methods. The heat‑processing step creates a vacuum seal that protects the jam from spoilage, allowing it to sit on the shelf until you’re ready to open it. Once opened, even canned jam should be refrigerated and used within a few weeks.
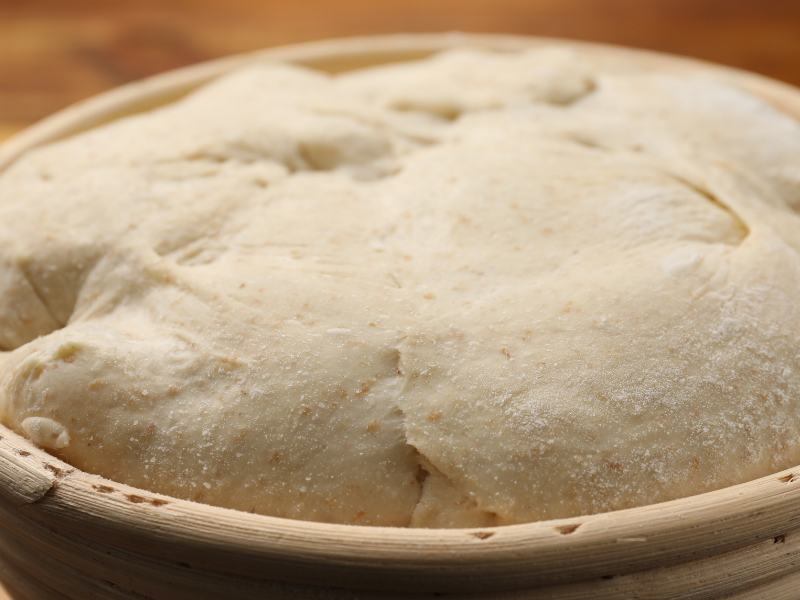
Proof Bread Dough Faster-Instant Pot Uses
Cold kitchens can make bread dough frustratingly slow to rise. Fortunately, the Instant Pot creates the perfect warm environment for proofing yeast dough.
After mixing your dough, lightly grease the Instant Pot liner and place the dough inside. Set it to Yogurt on the lowest temperature, or use the leftover warmth from another cooking cycle if your model allows.
The gentle warmth gives the yeast a little boost without getting your dough too hot. This can really speed up the rising time, especially on chilly days. This trick works well for sandwich bread, cinnamon rolls, dinner rolls, pizza dough, and more. A warm spot helps the dough rise evenly and gives you a lighter, better texture.
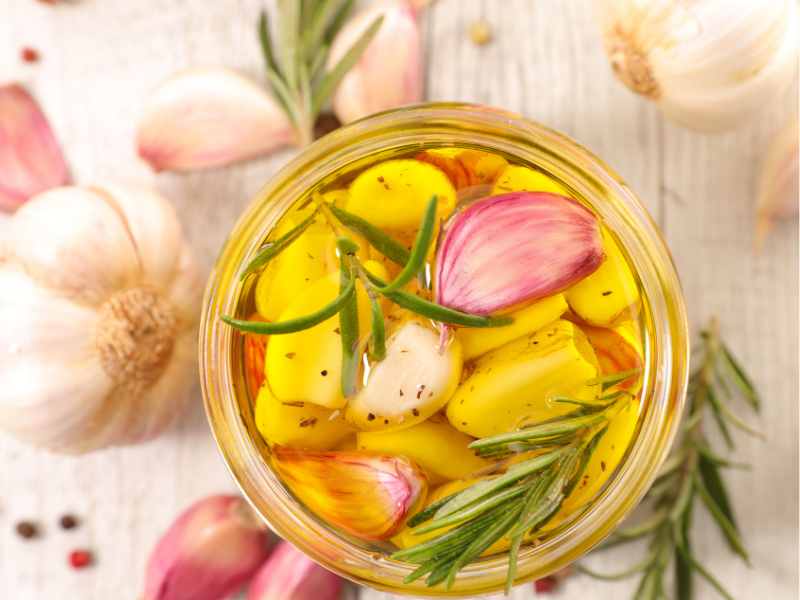
Instant Pot Uses: Make Flavorful Garlic Confit
Garlic confit sounds fancy, but it’s surprisingly simple to make.
Easy Instant Pot Garlic Confit
Garlic confit is a simple, flavorful condiment made by slowly cooking garlic cloves in olive oil until they become soft and spreadable.
Ingredients
- 2 cups peeled garlic cloves
- 1½ cups olive oil
- Fresh thyme or rosemary (optional)
- Salt and pepper (optional)
Instructions
- Place the garlic, olive oil, and optional herbs in a heat-safe bowl or jar.
- Add 1 cup of water to the Instant Pot and place the trivet inside.
- Set the bowl on the trivet and pressure cook on High for 5 minutes.
- Allow a 10-minute natural pressure release.
- Cool completely, then refrigerate in an airtight container.
Storage: Refrigerate and use within 4 days, or freeze for longer storage.
Whole garlic cloves cook slowly in oil until they become soft, buttery, and mildly sweet. The finished garlic spreads easily on bread and adds incredible flavor to mashed potatoes, pasta, vegetables, and roasted meats. The leftover garlic-infused oil is equally valuable. Drizzle it over roasted vegetables, homemade pizza, or salads.
Because garlic confit is stored in oil, always refrigerate it promptly and follow safe food handling practices. Enjoy it within a few days unless following a tested preservation method.
Easy Serving Ideas
- Spread on toasted sourdough
- Stir into mashed potatoes
- Add to pasta sauces
- Mix into salad dressings
- Spoon over roasted vegetables


Instant Pot Uses-Prepare Homemade Pet Food
Many pet owners enjoy making homemade meals or meal toppers for their dogs. The Instant Pot cooks meats, rice, oats, and vegetables quickly, making batch cooking much easier. Prepare several meals at once and freeze portions for later use.
Always work with your veterinarian before switching your pet to a homemade diet. Dogs and cats have different nutritional requirements, and balanced recipes are essential. Even if you don’t make complete meals, homemade toppers can add variety to your pet’s regular food.
Good Ingredients for Dogs
- Chicken
- Turkey
- Lean beef
- Brown rice
- Pumpkin
- Green beans
- Carrots
Always avoid foods that are toxic to pets, such as onions, garlic, grapes, raisins, chocolate, and xylitol.
Instant Pot Uses: Make Fresh Fruit Compotes
A quick Instant Pot compote is simple and hands‑off. You add fresh or frozen fruit to the pot, sprinkle in a little sugar or honey, and pour in a splash of water so the fruit can simmer under pressure. Cook for just a few minutes, then release the pressure and mash gently. The fruit breaks down into a warm, spoonable mixture that’s perfect for topping yogurt, pancakes, oatmeal, or ice cream.
Spice Options for Your Compotes
- Berry compote: cinnamon + vanilla + lemon zest
- Peach or apricot compote: ginger + cardamom + orange zest
- Apple or pear compote: cinnamon + nutmeg + cloves
- Cherry compote: star anise + vanilla + orange zest
- Plum compote: cardamom + star anise + a touch of clove
Mix and match fruits throughout the year to enjoy seasonal flavors. Fruit compotes make wonderful toppings for:
- Homemade yogurt
- Cottage cheese
- Pancakes
- Waffles
- Cheesecake
- Oatmeal
- Ice cream
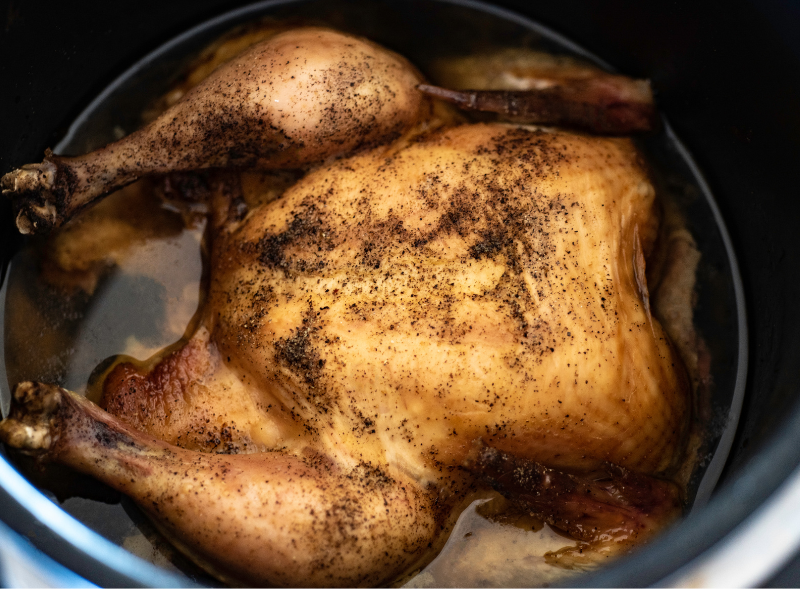
Cook a Whole Chicken in Less Time
Cooking a whole chicken in the Instant Pot saves both time and money. Whole chickens are often one of the most economical proteins available.
- Season the chicken with your favorite herbs and spices, set it on a trivet with one cup of chicken broth, and pressure cook until the meat turns tender, juicy, and easy to shred or slice.
- For a classic roast‑chicken flavor, use a mix of garlic powder, onion powder, paprika, thyme, rosemary, salt, and black pepper. These give the chicken a warm, savory taste similar to oven‑roasted poultry.
- If you want something brighter and more citrus‑forward, try lemon pepper, garlic, parsley, and finish with a squeeze of fresh lemon once the chicken is cooked. This keeps the flavor light and fresh.
- For a smoky barbecue style, rub the chicken with smoked paprika, chili powder, brown sugar, garlic powder, onion powder, salt, and pepper. The blend adds sweetness, smoke, and a little heat, giving the chicken a backyard‑BBQ feel even though it’s made in the pressure cooker.
- If you’re craving Mexican flavors, make a simple spice rub with 1 teaspoon each of chili powder, ground cumin, and smoked paprika, ½ teaspoon each of garlic powder, onion powder, and dried oregano, ½ teaspoon salt, and ¼ teaspoon black pepper. Rub the seasoning over the entire chicken before cooking. After it’s done, squeeze fresh lime juice over the chicken and sprinkle with chopped cilantro for a bright finish.
No matter which seasoning blend you choose, the Instant Pot locks in moisture and creates flavorful chicken that’s ready to enjoy in less time than traditional roasting.
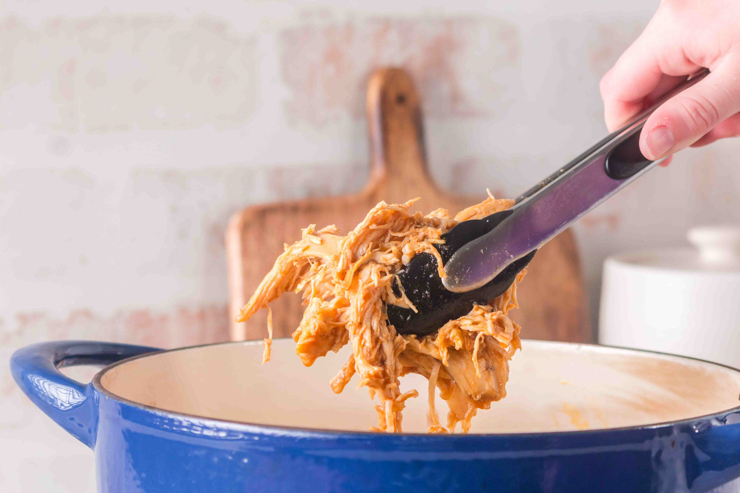
The cooked chicken can be used for several meals throughout the week.
Use the meat for:
- Chicken salad
- Soups
- Enchiladas
- Pot pies
- Tacos
- Sandwiches
- Pasta dishes
Don’t throw away the bones afterward. Return them to the Instant Pot and make a rich batch of homemade broth. This simple habit helps you get the most value from every chicken you buy.
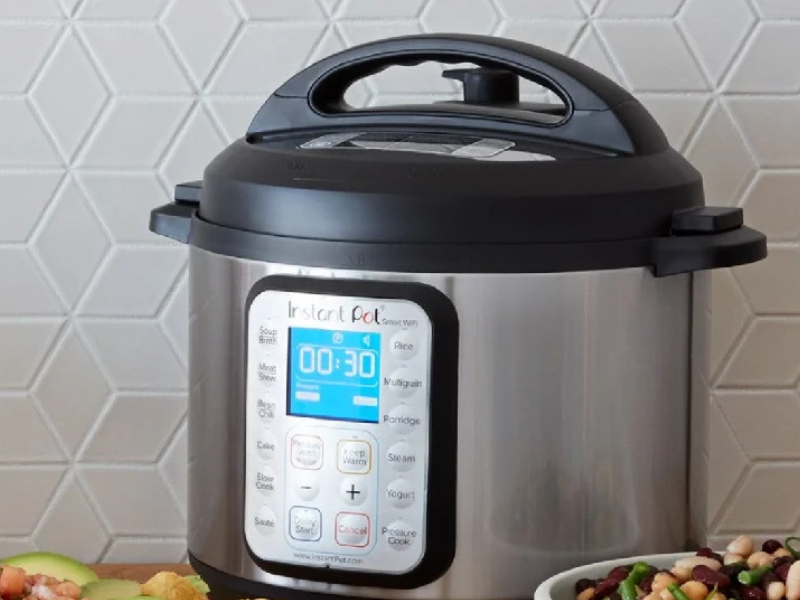
Why These Must-Know Instant Pot Uses Matter
The Instant Pot is more than a handy pressure cooker. It can help you make food from scratch, save money, and use ingredients that might otherwise go to waste. Check out some more Instant Pot recipes we’ve done.
Learning new ways to use one appliance can make cooking easier and reduce the need for extra kitchen gadgets. From making homemade jam and rendering cooking fat to proofing bread dough and cooking a whole chicken, the Instant Pot can handle many everyday tasks.
Don’t Miss Part 3!
We’ve covered even more creative ways to make the most of your Instant Pot, but we’re not finished yet. Part 3 of our “25 Must-Know Instant Pot Uses for Homesteaders” series will feature additional time-saving ideas, creative kitchen hacks, and practical recipes that help you waste less and cook more from scratch.
Be sure to check back for the next installment, where we’ll impress you with even more clever ways to put your Instant Pot to work in your kitchen.
-
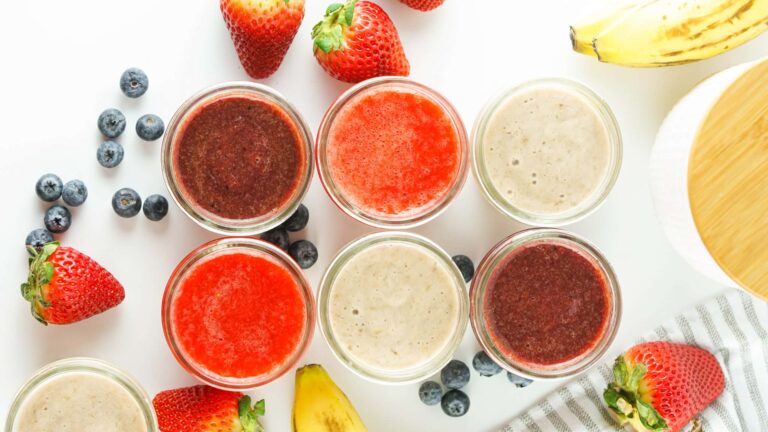
Homemade Stage 1 Baby Food with Fresh Fruit
Make homemade stage 1 baby food with fresh fruit and simple ingredients. Includes strawberry, blueberry and banana recipes.
-
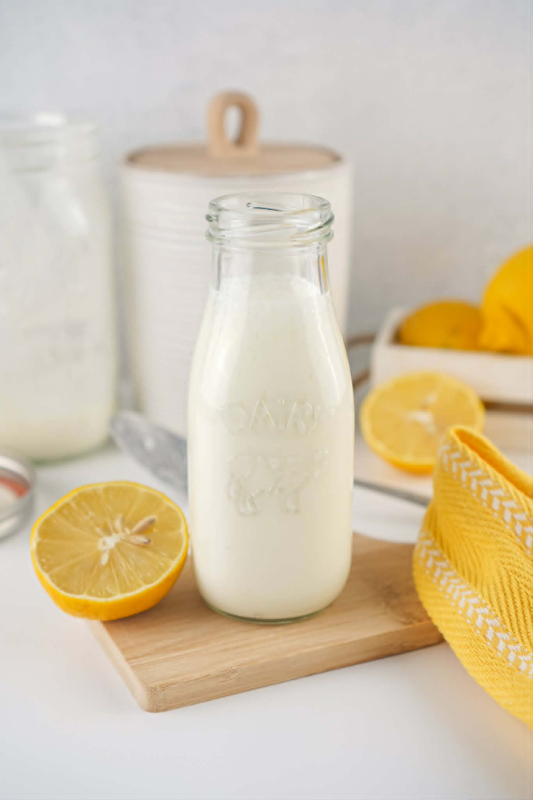
How to Make Homemade Buttermilk (Perfect for Baking)
Learn how to make homemade buttermilk in minutes. A simple, perfect substitute for baking and everyday recipes.
-
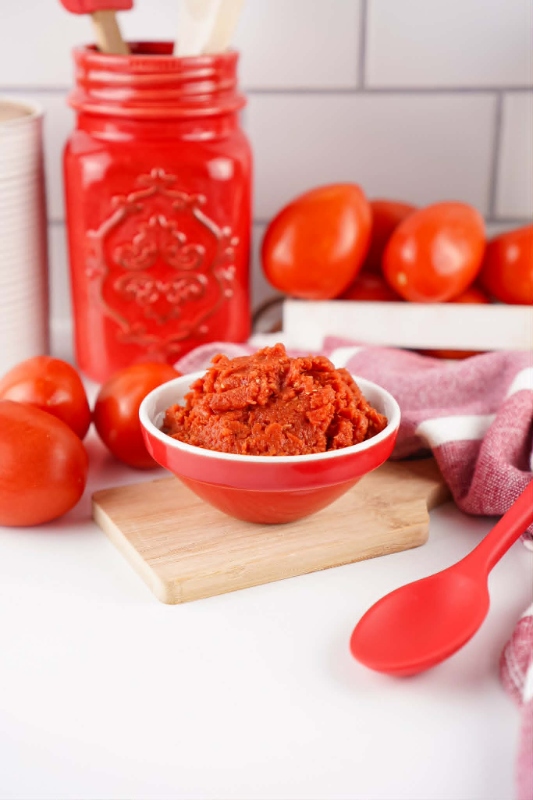
Easy Rustic Homemade Tomato Paste (No Additives)
Make rustic homemade tomato paste with fresh tomatoes. No additives, rich flavor, and perfect for preserving your garden harvest.
-
Homemade Hot Dog Buns (Soft and Easy Homestead Recipe)
These homemade hot dog buns bake up soft, golden, and perfect for any backyard meal. The dough comes together with simple ingredients and a gentle rise that keeps each bun tender. They hold their shape without feeling heavy, making them ideal for hot dogs, sausages, or easy weeknight sandwiches.
-
How to Freeze Homemade Stock
Freezing homemade chicken stock is a great way to preserve its flavor and nutrition. Let the stock cool completely, then strain out any solids. Pour into freezer-safe containers, leaving space for expansion. Ice cube trays or souper cubes are perfect for small portions. Once frozen, transfer cubes to a labeled freezer bag. Stock keeps well in the freezer for up to 6 months.
-
Make your own homemade pasta
Welcome to the delightful world of homemade pasta! If you’ve ever savored the taste of fresh pasta, you know there’s nothing quite like it. Making pasta from scratch may seem daunting, but it’s simpler than you think and deeply satisfying. In this post, we’ll guide you through the process, from flour to fork! The Joy…