Homemade Bug Bite Balm: A Natural Salve for Itchy Skin
When you’re living close to nature, bug bites come with the territory. Having a homemade bug bite balm on hand can bring instant relief—without the questionable ingredients found in store-bought products. Today, I’m sharing a simple recipe that’s perfect for any homesteader’s herbal medicine cabinet.

What Is a Bug Bite Balm or Salve?
Bug bite balms are soothing ointments made to relieve itching, inflammation, and irritation caused by insect bites. Unlike store-bought creams that may contain artificial fragrances or chemicals, homemade versions use natural, skin-nourishing ingredients to calm the skin and speed healing. Many herbalists use a base of infused oils and beeswax to create a balm that’s portable and easy to apply.

The Best Ingredients for Homemade Bug Balm
The magic of a good bug balm lies in the ingredients. Here’s why each one matters:
- Plantain Leaves: Known for their powerful anti-inflammatory and skin-healing properties, plantain is often called nature’s bandage.
- Calendula: A favorite for soothing skin irritations and promoting faster healing.
- Chickweed: Excellent for calming itching and cooling hot, irritated skin.
- Carrier Oil: This draws out the herbal properties and moisturizes the skin. Great options include olive oil, almond oil, or jojoba oil.
- Beeswax: Acts as a natural thickener while also creating a protective barrier over the skin. The best type of beeswax for making balms is pure, raw beeswax that is organic and unrefined. This ensures that it retains all its natural properties without any added chemicals or contaminants. Beeswax pellets or blocks are both good options, with pellets being easier to measure and melt.
- Essential Oils (Optional): A few drops of lavender, tea tree, or peppermint essential oil can offer additional soothing or antimicrobial benefits.
What Tools Do You Need to Make Bug Balm?
Making your own bug bite balm doesn’t require fancy equipment! Here’s what you’ll need:
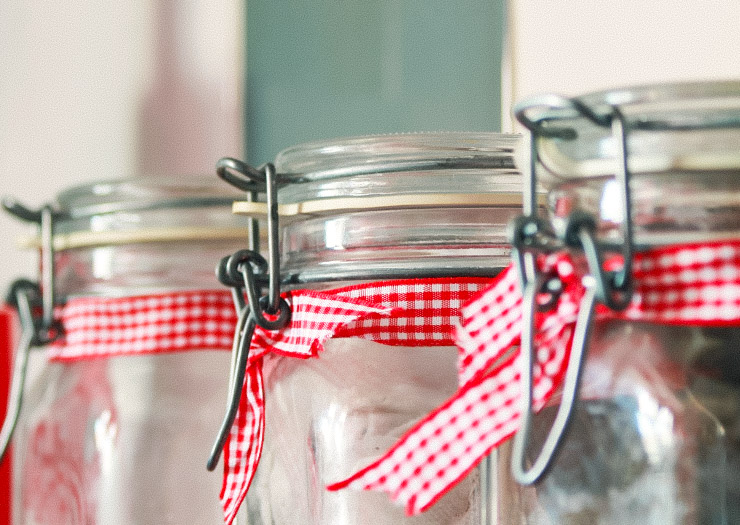
- A clean glass jar (for infusing your herbs)
- Double boiler (or a heat-safe bowl over a saucepan of simmering water)
- Fine mesh strainer or cheesecloth
- Small tins or containers for your finished balm
- Measuring cups and spoons
Keeping your tools clean and dry is essential to prevent bacteria, mold, or other contaminants from spoiling your balm. After each use, thoroughly wash and dry all utensils, containers, and mixing equipment to remove any residue or moisture. If tools are left damp or dirty, it creates an ideal environment for harmful microorganisms to grow, which can affect the quality and shelf life of your balm. Regularly sanitizing your tools and storing your balm in a cool, dry place will ensure its effectiveness and safety over time.

How to Make Homemade Bug Bite Balm
Here’s the full step-by-step recipe:
Ingredients
- Plantain leaves
- Calendula
- Chickweed
- Carrier oil of your choice (olive oil and almond oil work beautifully)
- ½ cup infused oil
- 1½ tablespoons beeswax
- 10 drops essential oil (optional)
- 2 oz tins for storage
Instructions
- Infuse the Oil: Place the dried plantain, calendula, and chickweed into a clean glass jar. Cover with your carrier oil and set it aside in a sunny window for about 6 weeks, shaking it gently every few days.
- Strain: After 6 weeks, strain the oil through a fine mesh strainer or cheesecloth into a clean container.
- Melt and Combine: In a double boiler, gently melt the infused oil and beeswax together. Stir occasionally until fully melted.
- Cool Slightly and Add Essential Oils: Remove from heat and let cool for a few minutes. Add your essential oil if using, and stir well.
- Pour and Set: Carefully pour the mixture into small tins or jars. Allow them to sit overnight or until completely solidified.
- Print: Print our printable recipe card.
How Long Will These Balms Last?
When stored in a cool, dry place, your homemade bug bite balm should last around 6 months to a year. The infused oil process naturally extends shelf life, but make sure to use clean hands or a clean applicator to avoid introducing bacteria.
Pro Tip: Adding a few drops of Vitamin E oil can also help prolong the freshness of your balm.

Tips for Customizing Your Balms
- Carrier Oil Options: Try different oils depending on your skin needs. For sensitive skin, jojoba or grapeseed oil are great choices.
- Essential Oil Blends: Lavender and chamomile are wonderful for calming; tea tree and eucalyptus offer added antibacterial benefits.
- Texture Tweaks: If you prefer a firmer balm for hot climates, add a little more beeswax. For a softer balm, use a little less.
Making your own bug bite balm is a simple, rewarding project that lets you take charge of what goes on your skin. Plus, it feels good to know you’re using the healing power of plants grown in your backyard or sourced naturally. Keep a tin in your gardening kit, purse, or RV for natural relief wherever life takes you!

Homemade Bug Bite Balm
Homemade bug bite balm made with natural, skin-nourishing ingredients. These balms offer a chemical-free alternative to store-bought creams.
Materials
- Plantain leaves
- Calendula
- Chickweed
- Carrier oil
- ½ cup infused oil
- 1 ½ tablespoons beeswax
- 10 drops essential oil (optional)
- 2 oz tins
Instructions
- Add the plantain leaves, calendula and chickweed into a glass jar. Pour your carrier over and infuse for 6 weeks before straining.
- Melt the infused oil and beeswax in a double broiler.
- Once melted, wait a few minutes for it to cool slightly before adding in your essential oil. Stir to combine.
- Pour into your tins and leave overnight or until solid.
Notes
Making homemade bug bite balms is a rewarding and natural way to care for your skin. With simple, nourishing ingredients like beeswax, infused oils, and essential oils, you can create a soothing balm that provides relief from itching and irritation. Whether you’re dealing with mosquito bites or other skin annoyances, this homemade remedy offers a chemical-free, effective solution. Plus, it’s easy to personalize with your favorite scents or healing herbs. Enjoy the peace of mind knowing you’re using a safe, all-natural product that you crafted yourself.
-
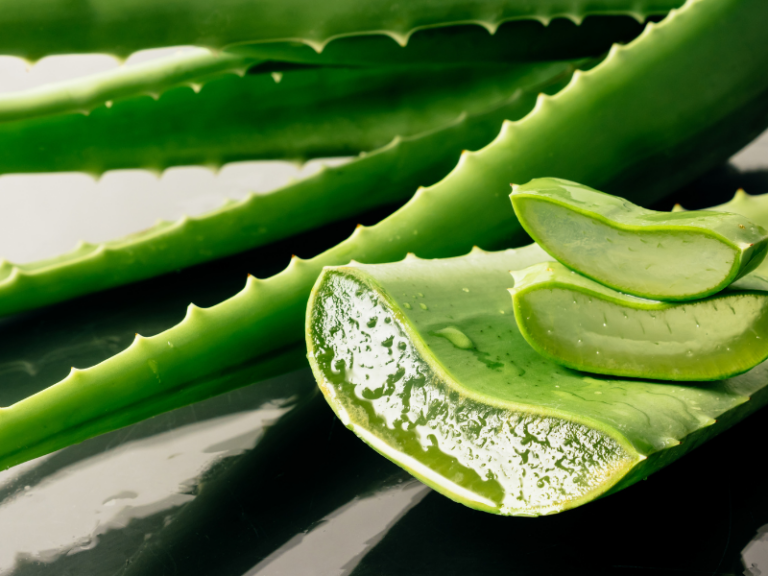
Growing Aloe Vera and Using It for Home Remedies
Learn how to grow aloe vera and use it for simple home remedies like burns, skin care, and natural healing.
-
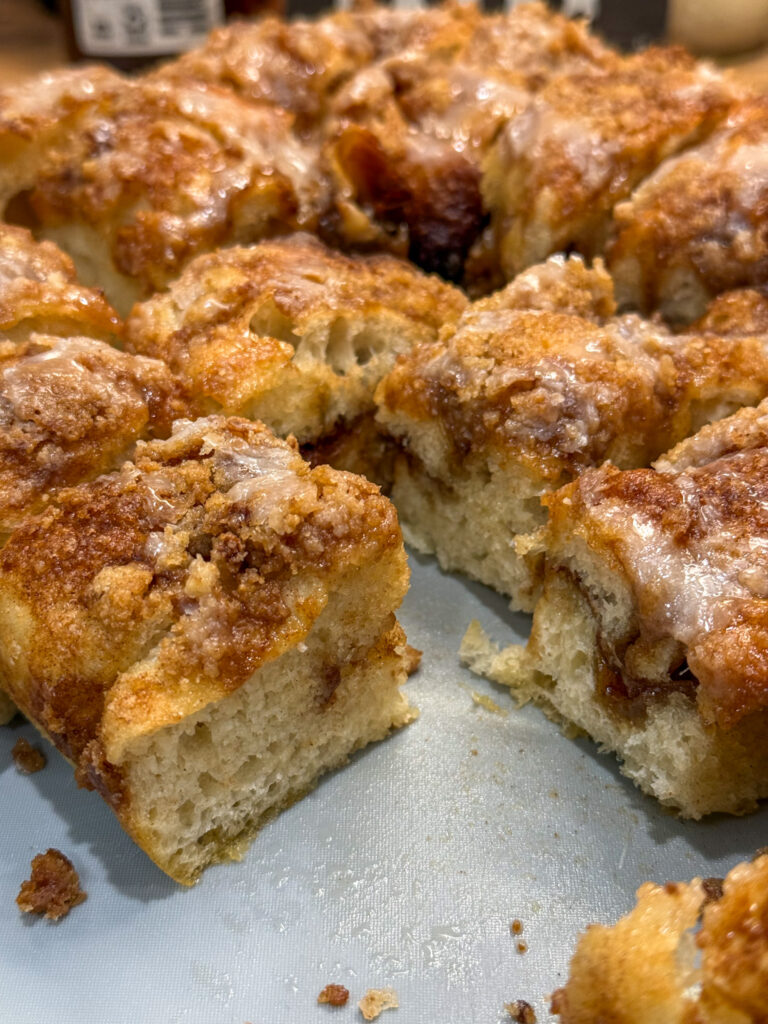
Cinnamon Roll Focaccia Bread Recipe (Better Than Cinnamon Rolls!)
Try this cinnamon roll focaccia recipe with buttery cinnamon filling, crumble topping, and sweet icing. Better than cinnamon rolls.
-
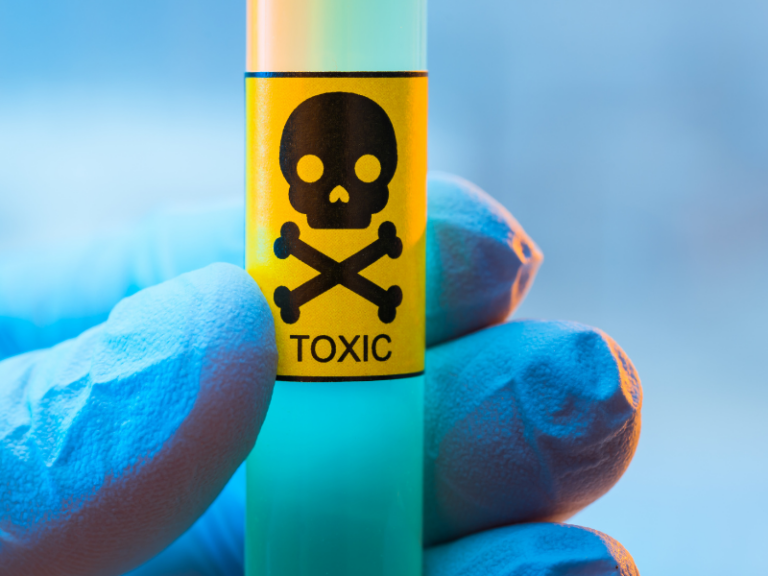
Heavy Metal Toxins: How to Avoid Them Naturally
Learn what heavy metal toxins are, common sources, and simple ways to reduce exposure naturally in your daily life.
-
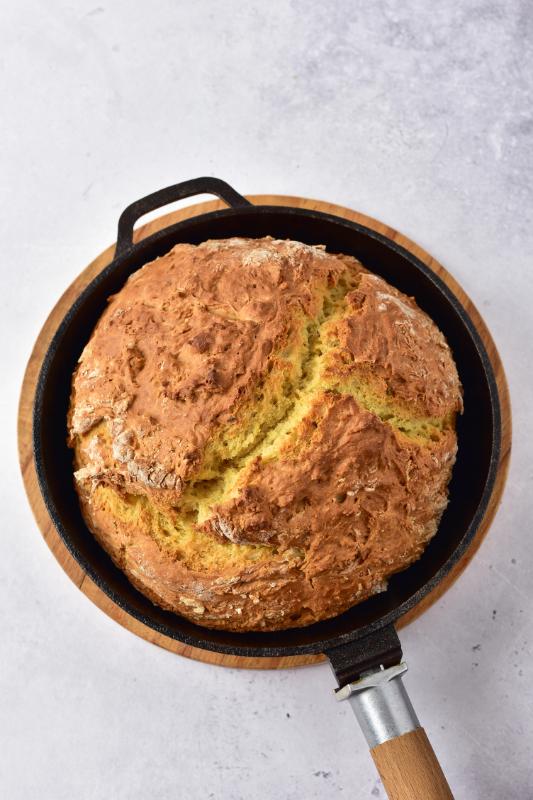
How to Make Traditional Irish Soda Bread at Home
This easy Irish soda bread recipe brings old-fashioned comfort to your homestead kitchen. The loaf bakes with a golden crust, tender center, and rich buttery flavor. Simple pantry ingredients and a quick mixing method make this bread perfect for busy days. Serve warm slices with soup, stew, or fresh butter straight from the table.
-
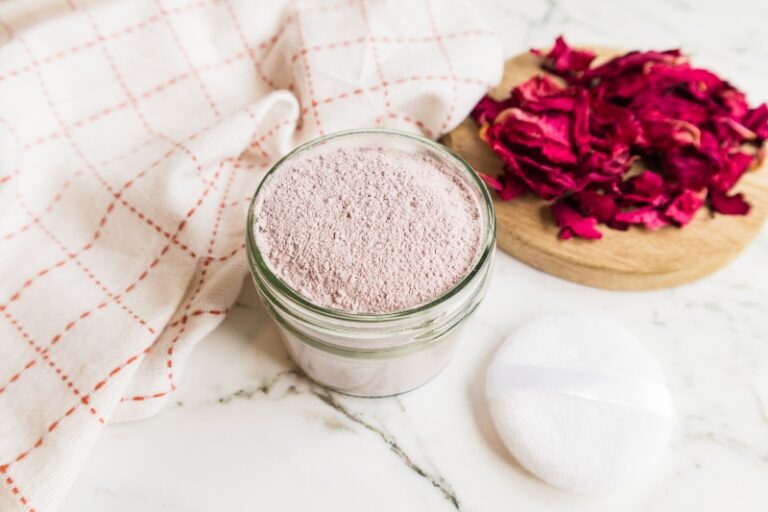
How to Make Homemade Rose Body Powder
Learn how to make homemade rose body powder with simple ingredients for naturally fresh, soft skin and a light floral scent.
-
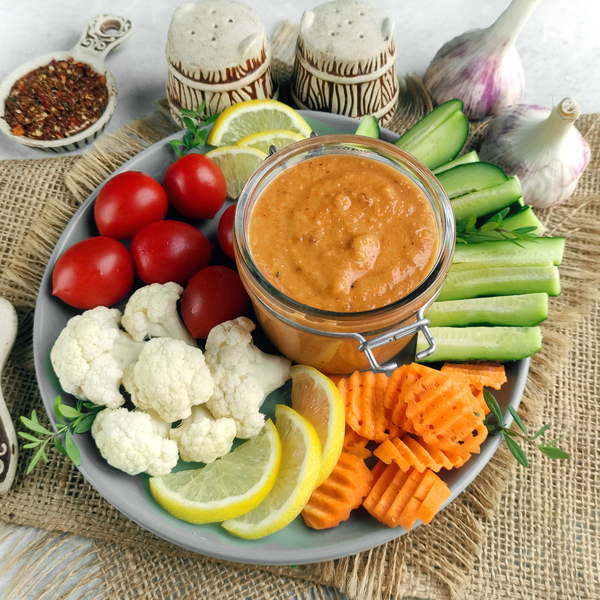
Homemade Thai Peanut Sauce Recipe (Better Than Takeout)
Make homemade Thai peanut sauce that’s creamy, flavorful, and better than takeout. Perfect for noodles, chicken, and veggies.