How to Make a Jelly Jar Soap Dispenser (Yes, We’re the First to Write It Down!)
You’ve probably seen it all over social media—those fun, satisfying videos of people turning Smucker’s jelly jars into adorable soap dispensers. It’s such a great upcycle project that adds a bit of vintage charm to any kitchen or bathroom. Keep reading to learn how to how to make a jelly jar soap dispenser.

But here’s the thing: when I searched online for actual written instructions… there were none! Everyone just assumes you’ll watch a quick video and figure it out. Well, I’m old school, and I like to have things written down—especially if I want to reference them later. I also noticed some of the videos leave out important steps or gloss over the tricky parts. So my daughter and I decided to make them ourselves, and now I’m sharing our step-by-step process with you.

This project is fun, easy, and completely customizable. You can use any soap you like—just be sure to choose the right pump for your soap type (foaming or regular).
Tools and Materials
- 1 empty jelly jar (we used a Smucker’s preserves one)
- 1 soap pump (can reuse one from an old dispenser or buy new)
- 1 paint brush
- Dishwasher-safe Mod Podge
- Drill with drill bit (size depends on your soap pump)
- Hot glue gun and glue sticks
- Your favorite soap
How to Make a Jelly Jar Soap Dispenser: Step-by-Step Instructions
Clean your jelly jar.
Use cold water and dish soap to wash out the jar. Avoid hot water—it can loosen or peel the label, and we want to keep that vintage look intact.


Drill a hole in the lid.
Using your drill, carefully make a hole in the center of the lid. The drill bit size will depend on the size of your soap pump’s neck. Go slow, and wear safety glasses if you have them.

Add your soap pump.
Push the soap pump down through the hole. Use hot glue underneath the lid to secure it in place. Let the glue cool and harden completely.

Fill the jar.
Pour in your favorite soap—regular or foaming, just make sure the pump matches the type.

Seal and protect the label.
Using your paintbrush, apply a layer of dishwasher-safe Mod Podge over the glass and label. This seals and waterproofs the label so it won’t peel when the jar gets wet. Let it dry completely.
Cure the Mod Podge.
To make your jar dishwasher safe, let the Mod Podge cure for 28 to 30 days. When washing, stick to the top rack only.

Enjoy your new jelly jar soap dispenser.
It’s cute, functional, and adds a touch of DIY charm to your space. Plus, you’re keeping a glass jar out of the landfill—win-win.
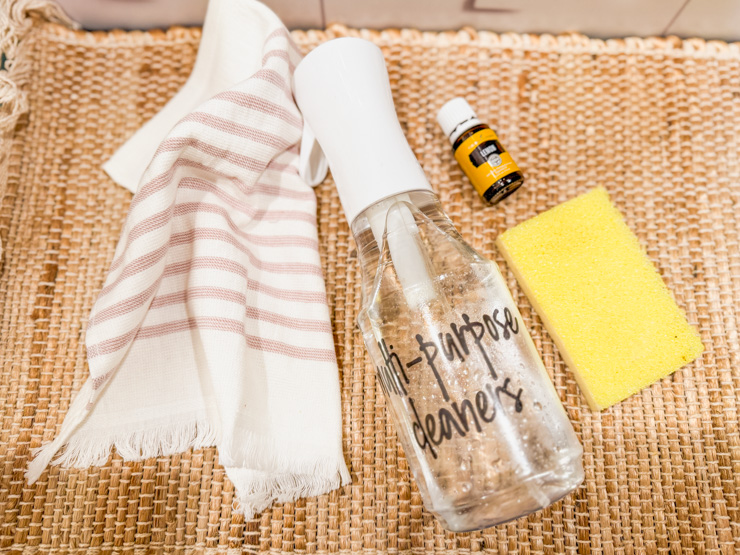
Whether you’re gifting these or keeping them for yourself, they’re sure to bring smiles every time someone washes their hands. Let me know if you make one—I’d love to see your version. Check out some of our other naturally homemade cleaners.

How to Make a Jelly Jar Soap Dispenser
Turn a Smucker’s jelly jar into a DIY soap dispenser with this fun and easy step-by-step tutorial.
Materials
- 1 empty jelly jar (we used a Smucker’s one)
- 1 soap pump (can reuse one from an old dispenser or buy new)
- 1 paint brush
- Dishwasher-safe Mod Podge
- Hot glue gun and glue sticks
- Your favorite soap
Tools
- Drill with drill bit (size depends on your soap pump)
Instructions
Clean your jelly jar : Use cold water and dish soap to wash out the jar. Avoid hot water—it can loosen or peel the label, and we want to keep that vintage look intact.
Drill a hole in the lid: Using your drill, carefully make a hole in the center of the lid. The drill bit size will depend on the size of your soap pump’s neck. Go slow, and wear safety glasses if you have them
Add your soap pump: Push the soap pump down through the hole. Use hot glue underneath the lid to secure it in place. Let the glue cool and harden completely.
Fill the jar: Pour in your favorite soap—regular or foaming, just make sure the pump matches the type.
Seal and protect the label: Using your paintbrush, apply a layer of dishwasher-safe Mod Podge over the glass and label. This seals and waterproofs the label so it won’t peel when the jar gets wet. Let it dry completely.
Cure the Mod Podge: To make your jar dishwasher safe, let the Mod Podge cure for 28 to 30 days. When washing, stick to the top rack only.
Enjoy!