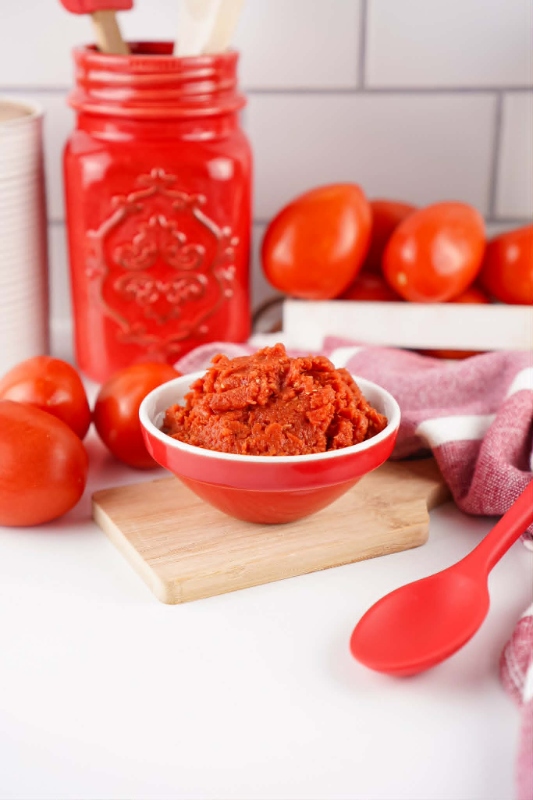
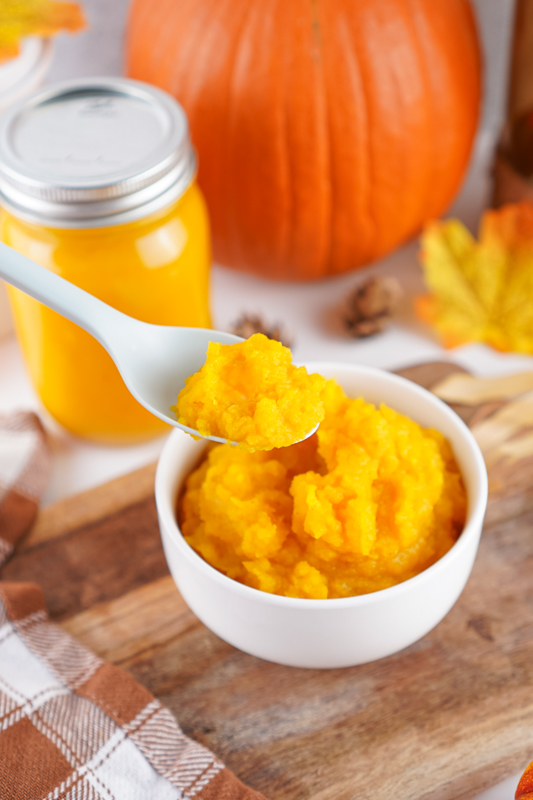
Skip the Can: How to Make Homemade Pumpkin Puree
As a backyard homesteader, I’m always looking for ways to save money and take control over what goes into the food my family eats. You don’t need a huge farm to start making things from scratch—just a little kitchen know-how and a pie pumpkin. This Homemade Pumpkin Puree is one of the easiest, most satisfying recipes you can do. It’s cheaper than store-bought, tastes better, and freezes beautifully for later.

Why I Make My Own Pumpkin Puree
Pumpkin puree at the store has gone up in price—just like everything else. And when you look at the label, it’s not always 100% pumpkin. Sometimes it’s a blend of other squashes. That might not bother some people, but I want to know exactly what’s in my food. If I’m making pumpkin bread, muffins, soup, or pie, I want real, fresh pumpkin. With this recipe, that’s exactly what you get.
Ingredients
- 1 8-inch pie pumpkin
Items Needed
- 9×13 baking sheet
- Parchment paper (or nonstick spray if you don’t have any)
Instructions
Preheat your oven to 375°F and line a 9×13 baking sheet with parchment paper. This helps prevent sticking and burning.
Cut the stem off the pumpkin, then slice the pumpkin in half from top to bottom. Scoop out the seeds and stringy bits—set those seeds aside if you want to roast them later.
Place the pumpkin halves on the pan, cut side down. This helps the pumpkin cook more evenly and keeps the inside nice and moist.
Bake for 45 minutes. Once done, pull it out and let it rest on the pan for 10 minutes. Don’t skip this step—cooling helps the flesh separate from the skin easily.
Scoop the cooked pumpkin out of the skin and either mash it with a fork or toss it in a blender. Blend until it’s smooth with no chunks.
Use immediately or store in an airtight container in the fridge for up to one week. You can also freeze it for up to three months. I like to freeze mine in 1-cup portions for easy recipe use.
Tips for Success
- If your pumpkin is larger or smaller, adjust your bake time by about 5 ½ minutes per inch in diameter.
- Don’t worry about perfection—this recipe is incredibly forgiving.
- You can use the puree just like canned pumpkin in any recipe, in the exact same amount.
- Not all pumpkins have the same amount of flesh. Some give you more, some less, even if they’re the same size.

How to Use Homemade Pumpkin Puree
This puree is perfect for:
- Pumpkin muffins and pumpkin pull-apart bread
- Pumpkin pie or pumpkin swirl cheesecake
- Pumpkin spice lattes
- Soups and sauces
- Homemade Pumpkin Dog treats
Once you taste homemade, it’s hard to go back to the can. And with prices the way they are right now, making it yourself just makes sense.
Want more from-scratch pantry ideas like this one? Be sure to subscribe to The Oklahoma Homesteader newsletter so you don’t miss a post. Whether you live on five acres or in a suburban backyard, you can take small steps every day toward self-sufficiency.

Homemade Pumpkin Puree
Ingredients
- 1 8-inch pie pumpkin
Instructions
- Preheat your oven to 375°F and line a 9x13 baking sheet with parchment paper. This helps prevent sticking and burning.
- Cut the stem off the pumpkin, then slice the pumpkin in half from top to bottom. Scoop out the seeds and stringy bits—set those seeds aside if you want to roast them later.
- Place the pumpkin halves on the pan, cut side down. This helps the pumpkin cook more evenly and keeps the inside nice and moist.
- Bake for 45 minutes. Once done, pull it out and let it rest on the pan for 10 minutes. Don’t skip this step—cooling helps the flesh separate from the skin easily.
- Scoop the cooked pumpkin out of the skin and either mash it with a fork or toss it in a blender. Blend until it’s smooth with no chunks.
- Use immediately or store in an airtight container in the fridge for up to one week. You can also freeze it for up to three months. I like to freeze mine in 1-cup portions for easy recipe use.