Fall Wax Melts Recipe with Essential Oils
There is something about the first hint of fall that makes me want the house to smell like cinnamon, cloves, and everything cozy. But as we’ve been making more intentional swaps around our home, I’ve also started paying more attention to what we’re using to create those scents. That’s one reason I like making my own Fall Wax Melts Recipe.
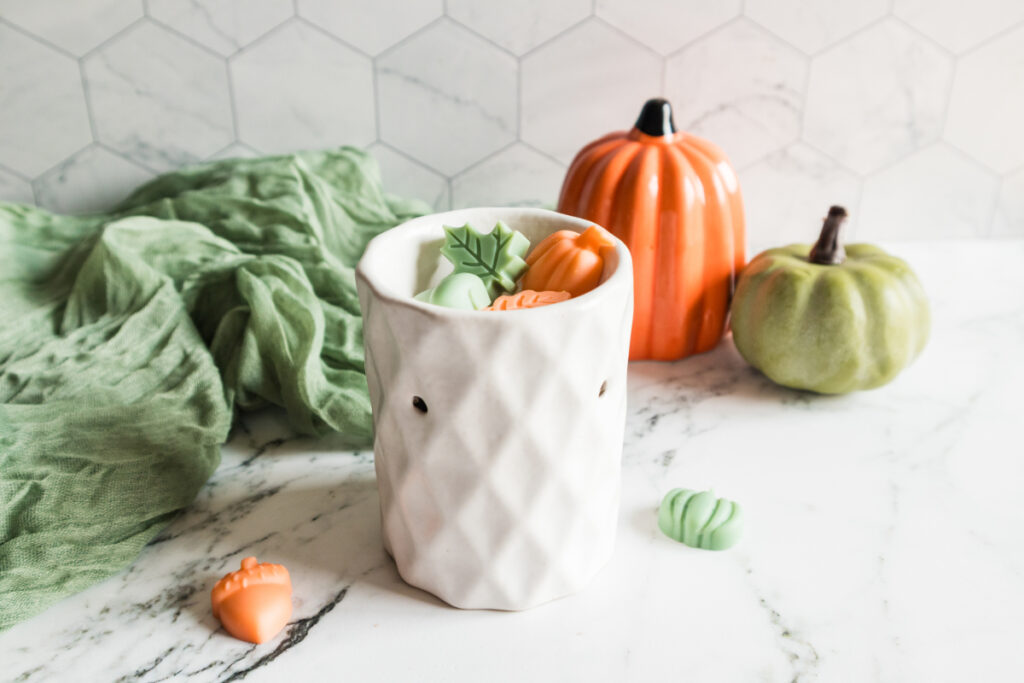
When you make them yourself, you get to choose the wax, decide exactly what goes into the scent blend, and skip the color completely if you want to. You can also adjust the fragrance until you find a combination that smells like fall to you.
This recipe combines cinnamon bark, clove bud, sweet orange, and cedarwood essential oils. The result is warm and spicy with just enough citrus and woodsy fragrance to keep it from smelling like straight cinnamon.
Even better, one batch makes around 19 to 20 melts using our mold. Keep them for your own wax warmer, package a few as an inexpensive homemade gift, or add them to the seasonal products you make for a farm stand or local market.
Fall Wax Melts Recipe Using Soy Wax and Essential Oils
Making wax melts is surprisingly simple. You don’t need special candle-making equipment to get started, and a double boiler can easily be made with items you already have in the kitchen. You can always invest in a wax melting pot so as not to cross contaminate with your kitchen items.
The most important thing is choosing ingredients you’re comfortable using.
For our own home, I would personally leave the dye out completely. The natural creamy color of soy wax doesn’t bother me, and eliminating the colorant means one less ingredient I need to think about.
If you’re making these as gifts or selling them, however, you may want to add a little color to make the different scents easier to identify. I’ll give you some options for that below.
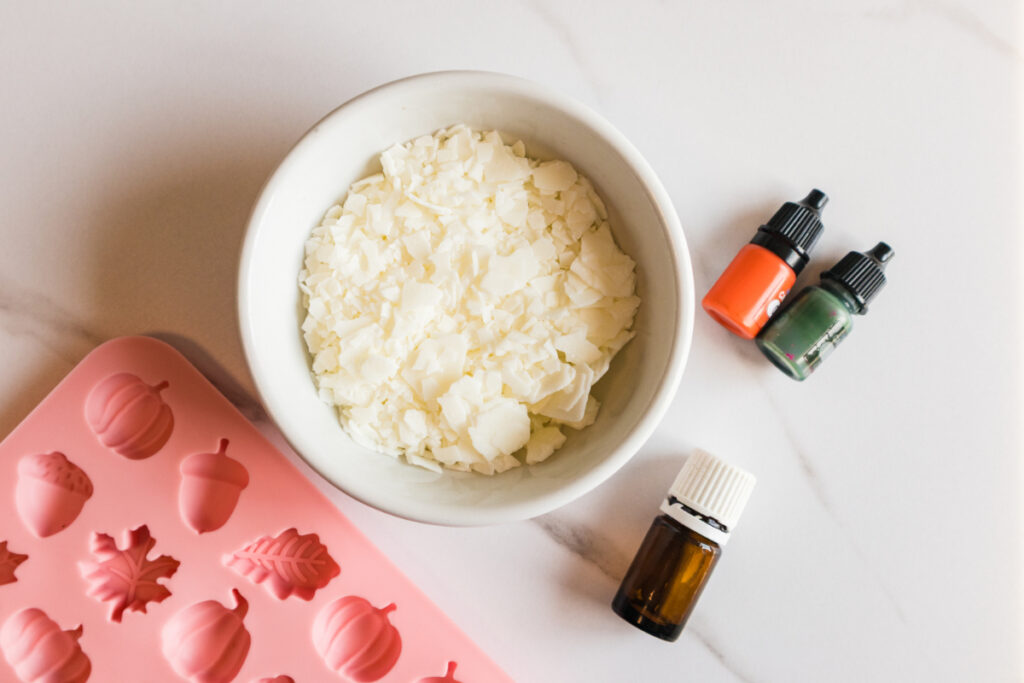
Fall Wax Melts Recipe Ingredients and Supplies
This recipe makes approximately 19 to 20 wax melts, depending on the size of your silicone mold.
You’ll need:
- 1 cup soy wax
- 30 drops cinnamon bark essential oil
- 30 drops clove bud essential oil
- 20 drops sweet orange essential oil
- 20 drops cedarwood essential oil
- Silicone wax melt mold
- Double boiler
- Heat-safe container for pouring
- Optional candle or wax-melt colorant
If you’re using a colorant, always make sure it is specifically intended for candles or wax melts and follow the manufacturer’s directions.
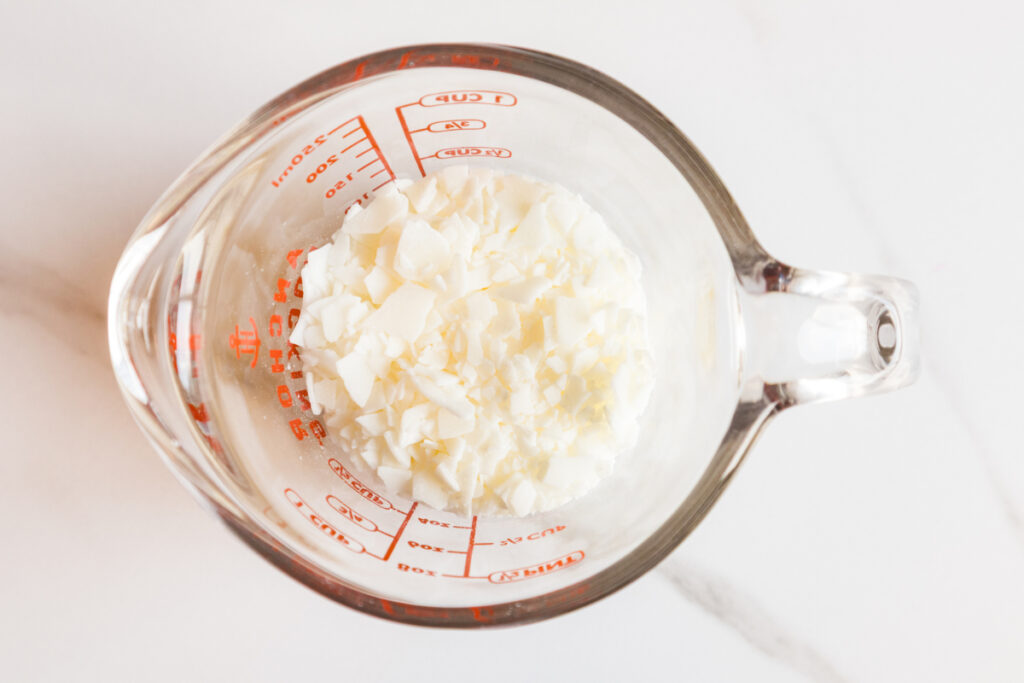
How to Make Fall Wax Melts
Start by adding the soy wax to a double boiler and gently heating it until the wax is completely melted.
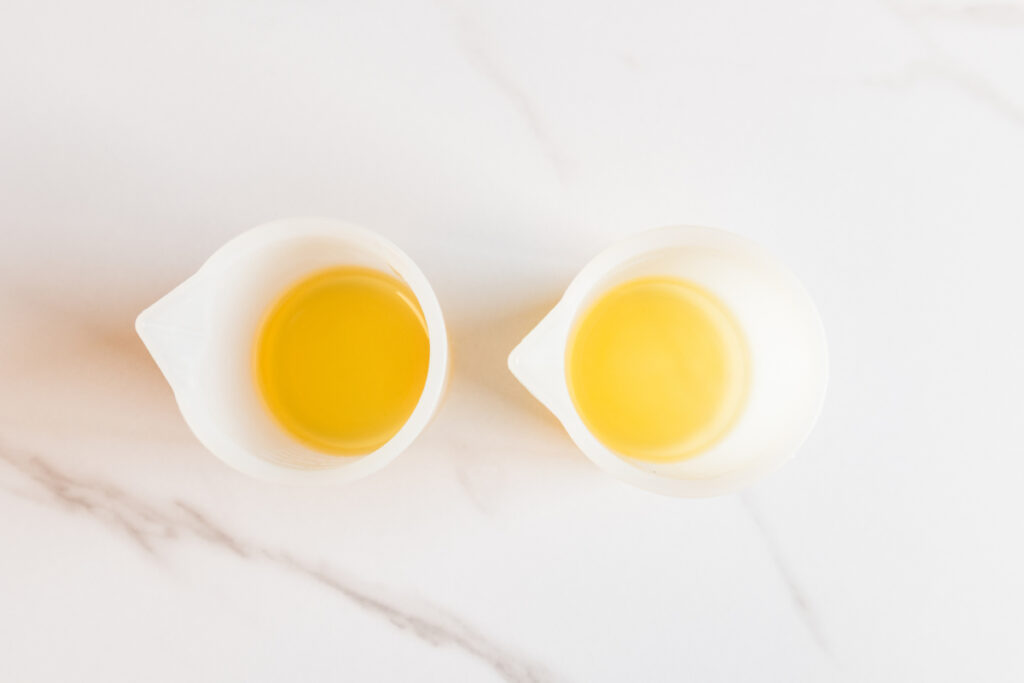
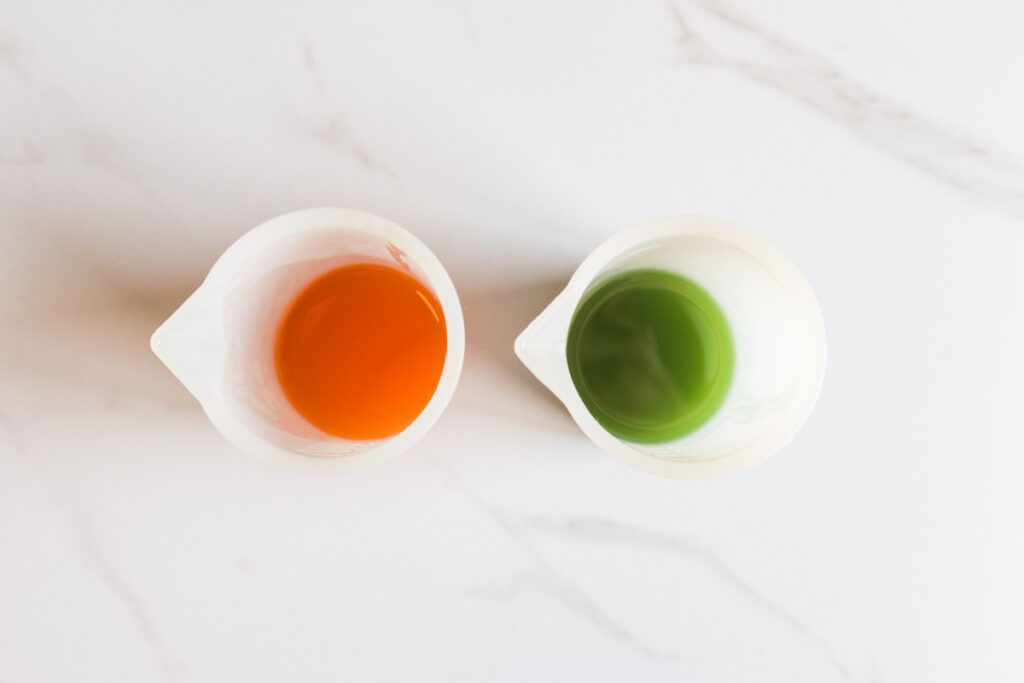
If you’re planning to make two different colors, carefully divide the melted wax between two heat-safe containers.
If using an approved candle or wax-melt colorant, add a very small amount at a time. It’s much easier to add more than to fix wax that’s much darker than you intended.
Next comes the essential oil blend.
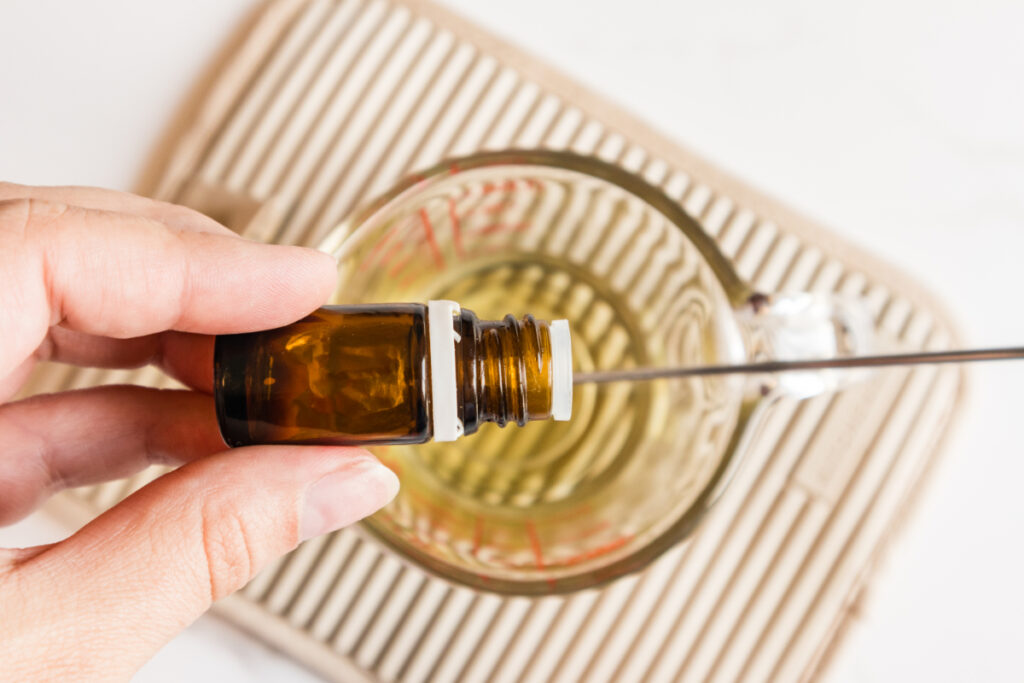
Check the instructions for your soy wax to see what temperature they recommend for adding fragrance. Different waxes need different temperatures, so the best number can change. Because of that, I wouldn’t use one temperature for every brand.
Stir in the cinnamon bark, clove bud, sweet orange, and cedarwood essential oils. Mix thoroughly so the oils are evenly distributed throughout the wax.
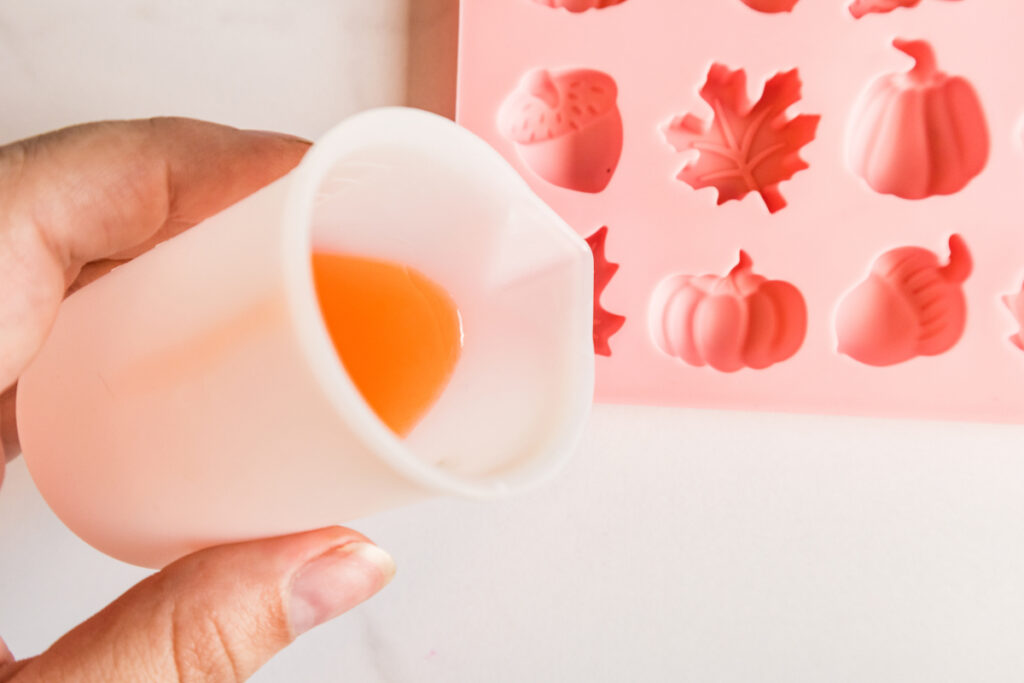
Carefully pour the mixture into your silicone mold.
Leave the wax melts undisturbed at room temperature until they’re completely firm. Depending on the size of the mold and temperature of your home, this will generally take an hour or two.
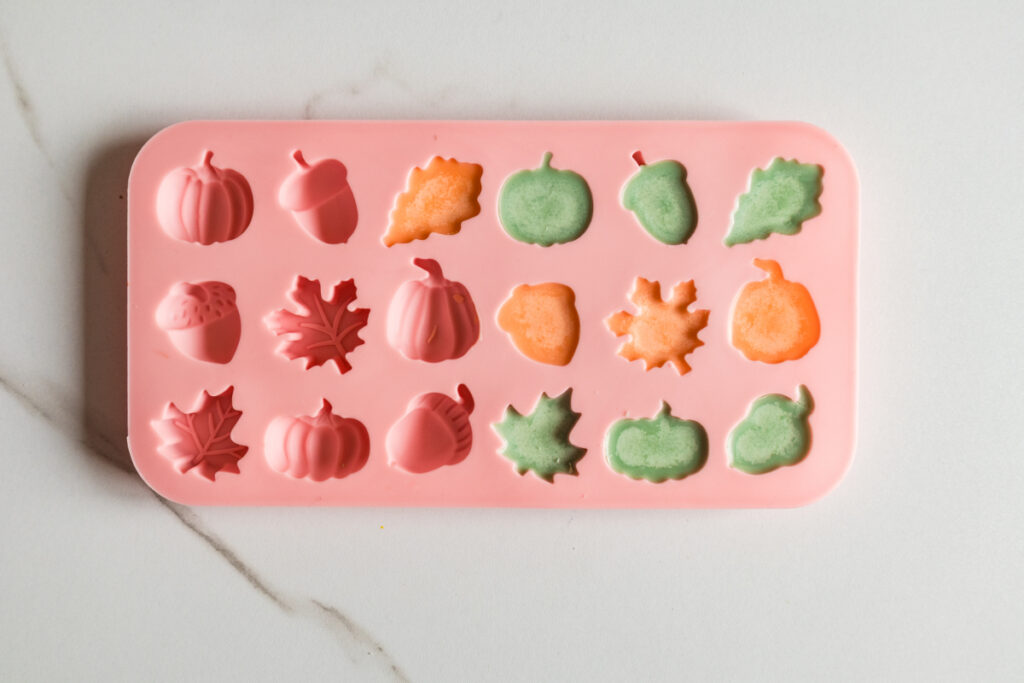
Once they’re completely hardened, gently pop them out of the mold.
Store your finished wax melts in a sealed container away from excessive heat and direct sunlight.
Do You Need to Add Color to Wax Melts?
I don’t color my wax melts very often, especially when I’m making them for our own home. Color doesn’t make a melt smell stronger, and keeping the wax its natural shade is the simplest way to know exactly what you’re bringing into your space. Undyed soy wax also creates a pretty farmhouse look, especially if you package your melts in kraft bags or glass jars for gifts.
Still, adding color can be fun once in a while. Just don’t assume a natural ingredient is automatically safe for heated wax. You’ll see online suggestions for turmeric, spirulina, coffee grounds, dried herbs, and other botanical powders. Some makers experiment with these, but powders can settle, leave residue in your warmer, or behave unpredictably when heated.
If you want color, choose a dye made specifically for candles or wax melts. Candle‑safe mineral or mica colorants can work if you’re keeping ingredients simple, but always verify that the product is intended for wax and follow the recommended usage. And remember, leaving your melts completely undyed is always a great option.
How Much Wax Melt Should You Use?
How many individual pieces you’ll need depends on the size of your mold and wax warmer.
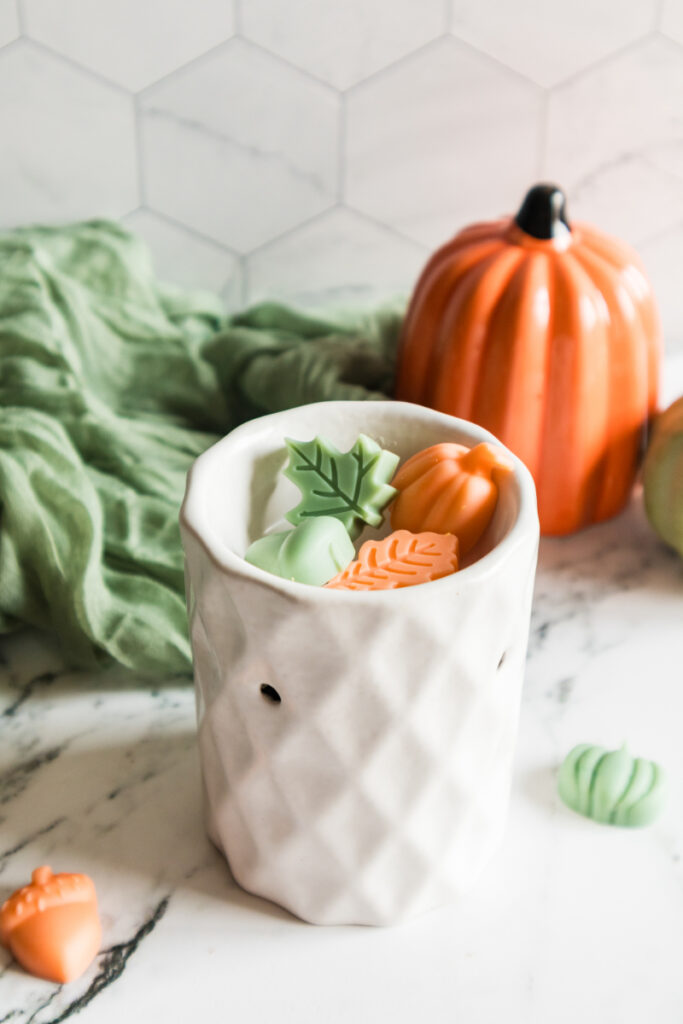
With our smaller melts, we use approximately 4 to 6 pieces at a time.
However, don’t overfill your warmer. Check the manufacturer’s instructions and make sure the melted wax will remain safely below the rim of the dish.
You can also start with fewer pieces. If the scent isn’t strong enough for you, add another melt the next time.
Can You Change the Essential Oil Blend in Your Fall Wax Melts Recipe?
Absolutely. That’s one of the advantages of making wax melts yourself.
Our fall blend uses 100 drops total:
- 30 drops cinnamon bark
- 30 drops clove bud
- 20 drops sweet orange
- 20 drops cedarwood
The cinnamon and clove give you those traditional fall spices, while orange brightens the blend and cedarwood adds a deeper, woodsy note.
Keep in mind that essential oils can vary considerably in strength, and more isn’t automatically better. You’ll also need to stay within the usage recommendations provided by the essential oil and wax manufacturers.
Essential oils are still concentrated substances even though they’re derived from plants. If anyone in your household is sensitive to fragrances, start lightly and see how the scent works in your space.
Tips I Wish I Knew Before Making Wax Melts
One of the best things about DIY projects is learning what works before making the next batch.
Don’t add extra essential oil just because you want a stronger scent. Your wax has a recommended fragrance load, and exceeding it can affect how the finished product performs.
Don’t assume every soy wax is identical. Follow the temperature and fragrance-load instructions for the exact wax you’re using.
Don’t add dried flowers or herbs just because they look pretty. They may create residue in your wax warmer and aren’t necessary for a beautiful finished product.
Give your melts time before deciding whether you like the scent. The aroma can change as the wax cools and cures.
Finally, write down what you did. If you create the perfect fall blend and don’t record your measurements, recreating it later can be surprisingly difficult.
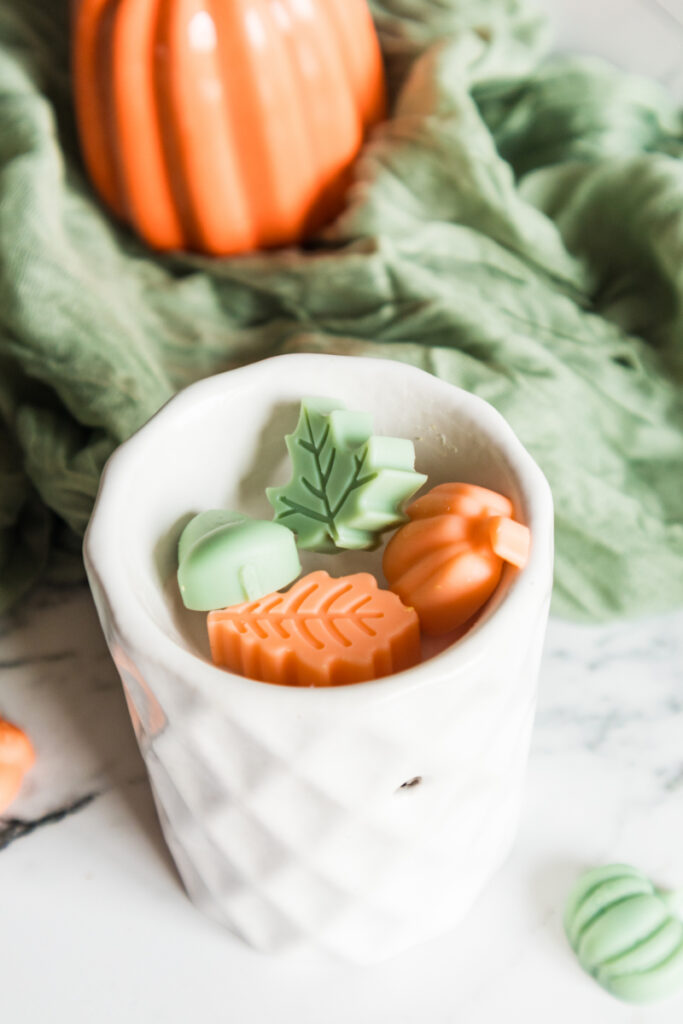
Turn Homemade Wax Melts Into Easy Fall Gifts
These are such an easy homemade gift because you can make several at once.
Package a handful of melts in a small bag, jar, or other suitable container and add a simple label with the scent name and ingredients.
They would be cute added to:
- Fall hostess gifts
- Housewarming baskets
- Teacher gifts
- Holiday gift baskets
- Neighbor gifts
You could even pair them with an electric wax warmer for a larger gift.
Just be sure the recipient knows they’re wax melts and not candy, especially if you’re using molds that create food-like shapes.
Selling Wax Melts at Your Farm Stand
If you already sell homemade goods at a farm stand, farmers market, or local vendor store, seasonal wax melts can be another product to consider.
You can make several seasonal scents and change them throughout the year. For fall, think warm spice, apple-inspired, pumpkin-inspired, orange, cedarwood, or other autumn combinations.
Before selling homemade wax products, check the labeling, business, insurance, and consumer-product requirements that apply where you live. Selling a product is different from making it for your own family, so don’t assume the rules that apply to homemade foods or other farm-stand products also apply to wax melts.
I’d also keep good batch records. Write down the wax you used, essential oils or fragrance ingredients, amounts, colorants, date made, and batch number. If you ever need to recreate a popular scent or answer a customer’s question, you’ll have the information.
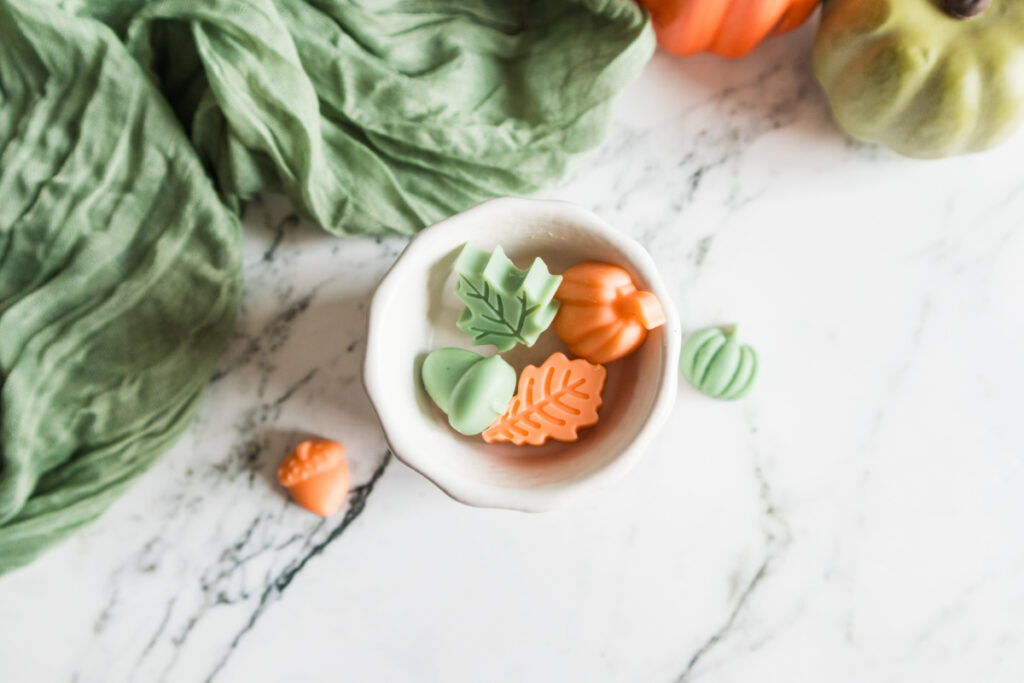
Make Your Home Smell Like Fall Your Way
Making things at home isn’t always about saving money or being completely self-sufficient. Sometimes it’s simply about learning a new skill and having more control over the products you use.
That’s what I like about these fall wax melts.
You can keep them completely undyed like I do, adjust the essential oil blend to suit your home, make a batch for friends, or turn them into a seasonal product for your farm stand.
And you certainly don’t need a farm to do it.
A cup of soy wax, a silicone mold, and a few essential oils are enough to learn another simple homesteading skill right in your kitchen.
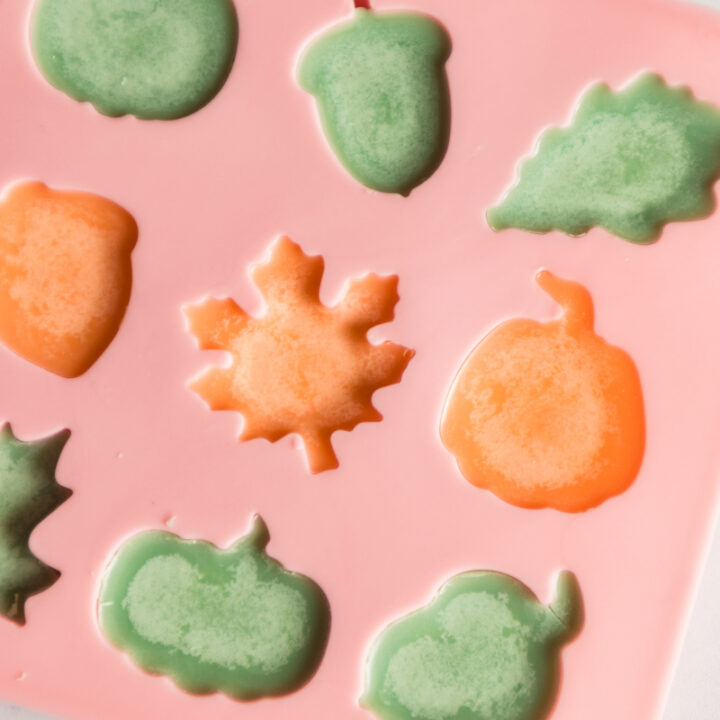
Fall Wax Melts Recipe
This DIY shows you how to make cozy fall wax melts with simple ingredients and warm seasonal scents. They’re easy to customize, budget‑friendly, and perfect for adding autumn comfort to any room. Use them in your favorite warmer or package them as sweet handmade gifts.
Ingredients
- 1 cup soy wax
- 2-3 drops candle dye
- 30 drops cinnamon bark essential oil
- 30 drops clove bud essential oil
- 20 drops sweet orange essential oil
- 20 drops cedarwood essential oil
- Silicone mold
Instructions
- Melt the soy wax in a double boiler until fully melted.
- Once melted, divide the wax evenly between two containers if you want two colors.
- Stir in your candle dye, a drop at a time, until you reach the color you love in each container.
- Let the wax cool slightly, around 120-130°F. This keeps the essential oil scent from burning off.
- Stir in your essential oil blend once the wax has cooled a bit.
- Pour the melted wax into your silicone mold.
- Let the wax melts cool and harden completely at room temperature (this usually takes an hour or two).
- Pop them out of the mold once fully set and store in an airtight container until you're ready to use them in your wax warmer!
Notes
- Adding essential oils too hot can burn off the scent, so waiting until the wax cools slightly helps the fragrance last once cured.
- Use 4-6 per wax melter.
-
DIY Shower Steamers: A Luxurious Spa Experience at Home
Transform your shower into a spa with DIY shower steamers! Easy to make, customizable, and perfect for relaxation or gifting.
-
Homemade Magnesium Balm: A Simple Solution for Muscle Relief
Soothe muscles and improve relaxation with this easy DIY magnesium balm. All-natural, nourishing, and perfect for dry skin!
-
DIY All-Natural Kitchen Sprays
Looking for an easy, natural way to keep your kitchen sparkling clean? Try this DIY kitchen cleaner made with just three simple ingredients. It’s tough on grease and grime, yet safe for most surfaces. Perfect for a chemical-free clean that’s safe around kids and pets!
-
Non-Toxic Window Cleaner
Ditch harmful chemicals and make your own non-toxic window cleaner with just a few ingredients. This easy recipe leaves windows streak-free and sparkling, while being safe for kids and pets. Perfect for an eco-friendly clean!
-
Non Toxic Wood Cleaner
I’ve been thinking a lot about non-toxic wood cleaners lately and how they can really transform the way we maintain our wooden surfaces. It’s fascinating to see how these products, often made from natural ingredients, not only clean effectively but also keep our homes safe from harsh chemicals. I’ve tried various brands and even experimented…
-
Does Fabric Softener Cause Cancer and Natural Alternatives
Does fabric softener cause cancer? Discover the risks and explore natural alternatives for a healthier, chemical-free laundry routine.