
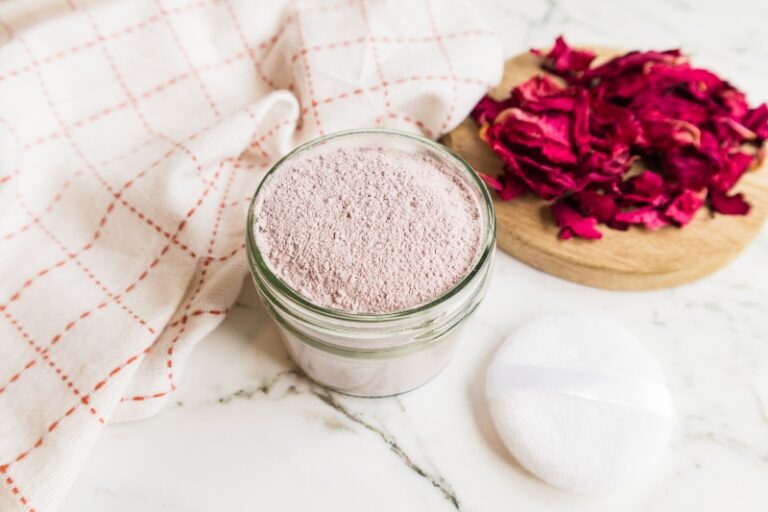
How to Make Homemade Anti-Aging Cream
Making your own homemade anti-aging cream is one of the most empowering things you can do for your skin—and your homesteading journey. This DIY recipe blends natural, skin-loving ingredients like green tea, coffee, rose petals, and nourishing oils into a rich, rejuvenating cream that helps support elasticity, hydration, and a youthful glow.

It’s easy to make at home and perfect for those who want a clean, chemical-free alternative to store-bought creams.
Why Use Homemade Anti-Aging Cream?
Most commercial anti-aging products are loaded with preservatives, synthetic fragrances, and ingredients you can’t pronounce. When you make it yourself, you know exactly what’s going into your skin. This cream not only moisturizes deeply but also includes powerful antioxidants and nutrients to support skin health naturally.

Ingredients That Rejuvenate Skin
Let’s break down what makes this cream so effective:
- Green Tea Leaves – Rich in antioxidants to protect and restore skin
- Coffee – Stimulates circulation and may reduce puffiness
- Rose Petals – Soothing and toning for aging or sensitive skin
- Jojoba Oil – Balancing, non-greasy moisture for all skin types
- Shea Butter – Deeply hydrating and protective
- Tallow – Rich in fatty acids, it mimics your skin’s natural oils
- Beeswax – Locks in moisture and helps thicken the cream
- Arrowroot Powder – Gives a smooth, non-greasy finish
- Essential Oils (Optional) – Lavender, frankincense, and geranium are especially beneficial for mature skin
Tools You’ll Need
- A glass jar for infusing your oil
- Double boiler or a heat-safe bowl over a saucepan
- Fine mesh strainer or cheesecloth
- Measuring spoons & cups
- Mixing utensil
- Jar or tin for your finished product
How to Make the Homemade Anti-Aging Cream
Ingredients:
- Green tea leaves
- Coffee grounds
- Rose petals
- Jojoba oil
- ¼ cup infused oil
- 2 tablespoons shea butter
- ¼ cup rendered tallow
- 1 tablespoon beeswax
- 1 tablespoon arrowroot powder
- 10 drops essential oil (optional)
Instructions:
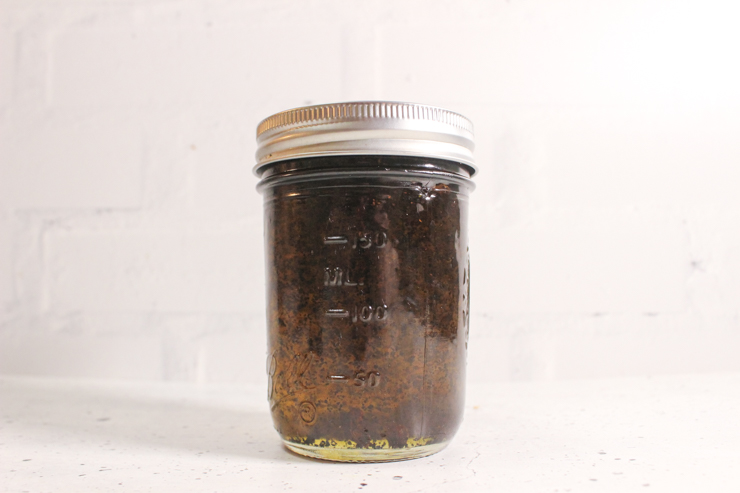
- Create your infused oil by adding green tea, coffee, and rose petals to a jar. Cover with jojoba oil and let it infuse for 4–6 weeks. Then strain.
- In a double boiler, melt ¼ cup infused oil, shea butter, tallow, and beeswax over medium heat.
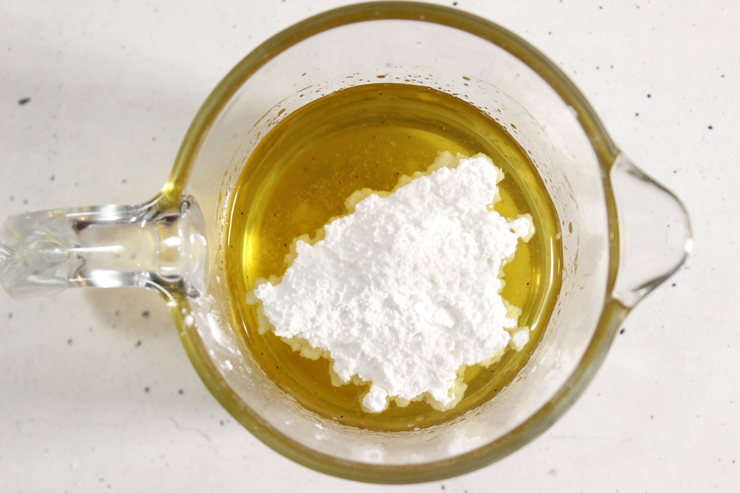
- Once melted, remove from the heat and let it cool slightly. Stir in arrowroot powder until smooth.
- Add essential oil if using and stir to combine.
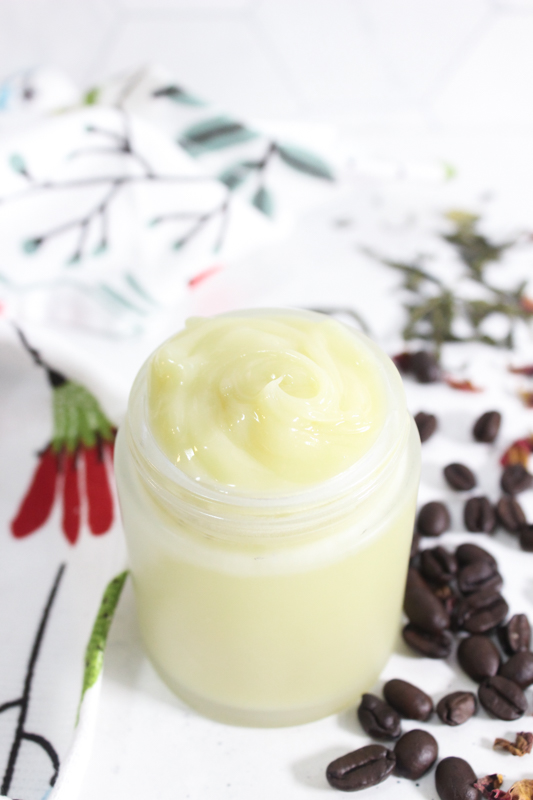
- Pour into a jar or container. Let it solidify.
- Optional: Once firm, you can whip it with a hand mixer for a fluffier texture—or leave it solid.
- Download our printable PDF instructions.
How to Use Your DIY Homemade Anti-Aging Cream
To get the most out of your homemade anti-aging cream, rub a small amount—about the size of a pea—into clean skin each morning or night. Gently massage it using upward, circular motions until fully absorbed. Because this cream is rich and concentrated, a little goes a long way, so there’s no need to overapply.
This nourishing formula is especially beneficial for delicate areas like your face, neck, and décolleté, where signs of aging such as fine lines, wrinkles, and sagging tend to appear first. With regular use, you may notice improvements in skin texture, firmness, and hydration.
Be sure to store your cream in a cool, dry place, away from direct sunlight and heat, to preserve the integrity of the natural ingredients. Since there are no chemical preservatives, it’s best to use the cream within 6–9 months. For extended freshness, you may even consider storing it in the refrigerator, especially if your home is warm.
Before your first use, do a patch test on a small area of skin to check for any sensitivity to essential oils or other ingredients.
Tips & Variations
- Customize It: Try adding Vitamin E oil or a little rosehip oil for added anti-aging benefits.
- Texture Control: Want a softer finish? Whip it up after it hardens. Prefer balm-style? Leave it as-is.
- Sensitive Skin: Test a small area first if you’re using essential oils.
This Homemade Anti-Aging Cream has been a game-changer for my skincare routine. It’s deeply nourishing, smells amazing, and leaves my skin feeling smooth and hydrated all day. Plus, it’s made with ingredients I trust …straight from my homesteading stash.

Homemade Anti-Aging Cream
Make a rich, nourishing anti-aging cream with green tea, rose petals, coffee, and oils—natural care for glowing skin!
Materials
- Green tea leaves
- Coffee grounds
- Rose petals
- Jojoba oil
- ¼ cup infused oil
- 2 tablespoons shea butter
- ¼ cup rendered tallow
- 1 tablespoon beeswax
- 1 tablespoon arrowroot powder
- 10 drops essential oil (optional)
Tools
- A glass jar for infusing your oil
- Double boiler or a heat-safe bowl over a saucepan
- Fine mesh strainer or cheesecloth
- Measuring spoons & cups
- Mixing utensil
- Jar or tin for your finished product
Instructions
Create your infused oil by adding green tea, coffee, and rose petals to a jar.
Cover with jojoba oil and let it infuse for 4–6 weeks.
Then strain in a double boiler, melting ¼ cup infused oil, shea butter, tallow, and beeswax over medium heat.
Once melted, remove from the heat and let it cool slightly. Stir in arrowroot powder until smooth
Add essential oil if using and stir to combine.
Pour into a jar or container. Let it solidify.
Optional: Once firm, you can whip it with a hand mixer for a fluffier texture—or leave it solid.
Notes
Lavender, frankincense, and geranium are all great oils for skin care, but any essential oils work.
-
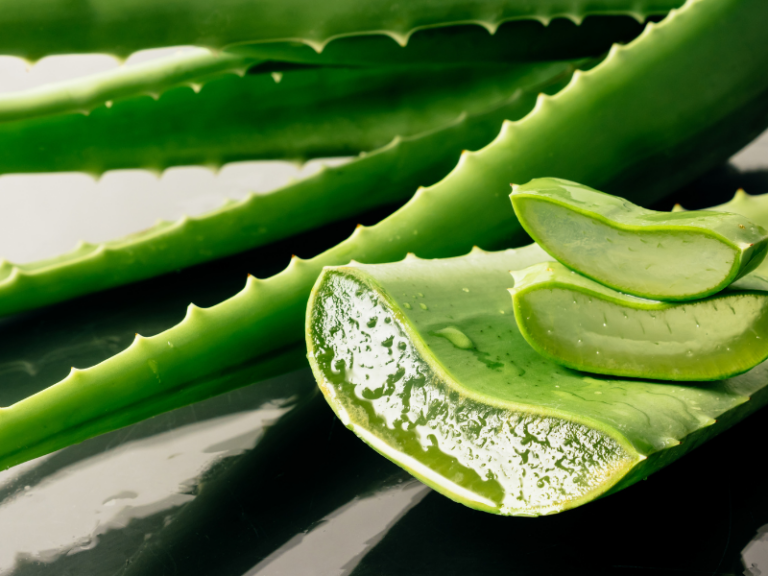
Growing Aloe Vera and Using It for Home Remedies
Learn how to grow aloe vera and use it for simple home remedies like burns, skin care, and natural healing.
-
How to Make Homemade Rose Body Powder
Learn how to make homemade rose body powder with simple ingredients for naturally fresh, soft skin and a light floral scent.
-
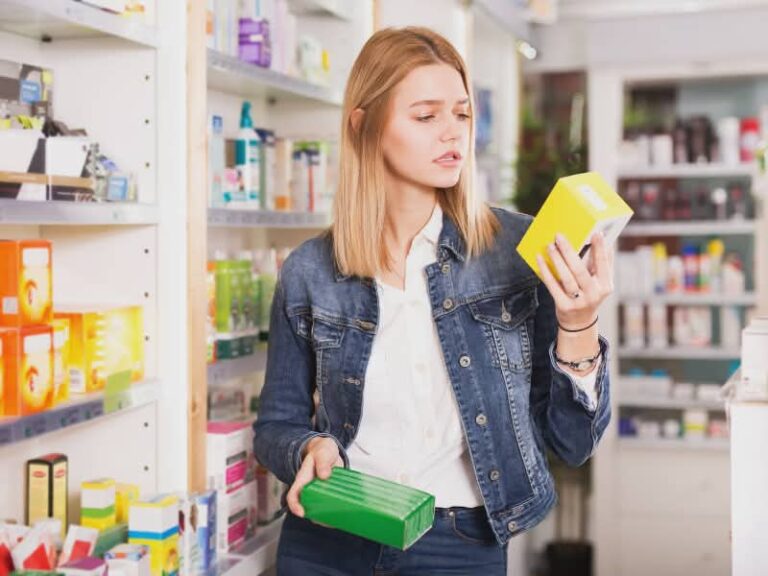
The Truth About Red Light Therapy: At-Home vs Medical Grade
Red light therapy is now widely available both in clinics and at home—but the differences matter. Medical-grade devices used by professionals deliver higher power and deeper penetration, often producing faster, more noticeable results. They can also be customized for specific skin or health concerns.
At-home devices, on the other hand, are designed for safety and convenience. They use lower انرژی levels, which means results come more slowly and require consistent use over time. While many still operate within effective wavelength ranges, they can’t match the intensity or precision of clinical treatments.
The term “medical grade” isn’t strictly regulated, so performance varies. In the end, professional treatments offer speed and customization, while at-home options provide affordability and ease—making the best choice dependent on your goals and patience.
-
Clear Skin Naturally: Proven DIY Natural Acne Treatments
Discover effective, natural ways to calm acne and inflammation without harsh chemicals. This post shares easy, proven DIY treatments made from simple kitchen ingredients—each with a recipe you can try today. Whether you’re a teen or an adult, these gentle remedies can help you achieve clearer, healthier skin naturally.
-
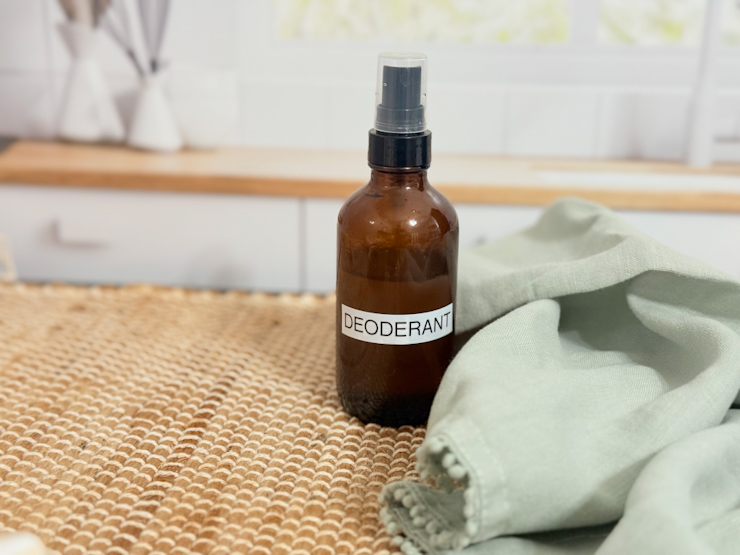
Homemade Deodorant Spray with Magnesium Flakes
Make your own natural spray deodorant with magnesium flakes—simple, effective, and free from harsh store-bought chemicals!
-
How to Make Homemade Natural Conditioner
Hydrate and nourish your hair naturally with this easy homemade conditioner made with shea butter, oils, and essential oils.


I started using tallow last year and love it.
It’s seriously the best thing I have ever used on my skin!