Homemade Hot Dog Buns (Soft and Easy Homestead Recipe)
Soft, Fresh Hot Dog Buns for Everyday Homestead Cooking
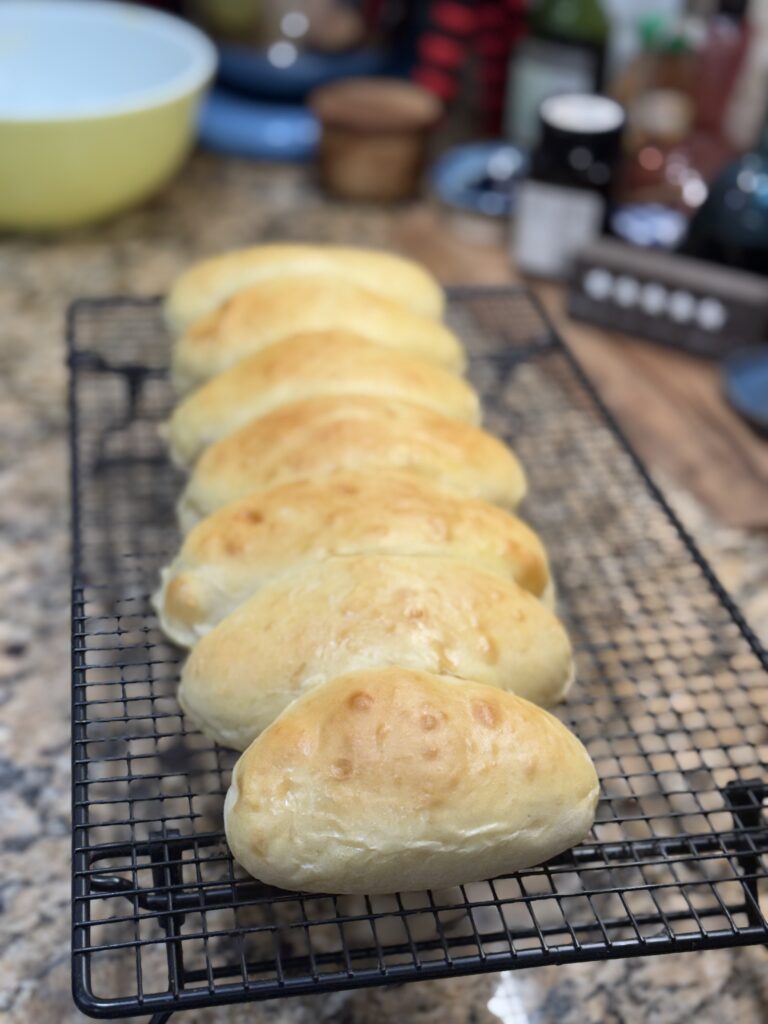
Homemade hot dog buns bring a warm, simple comfort to any meal. Daniel made these recently, and they were delicious. These buns were soft, light, and slightly sweet. They hold their shape without feeling heavy. The dough comes together with basic pantry ingredients and a calm, steady method. Each step builds confidence, even for new bakers. These buns work well for grilled hot dogs, sausages, or any sandwich that needs a soft roll.

Ingredients for Homemade Hot Dog Buns
- 2 teaspoons active dry yeast
- 1 ¼ cups warm milk
- 3 tablespoons sugar (divided)
- 3 cups all‑purpose flour (divided)
- 1 teaspoon salt
- 2 eggs (1 for dough, 1 for egg wash)
- 3 tablespoons melted butter
How to Make Homemade Hot Dog Buns
Wake Up the Yeast
Waking up the yeast is the first step, and it sets the tone for the entire recipe. In a small bowl, mix the yeast with one teaspoon of sugar and warm milk. The milk should feel warm to the touch, like water that has sat in the sun, but never hot. Hot liquid can weaken the yeast, while cool liquid slows it down. After you stir everything together, let the bowl rest for about five minutes. During this time, the yeast begins to feed on the sugar and releases tiny bubbles. When the surface looks foamy or slightly puffy, you know the yeast is active and ready to help your dough rise. This simple moment of waiting is one of those quiet homestead tasks that reward patience.
Mix the Dry Ingredients
While the yeast wakes up, turn your attention to the dry ingredients. In a large mixing bowl, combine 2 ½ cups of flour with the remaining sugar and the salt. Stir until everything looks even and well blended. This step may seem small, but it ensures the dough forms smoothly once the wet ingredients join in. Even distribution of the salt and sugar helps the dough rise evenly and keeps the flavor balanced. On the homestead, where ingredients are simple, and each step matters, this kind of careful mixing makes a noticeable difference.
Make the Dough
Once the yeast mixture is ready, pour it into the bowl of dry ingredients along with one egg and the melted butter. Use a sturdy spoon to bring everything together. The dough will look rough and sticky at first, and that is exactly what you want. Early dough rarely looks perfect. It starts out shaggy and uneven, but it comes together with time and handling. This stage is all about combining the ingredients and letting the flour begin to hydrate. Trust the process, even if the dough looks messy.
Let the Dough Rest
After the dough comes together, cover the bowl and let it rest for five minutes. This short rest is more important than it seems. The flour absorbs the liquid during this time, making the dough easier to knead. It also allows the gluten to relax, preventing the dough from fighting back as you work with it. On a busy homestead day, this pause gives you a moment to tidy the counter or warm up your baking sheet. It’s a small but meaningful part of the rhythm of bread-making.
Knead the Dough
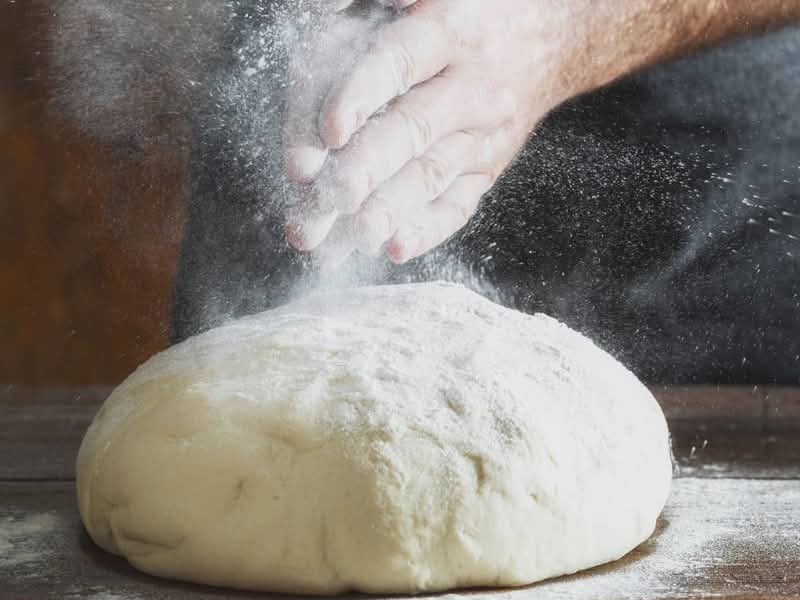
Turn the dough out onto a lightly floured surface and begin kneading. Use gentle, steady motions, folding the dough over itself and pressing it forward. Add small amounts of the remaining flour only when the dough feels too sticky to handle. The goal is a soft, slightly tacky dough that doesn’t cling heavily to your hands. Too much flour can make the buns dense, so add it sparingly. Kneading takes only a few minutes, and you’ll feel the dough transform under your hands. It becomes smoother, more elastic, and easier to shape — a satisfying moment in any homestead kitchen.
First Rise
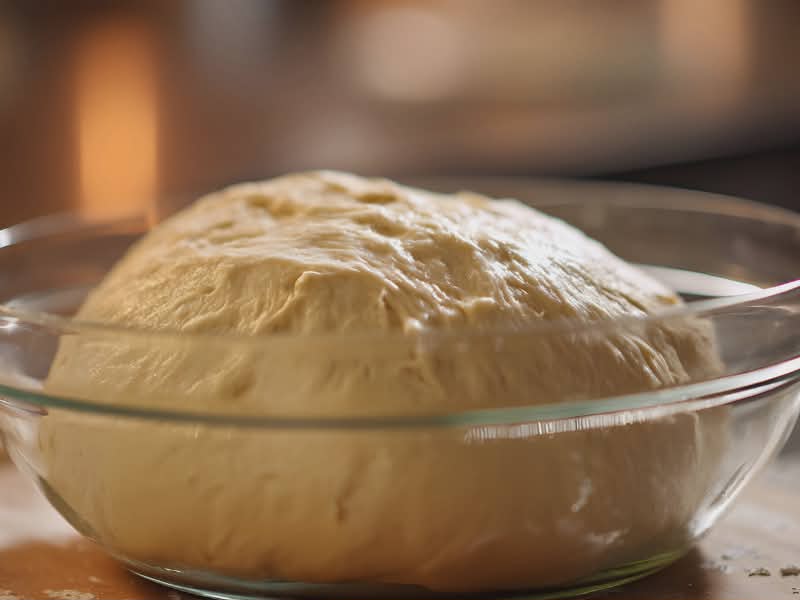
Place the kneaded dough back into the bowl and coat it lightly with oil or melted butter. This thin layer keeps the surface from drying out as it rises. Cover the bowl and let the dough rest for about 30 minutes. It may not double in size, and that’s perfectly fine. A gentle rise keeps the buns soft and tender. This is a good time to prepare your baking sheet or step outside for a breath of fresh air. Bread making has a way of slowing the day down in the best way.
Shape the Hot Dog Buns
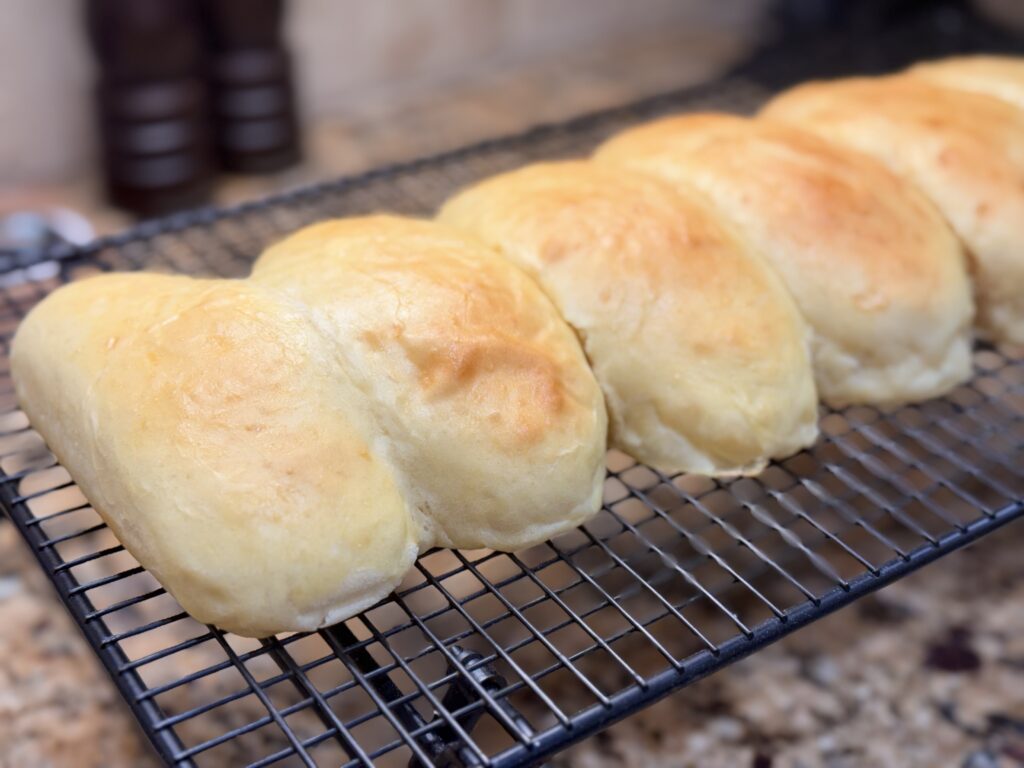
When the dough has risen, punch it down gently to release the trapped air. Divide it into eight equal pieces so the buns bake evenly. Roll each piece into a six‑inch log, shaping it with smooth, even pressure. Pinch the seams closed along the bottom to help the buns hold their shape. This step gives you that classic hot dog bun look, with a rustic touch that fits right into homestead cooking.
Prepare for Baking
Place the shaped buns seam‑side down on a parchment‑lined baking sheet. This helps them bake evenly and prevents sticking. Giving each bun a little space allows it to rise without crowding. The simple act of lining them up on the sheet feels like the final bit of preparation before the magic happens in the oven.
Egg Wash
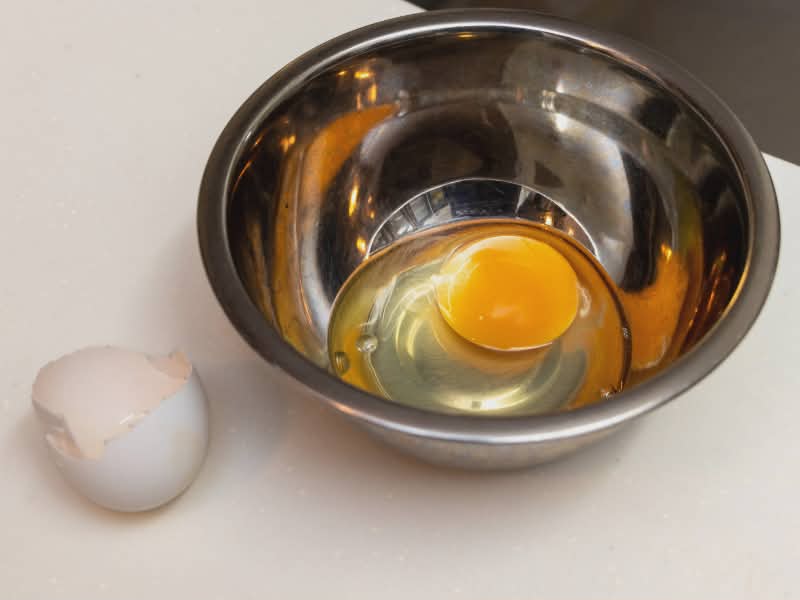
Beat the remaining egg and brush it over the tops of the buns. The egg wash gives the buns a rich golden color and a soft sheen once baked. It also helps the crust stay tender. This small step adds a polished finish that makes the buns look bakery‑quality, even though they came from your own kitchen.
Second Rise
Cover the buns and let them rise for fifteen minutes. This short rise helps them puff slightly and develop a soft, airy crumb. You’ll notice they look fuller and more rounded. This is the final bit of patience before baking, and it ensures the buns stay light and tender.
Baking Your Homemade Hot Dog Buns
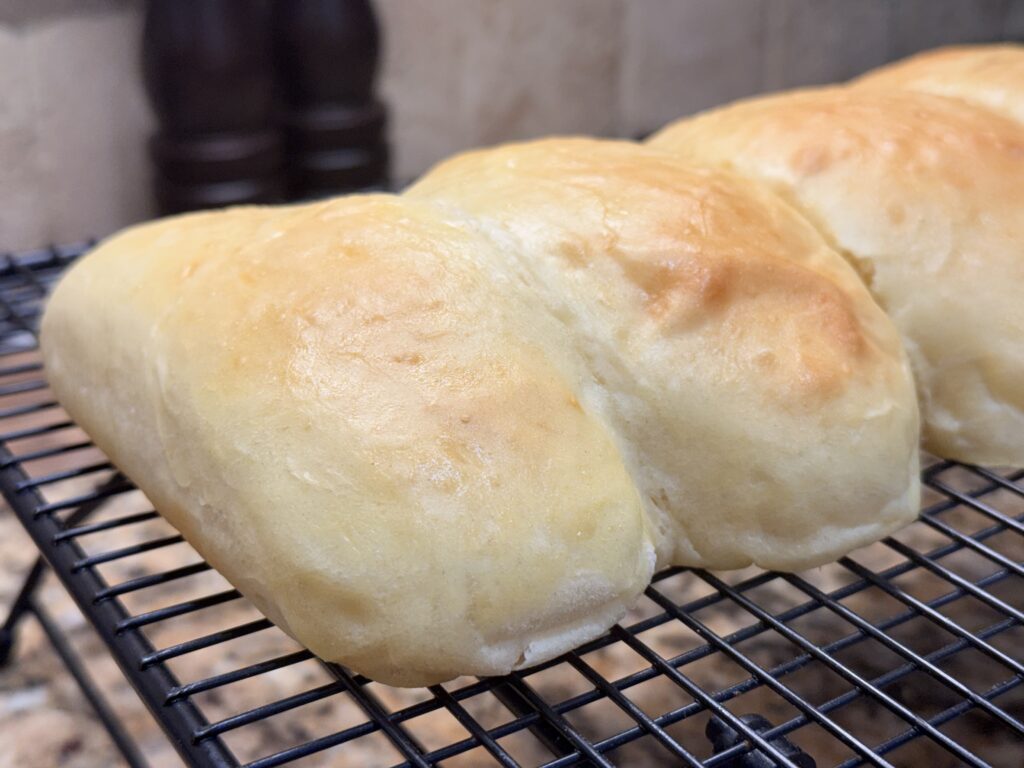
Bake the buns in a preheated 350°F oven for 12–15 minutes. The tops should turn a warm golden brown, and the bottoms should feel firm but not hard. Once they come out of the oven, place them on a cooling rack to let them cool slightly before serving. The aroma alone makes the wait worthwhile. These buns are soft, warm, and perfect for hot dogs, sausages, or any meal that calls for a homemade touch.

Serving Ideas
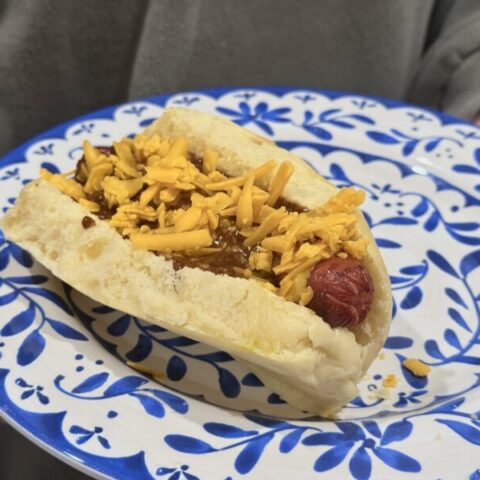
These homemade hot dog buns shine at cookouts and weeknight meals. They pair well with grilled hot dogs, smoked sausages, or pulled pork. We made chili cheese dogs this time but they also great with our homemade ketchup, mustard or our homemade relish. They also make great sandwich rolls because they stay soft yet hold their shape. Freeze extras for quick meals. Warm them in the oven for a fresh‑baked feel.
Homemade Hot Dog Buns
Soft, golden hot dog buns made with simple ingredients and a gentle rise. Perfect for cookouts and everyday meals.
Ingredients
- 1 packet active dry yeast
- 1 ¼ cups warm milk
- 3 tablespoons sugar, divided
- 3 cups all‑purpose flour, divided
- 1 teaspoon salt
- 2 eggs (1 for dough, 1 for egg wash)
- 3 tablespoons melted butter
Instructions
- Mix yeast, 1 teaspoon sugar, and warm milk. Let it sit for 5 minutes until foamy.
- Combine 2 ½ cups flour, remaining sugar, and salt in a large bowl.
- Add yeast mixture, 1 egg, and melted butter. Stir to form a rough dough.
- Cover and rest 5 minutes.
- Knead on a lightly floured surface, adding flour only as needed. Dough should stay soft and slightly tacky.
- Place the dough in a greased bowl. Cover and rise 30 minutes.
- Punch down. Divide into 8 pieces. Roll each into a 6‑inch log and pinch seams.
- Place seam‑side down on a parchment‑lined sheet.
- Brush with beaten egg.
- Cover and rise 15 minutes.
- Bake at 350°F for 12–15 minutes until golden.
Notes
-
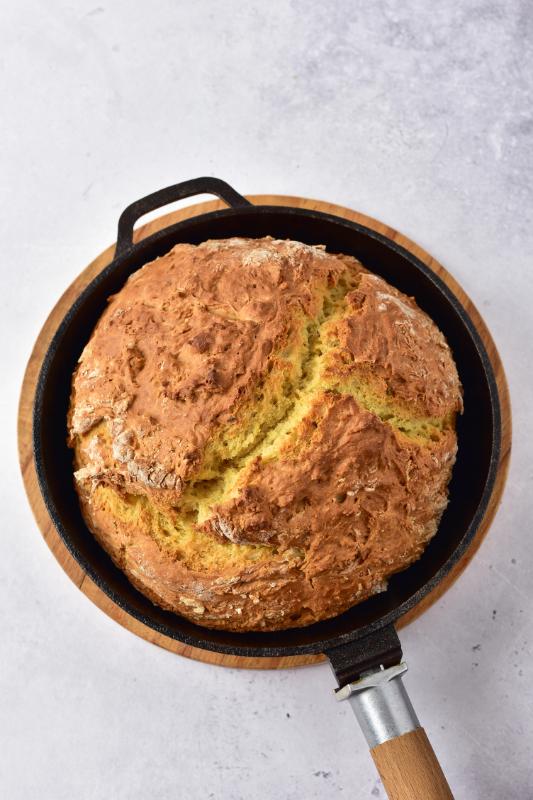
How to Make Traditional Irish Soda Bread at Home
This easy Irish soda bread recipe brings old-fashioned comfort to your homestead kitchen. The loaf bakes with a golden crust, tender center, and rich buttery flavor. Simple pantry ingredients and a quick mixing method make this bread perfect for busy days. Serve warm slices with soup, stew, or fresh butter straight from the table.
-
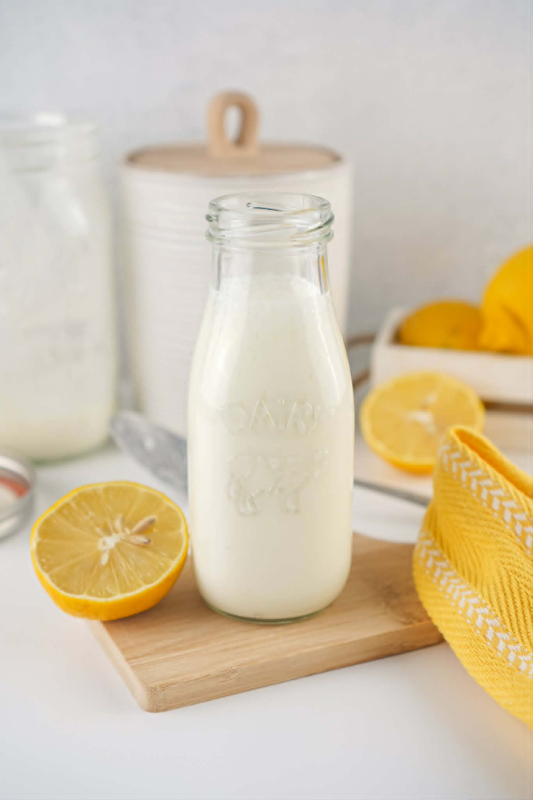
How to Make Homemade Buttermilk (Perfect for Baking)
Learn how to make homemade buttermilk in minutes. A simple, perfect substitute for baking and everyday recipes.
-
How to Make Homemade Baking Powder (No Fillers or Additives)
Make homemade baking powder in minutes with clean ingredients. A perfect pantry staple for any homesteader.
-
Baking | Cook | Desserts | Holiday Recipes
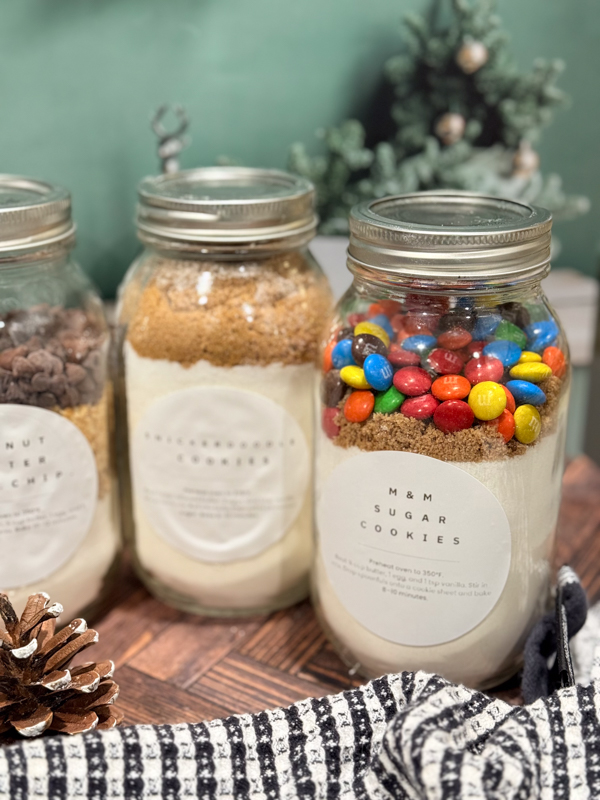
Cookie Mixes in a Jar: Homemade Gifts with Heart
Here’s a jar full of homemade goodness, layered with love! Inside, you’ll find all the dry ingredients needed to make a delicious batch of cookies—just add a few simple wet ingredients, mix, and bake. Whether you share them or keep them all to yourself (we won’t tell!), these cookies are sure to bring a little joy and a lot of sweetness to your day.
-
Baking Substitutions: A Homesteader’s Guide
When the nearest store is miles away and pantry staples run low, smart baking substitutions keep homemade treats on track. This guide explains how to swap butter, eggs, flour, sugar, dairy, and more—so you can keep baking delicious, reliable goodies with whatever you have on hand.
-
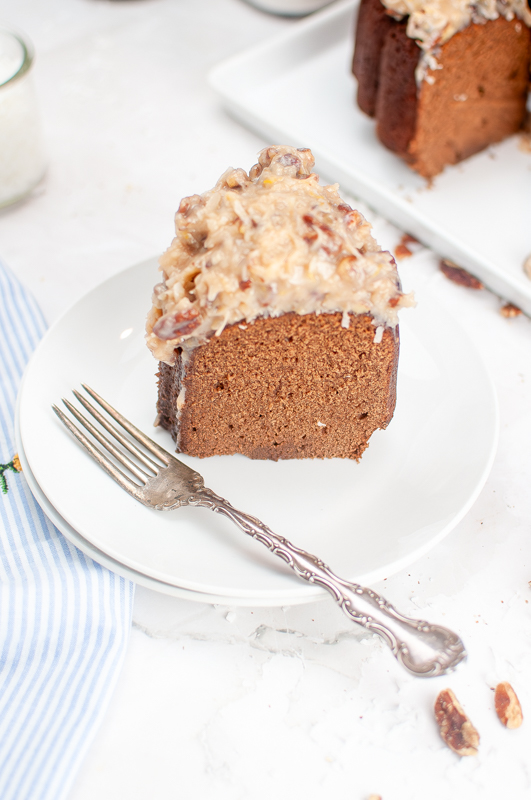
Homemade German Chocolate Bundt Cake
This Homemade German Chocolate Bundt Cake is rich, moist, and topped with coconut-pecan frosting made from scratch.