How to Freeze-Dry Herbs in a Harvest Right Freeze Dryer
If you grow fresh herbs, you know how quickly they can go from abundant to gone. During the growing season, our organic garden can produce more basil, rosemary, and dill than we can use fresh. Instead of letting that harvest go to waste, we freeze-dry herbs in our Harvest Right Freeze-dryer and enjoy them long after the growing season ends.
Learning how to freeze-dry herbs has become one of our favorite ways to preserve the garden. Freeze-dried herbs are lightweight, easy to store, and incredibly convenient to grab when we are cooking. Harvest Right also notes that different herbs can be freeze-dried together in the same batch, which is exactly what we do with basil, rosemary, and dill.
In our Harvest Right, we run these three herbs together at 90–95°F with three hours of extra dry time. That is the method that has worked well for us, and I’ll walk you through our entire process below.
Affiliate disclosure: We use a Harvest Right freeze dryer in our own home, and we found the medium size to be a great fit for our family. I am a Harvest Right affiliate, which means I may earn a commission if you make a purchase through my link, at no additional cost to you.
If you are researching machines, you can learn more about the Harvest Right freeze dryer we use at home.

Why We Freeze-Dry Herbs From Our Garden
We grow our basil, rosemary, and dill in our organic garden, and during the growing season we often have more than we can use immediately. Herbs can certainly be preserved in several ways. University of Minnesota Extension lists air drying, dehydrating, microwave drying, and freezing as options for preserving culinary herbs.
Freeze-drying is the method we prefer because it allows us to preserve a large amount of herbs at once without having bundles hanging around the kitchen for days or weeks. It also gives us another way to make the most of what we grow. Instead of watching beautiful basil or dill go to seed before we can use it, we can harvest it and get it preserved for later.
Freeze-drying works by first freezing the food and then using a vacuum to remove frozen water as vapor through a process called sublimation. Utah State University Extension explains that this process helps food retain much of its original texture, flavor, and nutrition when rehydrated.
For herbs, we usually aren’t rehydrating them before cooking. We simply crumble or crush what we need directly into our recipes.
What Herbs Can You Freeze-Dry?
Many culinary herbs can be freeze-dried.
Some good options include:
- Basil
- Rosemary
- Dill
- Parsley
- Cilantro
- Mint
- Thyme
- Oregano
- Sage
- Chives
Harvest Right specifically states that different herbs can be freeze-dried together in the same batch. That is especially convenient if you have an herb garden producing several varieties at once. We frequently harvest basil, rosemary, and dill together, so those are the three we commonly put into the same freeze-dryer load.
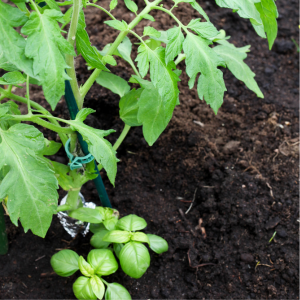
When Should You Harvest Herbs for Freeze-Drying?
Whenever possible, harvest herbs when they are healthy and at their best rather than waiting until they are starting to decline. University of Minnesota Extension recommends harvesting herbs after the dew has dried.
We like to harvest what we need from the garden, bring everything inside, and start preparing it for the freeze dryer fairly quickly. This is also a great time to sort through the harvest. Remove anything that is:
- Yellowing
- Brown
- Damaged
- Diseased
- Bug-eaten beyond what you want to keep
The better your herbs look going into the freeze dryer, the better your finished product will be.
Should You Wash Herbs Before Freeze-Drying?
If your herbs need washing, rinse them gently in cool water.
University of Minnesota Extension recommends lightly rinsing herbs when needed and patting them dry before dehydrating. The same idea is helpful before freeze-drying because removing excess surface moisture means the machine doesn’t have to remove unnecessary water.
After rinsing, we allow the herbs to drain and remove as much water as possible.
You can use:
- A salad spinner
- Clean kitchen towels
- Paper towels
The herbs do not need to be dehydrated or wilted before loading them. Just make sure they are not dripping wet.
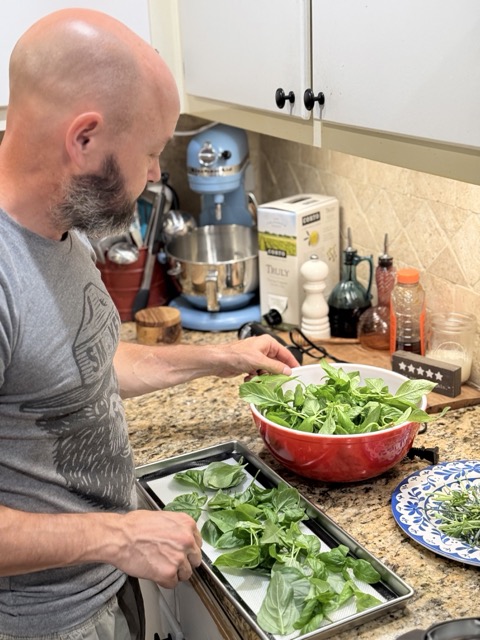
How to Prepare Basil, Rosemary and Dill to Freeze-Dry
One of the nice things about learning how to freeze-dry herbs is that there isn’t much prep involved.
Basil
We remove damaged leaves and spread the good basil leaves across the tray.
You don’t need to finely chop basil before freeze-drying. In fact, keeping the leaves larger gives you more options later. You can store the leaves whole and crumble them when you are ready to cook.
Rosemary
Rosemary can be freeze-dried on the stem or removed from the woody stems first.
If we are processing a large harvest, removing the rosemary leaves ahead of time can make storage easier. However, there is nothing wrong with freeze-drying sprigs and removing the stems afterward.
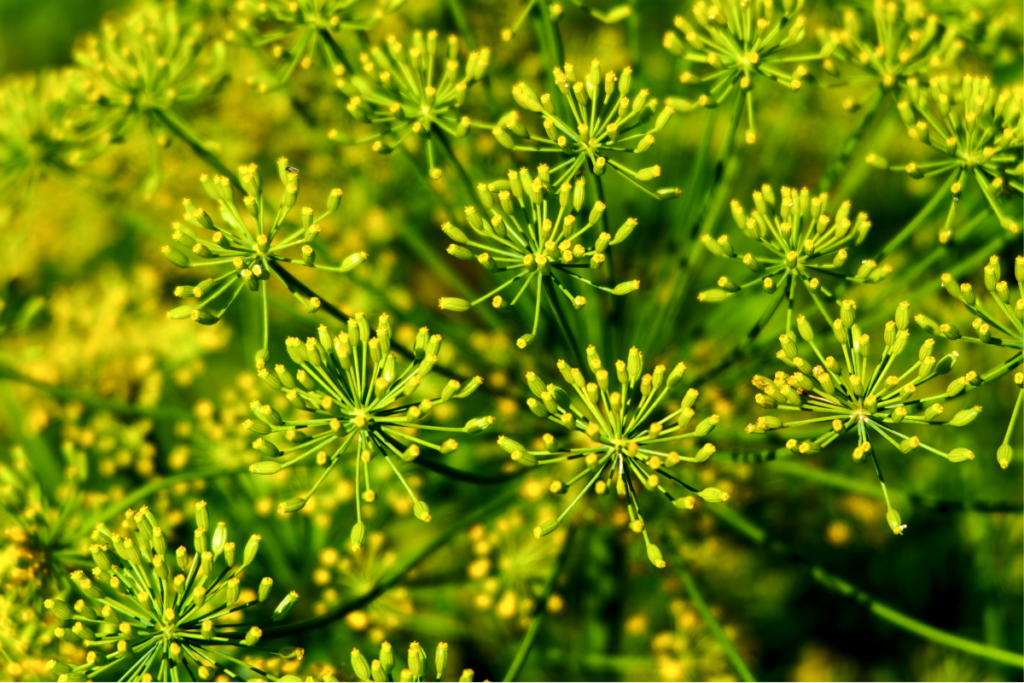
Dill
Dill’s delicate fronds work beautifully on the trays. Trim away any damaged sections and spread the dill loosely instead of compressing it into a thick mat.
Dill can lose flavor fairly quickly after harvesting, and traditional drying can also reduce some of its flavor, according to University of Minnesota Extension. That’s another reason we like getting our dill preserved while it is fresh from the garden.
How to Load Herbs on Harvest Right Trays
Spread the herbs across your Harvest Right trays in relatively even layers. Herbs are incredibly lightweight, so it can look like you have an enormous amount piled onto a tray. Resist the urge to mash them down into a dense layer.
We want the herbs spread loosely enough that the machine can efficiently remove the moisture.
You can put one type of herb on each tray or divide a tray between multiple varieties. If you are freeze-drying several herbs together, keeping each variety on a separate tray makes it easier when it is time to package everything.
For example:
- Tray 1: Basil
- Tray 2: Dill
- Tray 3: Rosemary
- Tray 4: Additional basil or mixed herbs
The exact arrangement doesn’t matter as much as keeping everything organized enough that you know what you have when the cycle is finished.
Our Harvest Right Settings for Freeze-Drying Herbs
For basil, rosemary, and dill, we use:
Temperature: 90–95°F
Extra Dry Time: 3 hours
We freeze-dry all three herbs together using these settings.
These are the settings that have worked well for us in our Harvest Right machine. Your drying time may vary depending on the amount of herbs, how much moisture they contain, your machine model, room temperature, and other conditions.
The important thing is not simply whether the timer has finished. You always want to make sure the herbs are completely dry before packaging them.
If you are brand new to using your machine, you may also want to read our Freeze-Dryer Tips for Beginners: Harvest Right 101 guide for basic machine setup, dryness testing, packaging, and troubleshooting.
How Do You Know When Freeze-Dried Herbs Are Done?
Herbs should feel completely dry and crisp. Leaves should crumble easily when rubbed between your fingers. Rosemary needles should be brittle rather than flexible, and dill should feel dry throughout rather than soft or damp.
Check herbs from different areas of each tray instead of testing only one spot. Utah State University Extension explains that properly freeze-dried foods need to reach a sufficiently low residual moisture level for safe storage. It also stresses that freeze-drying does not kill microorganisms, so safe food handling before and after processing still matters.
If anything feels questionable, add more dry time. I’d much rather give a batch extra time than package herbs that still contain moisture.

How to Store Freeze-Dried Herbs
Once your herbs are completely dry, package them promptly because dried foods can absorb moisture from the surrounding air.
Utah State University Extension notes that low humidity is important for stored dry foods because moisture absorption can lead to spoilage. Cooler storage conditions also help maintain food quality.
For herbs we plan to use regularly, mason jars are very convenient. You can also use food-grade Mylar-style barrier bags for longer-term storage.
Whichever container you choose, protect your freeze-dried herbs from:
- Moisture
- Heat
- Direct sunlight
- Air exposure
Label the container with the herb name and the date it was freeze-dried.
We also prefer storing herbs whole whenever possible and crushing them when we need them. That keeps us from ending up with a jar full of powder unless powder is what we specifically want.
Do Freeze-Dried Herbs Need to Be Rehydrated?
Usually, no. One of the reasons freeze-dried herbs are so easy to use is that you can crumble them directly into many recipes.
We use them in:
- Soups
- Stews
- Pasta sauces
- Homemade bread
- Roasted vegetables
- Seasoning blends
- Marinades
- Casseroles
- Dressings
- Dips
If the herb is going into a recipe that already contains liquid, it will naturally absorb some moisture during cooking.
You can also crush freeze-dried herbs into a powder when you want them to disappear into a seasoning blend or recipe.
Can You Freeze-Dry Different Herbs Together?
Yes, and this is one of my favorite parts of the process. Harvest Right says different herbs can be freeze-dried together in the same batch.
Since our basil, rosemary, and dill all do well at 90–95°F with three additional hours of dry time, we routinely process them together. It saves us from running a separate cycle every time we harvest a small amount of one herb.
If you are combining herbs, I recommend keeping particularly strong-smelling herbs somewhat separated on the trays rather than mixing everything into one big pile. Keeping them separated also makes packaging much easier.
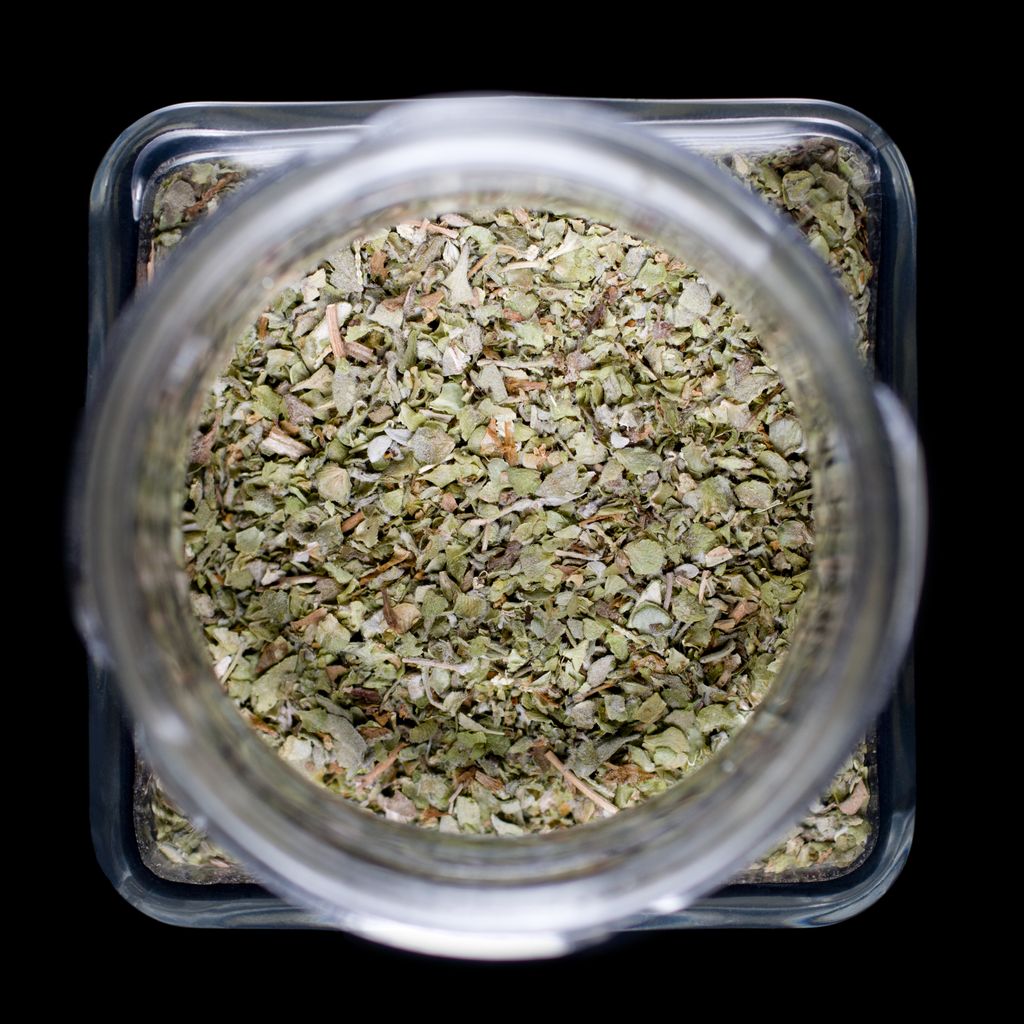
Freeze Drying Herbs vs. Dehydrating Herbs
A dehydrator remains a useful food-preservation tool, even though we use other methods, too. The University of Minnesota Extension recommends dehydrating herbs at about 95–115°F. The leaves are ready when they crumble easily.
Freeze-drying uses a different process. It freezes the herbs first, then removes moisture under a vacuum. For us, the biggest benefit is having another way to preserve a large garden harvest. When basil, dill, and rosemary are ready at the same time, we can load the dehydrator trays and run a batch. Once dry, we store the herbs in our pantry instead of trying to use everything before it spoils.
Is Freeze Drying Herbs Worth It?
If you already own a Harvest Right, herbs are absolutely worth trying.
They require very little preparation, don’t take up much pantry space after drying, and can help you preserve herbs that might otherwise go to waste.
For gardeners, that’s especially useful.
We put time and work into growing our organic herbs, so we want to use as much of the harvest as possible. Freeze-drying allows us to enjoy herbs from our garden long after the outdoor growing season has ended.
If you are considering buying a machine primarily for garden preservation, we use a medium Harvest Right freeze dryer. The medium has been a good size for our family because we can preserve a useful amount of food without needing the space of one of the larger machines.

Frequently Asked Questions About How to Freeze-Dry Herbs
What temperature do you freeze-dry herbs at?
We freeze-dry our basil, rosemary, and dill together at 90–95°F in our Harvest Right and add three hours of extra dry time. These are the settings that work well for our herbs and machine, so always verify that your own herbs are completely dry before packaging.
Can basil, rosemary and dill be freeze-dried together?
Yes. We routinely freeze-dry all three in the same batch. Harvest Right also states that different types of herbs can be freeze-dried together.
Should I chop herbs before freeze-drying?
You can, but you don’t have to. We generally prefer leaving leaves and herbs fairly large and crushing them after freeze-drying when we are ready to use them.
Do herbs need to be pre-frozen?
They don’t have to be pre-frozen before going into a Harvest Right food cycle. If you prefer to pre-freeze your trays, you can, but we don’t consider it necessary for this method.
How should I store freeze-dried herbs?
Store them in airtight packaging away from moisture, heat, and direct light. Mason jars work well for herbs you use regularly, while food-grade barrier bags are another option for longer storage. Keeping dry foods protected from humidity and excessive heat helps preserve their quality.

Final Thoughts on How to Freeze-Dry Herbs
Learning how to freeze-dry herbs is one of the easiest ways we’ve found to preserve more of what comes out of our organic garden. Instead of rushing to use fresh basil, rosemary, and dill, we can harvest them together and preserve them in one Harvest Right batch.
Our basic method is simple: harvest good-quality herbs, wash them if necessary, remove excess surface moisture, spread them on the trays, and run our basil, rosemary, and dill together at 90–95°F with three hours of extra dry time. Once everything is completely crisp and dry, we package it promptly and add it to the pantry.
It’s a simple process, but it means the herbs we worked hard to grow don’t go to waste—and months later, we can still reach into the pantry and cook with herbs that came straight from our own garden.
If you’re researching a freeze dryer for preserving your own garden harvest, you can learn more about the Harvest Right freeze dryer we use at home.
-
Peppermint Muddy Buddies: Easy Christmas Treat Recipe
Peppermint Muddy Buddies are an easy Christmas treat with chocolate and peppermint that’s perfect for parties, gifts and snacking.
-
Fall & Thanksgiving Homestead Gift Guide
Celebrate the season with our Fall & Thanksgiving Homestead Gift Guide! Discover thoughtful gifts for gardeners, home cooks, and country living enthusiasts. From cozy fall clothing and kitchen essentials to garden supplies and sweet treats, these finds bring a little extra warmth to the season. Whether you’re shopping for Thanksgiving or getting a head start on holiday gifting, you’ll find practical gifts for a homegrown lifestyle.
-
Butterfinger Balls Recipe: Easy No-Bake Candy Treat
Butterfinger Balls Recipe made with a crunchy peanut butter filling and chocolate coating for an easy no-bake treat.
-
DIY Kitchen Spray Without Vinegar for Natural Cleaning
Make this DIY kitchen spray without vinegar using Castile soap and essential oils for natural cleaning. Perfect for Granite countertops.
-
How to Clean a Bathtub Drain the Eco‑Friendly Way
Keep your bathtub drain flowing with simple, non‑toxic ingredients you already keep in your homestead pantry. This natural method clears hair, soap scum, and buildup without harsh chemicals, protects septic systems, and keeps your bathroom fresh and safe for daily use.
-
Homemade Sourdough Bagels for Cozy Mornings
This simple sourdough bagel recipe uses an overnight rise to create chewy, flavorful bagels that fit beautifully into a cozy homestead routine.