How to Freeze Homemade Stock
One of the best ways to stretch your grocery budget and add flavor to your meals is by making your own stock at home. Whether it’s chicken, beef, vegetables, or bone broth, homemade stock is packed with nutrients and rich, comforting flavor. I usually save some in a jar to use up soon, and then when I have extra stock, freezing it is the perfect solution to always have some on hand for soups, stews, sauces, and more. Today I’m sharing how we freeze our homemade stock and one of our favorite tools that makes it even easier.
If you need a good recipe to start with, be sure to check out our Homemade Chicken Stock Recipe on TheOklahomaHomesteader.com.


Why Freeze Homemade Stock?
Homemade stock doesn’t have preservatives like store-bought versions, so it has a shorter shelf life in the fridge. Freezing it preserves its quality for months without sacrificing flavor or nutrients. Plus, having stock ready to go makes cooking from scratch quicker and easier.
Our Favorite Freezing Method: Souper Cubes
When it comes to freezing stock, one of our favorite kitchen tools is Souper Cubes. These silicone trays are specially designed for freezing liquids like stock, broth, and soups. Each tray has measured sections, usually ½ cup, 1 cup, or 2 cups, so you can portion exactly what you need without guessing.

We love Souper Cubes because:
- They are sturdy, so you can easily fill them without spills
- They freeze evenly and pop out easily
- They stack neatly in the freezer
- They are dishwasher safe for easy cleanup
If you don’t have Souper Cubes, you can still freeze stock in regular ice cube trays for small amounts or in freezer-safe containers or bags for larger quantities. Just be sure to leave a little room at the top because liquids expand as they freeze.


Step-by-Step: How to Freeze Homemade Stock
- Cool the Stock
After making your stock, let it cool completely. You can place the pot in an ice bath to speed up the cooling process if needed. - Strain and Skim
Strain out any solids and skim off excess fat if you prefer a lighter broth. You can use a fine-mesh strainer or cheesecloth for a smooth result. - Portion and Fill
Ladle the cooled stock into Souper Cubes, ice cube trays, or freezer containers. If using Souper Cubes, fill each section to your desired measurement. - Freeze Until Solid
Place your trays in the freezer on a flat surface and freeze until completely solid, usually overnight. - Transfer and Store
Once frozen, pop out the stock cubes and transfer them to a labeled freezer bag or an airtight container. Don’t forget to write the date and the type of stock.

How Long Does Frozen Stock Last?
Frozen stock can last up to six months for the best quality. After that, it’s still safe to use, but the flavor may start to fade. We always try to use ours within three to four months for the freshest taste.
Quick Tips for Using Frozen Stock
- Toss a cube or two into a pan when sautéing vegetables for extra flavor.
- Add a few cubes to sauces or gravies for richness.
- Melt larger portions for soup bases, risotto, or cooking grains like rice or quinoa.
Making and freezing your own stock is a simple yet powerful way to boost self-sufficiency in the kitchen. By using leftover bones, vegetable scraps, and herbs, you’re reducing waste while creating a nutrient-rich base for soups, stews, and sauces. Homemade stock is free from preservatives and excess sodium, often found in store-bought versions, making your meals healthier and more wholesome. Best of all, it saves money, turning what would be kitchen waste into a flavorful, versatile ingredient. It’s little steps like these that build lasting habits, stretching your budget while bringing comfort and nourishment to the table.
Be sure to visit TheOklahomaHomesteader.com to get our full Homemade Stock Recipe—it’s a must-try if you haven’t yet!
-
How to Make Homemade Buttermilk (Perfect for Baking)
Learn how to make homemade buttermilk in minutes. A simple, perfect substitute for baking and everyday recipes.
-
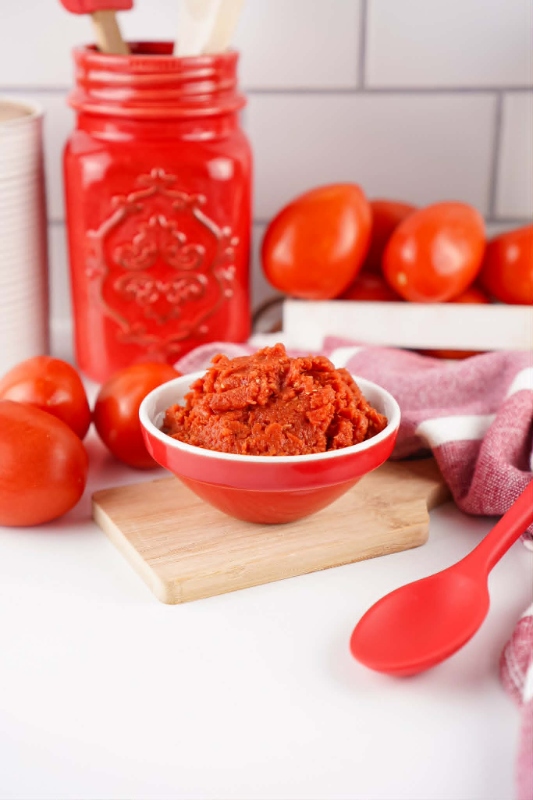
Easy Rustic Homemade Tomato Paste (No Additives)
Make rustic homemade tomato paste with fresh tomatoes. No additives, rich flavor, and perfect for preserving your garden harvest.
-
Homemade Hot Dog Buns (Soft and Easy Homestead Recipe)
These homemade hot dog buns bake up soft, golden, and perfect for any backyard meal. The dough comes together with simple ingredients and a gentle rise that keeps each bun tender. They hold their shape without feeling heavy, making them ideal for hot dogs, sausages, or easy weeknight sandwiches.
-
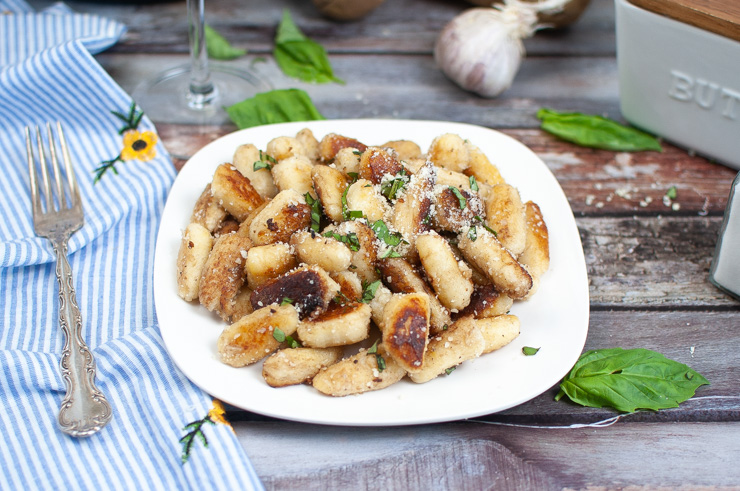
Make your own pasta
Welcome to the delightful world of homemade pasta! If you’ve ever savored the taste of fresh pasta, you know there’s nothing quite like it. Making pasta from scratch may seem daunting, but it’s simpler than you think and deeply satisfying. In this post, we’ll guide you through the process, from flour to fork! The Joy…
-
Homemade Sourdough Bread
Welcome to the wonderful world of homemade sourdough bread! There’s something almost magical about the process of making sourdough. It’s not just baking; it’s an age-old tradition, a craft that has been passed down through generations. Today, I want to share with you how you can start this journey in your own kitchen. The Magic…
-
Homemade Cheese Making
Welcome to the art of homemade cheese making! If you’re lucky enough to have dairy cows, you’re already on the path to creating delicious, fresh cheese right in your own kitchen. Let’s embark on a journey from milking your cows to savoring the rich flavors of your homemade cheese. The Joy of Cheese Making Making…