
How to Make Homemade Butter in a Stand Mixer: Only 1 Ingredient
I’ve found that making homemade butter in a stand mixer is not just easy, but also incredibly satisfying, and you only need one ingredient: high-quality heavy cream. Once you’ve gathered your supplies, it’s all about the technique. Starting with room temperature cream makes a noticeable difference, and the transformation happens right before your eyes. You’ll soon see how the magic unfolds, but there are key steps and tips that guarantee you end up with the best possible result. So, let’s explore how to achieve that perfect, creamy texture together.

Why Make Your Own Butter?
Making your own butter is not just a fun kitchen project; it’s an opportunity to enjoy fresher, creamier butter without any additives. When I whipped up my first batch, I realized I was also tapping into a world of health benefits. Homemade butter contains no preservatives, allowing me to savor natural flavors while controlling the ingredients.
Cost savings are another perk. Buying high-quality butter can add up, but with just one ingredient, I found that making it myself was not only economical but also a delightful culinary creativity outlet. The flavor enhancement is undeniable; the rich, creamy texture elevates everything from toast to baked goods.
There’s a sustainability impact, too. By making my own butter, I reduce packaging waste and support local dairy farmers. Plus, it’s a fantastic way to bond with family. I’ve had my daughter join me in the kitchen, turning a simple task into a fun learning experience.
I’ve even gifted jars of my homemade butter, and people loved it! It’s a thoughtful gift idea that also highlights food preservation, turning something ordinary into a personal touch. So why not give it a try? You might just fall in love with the process!
What You Need to Get Started
To get started on your homemade butter journey, you’ll need just a few essential items. First, a stand mixer is key; while most stand mixer types will work, I’ve found that those with a powerful motor handle the process best.
Next, you’ll want to select high-quality heavy cream. For cream selection tips, aim for organic or locally sourced options when possible, as they often yield richer butter consistency.

You’ll also need some sturdy storage containers for your finished butter. Glass jars work well and look great in the fridge! As for kitchen equipment, a spatula will be handy for scraping down the sides of your mixing bowl.

Don’t forget about ingredient sourcing; choose fresh cream for the best flavor. Finally, keep some safety precautions in mind: verify your mixer is stable while working and always monitor it closely to avoid over-mixing. With these butter-making essentials in place, you’re well on your way to creating delicious homemade butter. Trust me, it’s a fun and rewarding process that’ll elevate your culinary creations!
Step-by-Step: How to Make Homemade Butter in a Stand Mixer
With just a few simple steps, you’ll find that making butter in a stand mixer is not only easy but also incredibly satisfying. Start by ensuring your cream is at room temperature; this will help achieve the perfect butter consistency. Set your stand mixer to a medium mixing speed and pour in the cream. I usually mix it for about 10 minutes, watching as the butter texture begins to change.
As the mixture thickens, you’ll notice the buttermilk separating from the butter. Once you reach a solid form, reduce the mixing speed to low. This is the time to contemplate adding salt or incorporating flavors like herbs or garlic for a gourmet twist. After mixing, strain off the buttermilk using a cheesecloth lining your colander. Take your butter in the cheesecloth and rinse your butter under cold water to remove any remaining buttermilk, which helps improve shelf life.

What Can I Do With The Buttermilk?
When making butter, the leftover buttermilk can be used in various ways. You can use it for baking biscuits, pancakes, or muffins, as it adds a slight tang and helps create a tender texture. It also works well in marinades for fried chicken or as a base for salad dressings and creamy soups. If you don’t plan to use it immediately, you can refrigerate or freeze it for later use.

Now, you can shape your butter and store it in airtight storage containers. I love these wide mouth mason jars. Don’t forget to label them! You can make them using a thermal printer or label maker. Enjoy the satisfaction of spreading your homemade butter on fresh bread or using it in your favorite recipes. Making butter is not just a skill; it’s a delightful innovation in your kitchen.

How to Know When Your Homemade Butter Is Ready
Knowing when your butter is ready can be a game-changer in the butter-making process. As I’ve learned, there are several key indicators you can rely on to guarantee you’re on the right track. Here’s what to look for:
- Visual cues: Watch for the change from liquid to solid. You’ll notice the mixture starting to thicken and clump.
- Butter consistency: It should feel creamy yet firm. If it’s still too soft, it may need more mixing time.
- Texture assessment: Your butter should have a smooth texture without any remaining liquid. Any excess buttermilk should be separated during this process.
- Taste test: Don’t forget to sample! The flavor profile should be rich and creamy—a perfect match for your favorite bread.
To confirm everything’s going well, I also recommend a temperature check. The ideal temperature for butter-making is around 60°F. Once you see these signs and complete the separation process, you’ll know your homemade butter is ready to be enjoyed. Keeping these tips in mind will guarantee that your butter turns out delicious every time!
Tips for the Best Homemade Butter
Achieving the best homemade butter is all about attention to detail and using quality ingredients. Start with fresh, high-fat cream, ideally at room temperature. This helps create a creamy butter texture, allowing the fat to emulsify better. I recommend experimenting with different cream temperatures—try cold and slightly warmed cream to discover which texture and flavor profiles you prefer.
When it comes to mixing speeds, I usually start slow to incorporate air, then increase to medium-high to churn effectively. A kitchen towel over the mixer helps keep your area tidy. This way, I get that perfect butter consistency without splattering everywhere! As for salt options, adding a pinch of sea salt enhances the flavor beautifully, but you can also opt for unsalted if you’re using your butter in baking.

Don’t forget about serving suggestions; homemade butter spreads wonderfully on warm bread, or you can infuse it with herbs for a gourmet touch. Finally, choose the right storage containers—glass jars or airtight plastic are best to maintain freshness. Homemade butter is not only delicious but also packed with nutritional benefits, making it a worthy addition to any kitchen. Enjoy the process, and don’t hesitate to get creative!
How to Store and Use Your Fresh Butter
Once you’ve made your delicious homemade butter, it’s important to know how to store and use it properly to keep it fresh and flavorful. I always recommend using airtight storage containers to maximize butter shelf life. You can keep your butter in the refrigerator for about 1-2 weeks, but if you want it to last longer, freezing butter is a great option! Just remember to wrap it tightly in parchment paper or plastic wrap to maintain its butter consistency.
Here are some quick tips for using and storing your fresh butter:
- Use butter measurements: Stick to the correct measurements in your favorite butter recipes for the best results.
- Label and date: If you’re freezing butter, label your containers with the date to keep track of freshness.
- Keep it soft: Let your butter sit at room temperature for a bit before using it in butter applications like spreading or baking.
- Experiment: Don’t be afraid to try different butter recipes and applications, from baking to savory dishes!
With these tips, you’ll enjoy the full flavor of your homemade butter for weeks to come!

Flavor Variations: Herb, Honey, and More
Homemade butter is a blank canvas just waiting for your creativity! Once you’ve mastered the basics, it’s time to explore exciting flavor variations that can elevate your butter to new heights.
Start with herb infusions like basil or rosemary for a fresh, savory twist. Just mix in chopped herbs after the butter has formed, and you’ve got a delicious spread for bread or veggies. If you’re in the mood for something sweet, consider adding honey or sweet additions like maple syrup.
For a bit of heat, try incorporating your favorite spice blends or flavored salts. They can add depth to your butter, making it perfect for grilled meats or roasted vegetables. Feeling zesty? Citrus zest—think lemon or orange—can brighten up your butter, making it ideal for seafood dishes.
If you want to get adventurous, fruit purees can introduce a fruity flair, while nut butters can create a creamy, nutty delight. Don’t forget about seasonal variations; pumpkin spice butter is perfect for fall! The possibilities are endless, so grab your stand mixer and start experimenting!
Troubleshooting: Common Butter-Making Mistakes
Making butter can be a delightful experience, but sometimes things don’t go as planned. I’ve faced my share of mishaps, and I want to help you troubleshoot any common butter-making mistakes. Here are some key areas to keep an eye on:
- Butter temperature issues: Make sure your cream is at the right temperature—too cold, and it won’t churn properly.
- Overchurning problems: Overchurning butter can cause it to become too hard and dry as it loses too much moisture. This makes it crumbly instead of smooth and spreadable. Additionally, excessive churning can reintroduce the buttermilk, affecting the butter’s texture and shelf life.
- Storage container choices: Use a clean, airtight container to prevent your butter from absorbing odors and flavors.
- Cream quality impact: Always opt for high-quality cream; it makes a noticeable difference in flavor and texture.
Adjusting the mixing speed can help with butter consistency troubleshooting, and ensuring your equipment is squeaky clean is vital. If you’re trying ingredient substitutions, be cautious, as they can affect the outcome. Remember, each butter-making experience is a learning opportunity. With practice and attention, you’ll create delicious homemade butter that’ll impress everyone!
Conclusion
To sum up, creating creamy, enchanting butter at home is a delightful endeavor that anyone can tackle. With just one simple ingredient, you can transform heavy cream into a luscious spread that elevates your meals. Don’t shy away from experimenting with flavors or shapes—let your creativity shine! So, gather your gear, get mixing, and enjoy the satisfaction of savoring your very own homemade butter. It’s a tasty triumph you won’t regret!

Bread Recipes:
- Copycat Cheesecake Factory Brown Bread
- Homemade Jiffy Cornbread Copycat Recipe
- Baking Up the Perfect Milk Bread: A Cozy Kitchen Adventure
- Homemade Jiffy Cornbread Copycat Recipe
- Sourdough Bread Recipe in Dutch Oven : Christmas Poinsettia Recipe
-
Beyond Digestion: How Parasites May Impact Energy, Skin, Mood, and Immunity
Parasitic infections don’t always just cause obvious digestive symptoms. In some cases, they may also contribute to fatigue, skin concerns, mood changes, and immune system imbalances. Learn how these hidden infections can affect overall wellness, the signs to watch for, and practical steps to support your body’s natural defenses and recovery.
-
Halotherapy: What It Is and How It Can Help
Learn what halotherapy is, how salt therapy may support respiratory health, who should avoid it, and ways to try it at home.
-
Why Healing the Gut Starts With Environment, Not Supplements
Emma Magnolia is a holistic health educator, therapeutic bodyworker, and lifestyle practitioner who discusses that supplements can help us have our best gut health possible, they are not the foundation. Instead, it is the daily conditions surrounding digestion that best support a healthy gut.
-
Baking | Cook | Desserts | Homemade Pantry
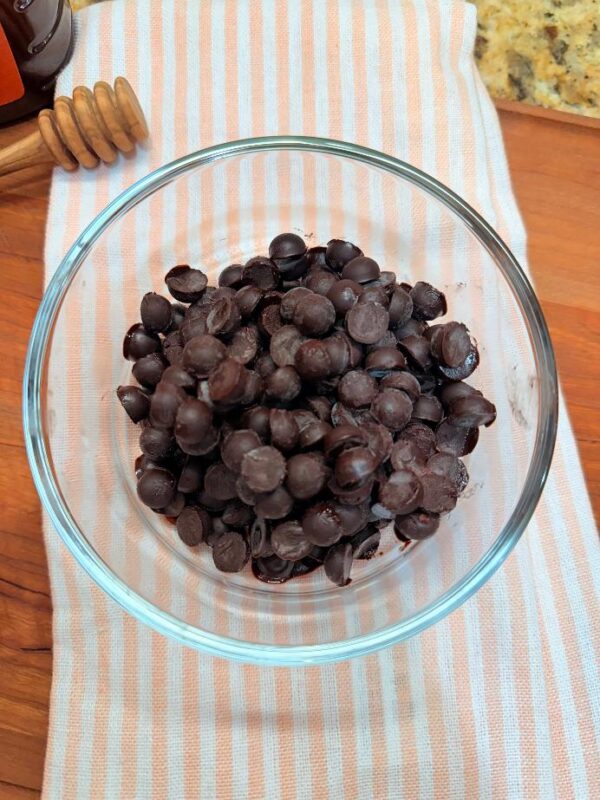
How to Make Homemade Chocolate Chips (Simple & Budget-Friendly)
Make homemade chocolate chips with simple ingredients and honey. Easy, natural, and perfect for baking. They are also cost effective.
-
Growing Aloe Vera and Using It for Home Remedies
Learn how to grow aloe vera and use it for simple home remedies like burns, skin care, and natural healing.
-
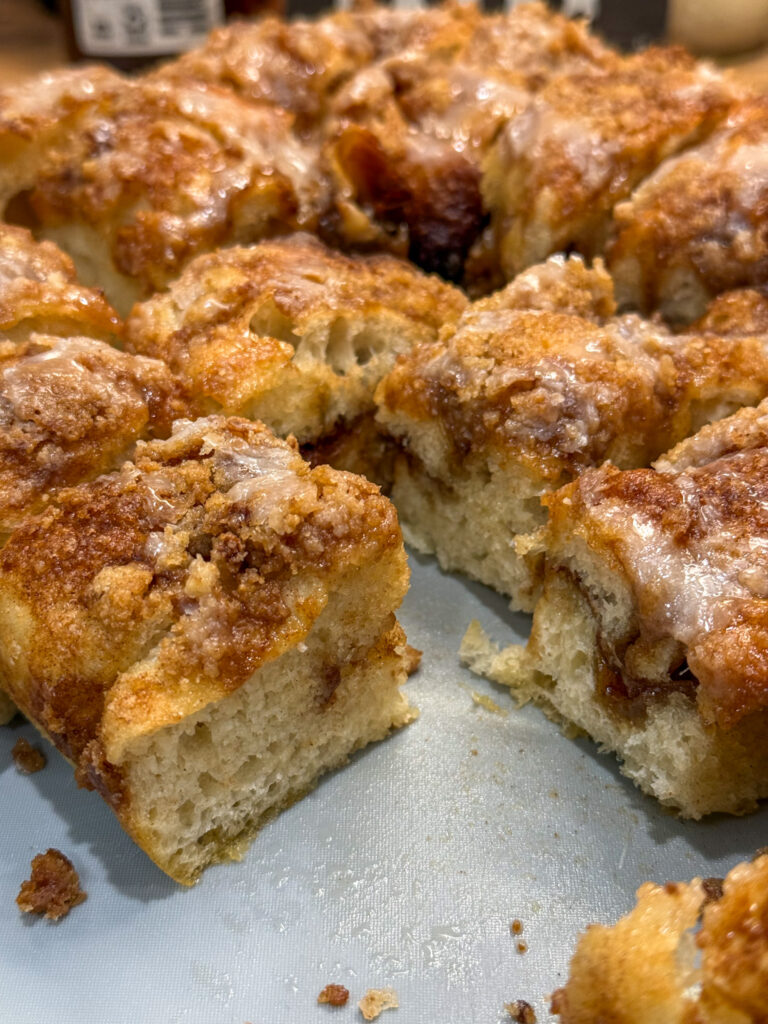
Cinnamon Roll Focaccia Bread Recipe (Better Than Cinnamon Rolls!)
Try this cinnamon roll focaccia recipe with buttery cinnamon filling, crumble topping, and sweet icing. Better than cinnamon rolls.
-
Heavy Metal Toxins: How to Avoid Them Naturally
Learn what heavy metal toxins are, common sources, and simple ways to reduce exposure naturally in your daily life.


Going to have to bust out the wife’s mixer and start making my own butter! Thanks for the instructions.