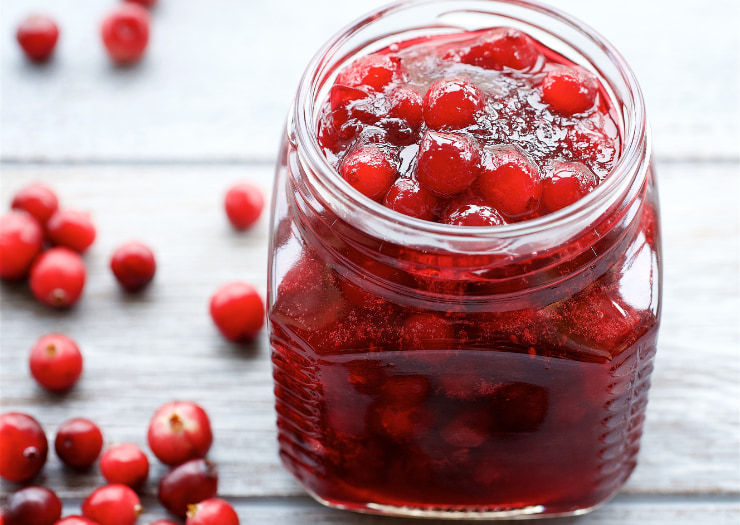
Homemade Violet Jelly Recipe
Are you feeling a bit adventurous in the kitchen? Then why not try your hand at making something unique and delicious – Sweet Violet Jelly! This fun and simple homemade Violet Jelly recipe will have your friends asking for seconds. With minimal effort, you can take your culinary skills to the next level with this vibrant jelly with its beautiful lavender color that is sure to spark conversation. Please Note: For this recipe we did not use pectin but we did include instructions for those who want to use it! Our full homemade violet jelly recipe without pectin is in the recipe card below.
Let’s dive into what it takes to make this delectable treat!
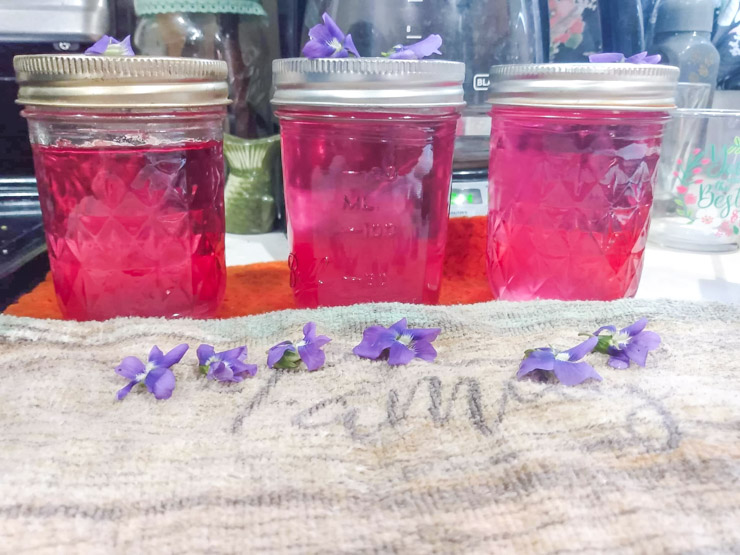
Homemade Violet Jelly Recipe
This recipe isn’t as complicated as one might assume. In fact, all of the ingredients are likely already in your pantry or refrigerator. The key to success is quality ingredients; For violet jelly, use wild violets (Viola odorata) or common blue violets (Viola sororia). These are edible and safe for making jelly, offering a mild floral taste and a lovely purple hue. Pick violets in the morning after the dew dries for the best flavor. Use only the petals for a clearer, brighter jelly. Once prepared, let these special flavors blend together until they reach just the right consistency, and you’ll be ready to enjoy!
Violet Jelly is an ideal snack for any occasion, from casual get-togethers to more formal gatherings. Whether served on its own or paired with toast or crackers, it delivers a delightful surprise every time. Place jars of Violet jelly on your next charcuterie board to delight your guests! So don’t wait another minute – let’s start making some jelly!
Is Violet Jelly Good For You?
Violet jelly is a delicious treat with many potential health benefits. This recipe uses wild violets, Viola odorata and common blue violets (Viola sororia) for a unique flavor that you won’t find in any other type of jelly. The flowers are infused in water to make a tea or juice, which can be used as the base for this healthy snack.


The violet infusion can be strained through cheesecloth and combined with sugar and pectin to create an easy-to-make jam. You may also choose to add some honey or maple syrup as sweeteners – both work just as well! If you’d like something closer to traditional jellies, simply use a tablespoon of powdered gelatin instead of pectin. ( We did not use Pectin for our recipe)
Creating your own homemade violet jelly isn’t hard at all! With just the right ingredients and careful preparation, you can enjoy a refreshingly sweet delicacy made from natural ingredients. Plus, it’s incredibly nutritious – full of antioxidants, vitamins A & C, and trace minerals that help keep us healthy. So why not give this great recipe a try? After all, there’s nothing quite like having your very own homemade violet jelly!
Tools And Utensils
It may seem like a daunting task to make violet jelly, but don’t let that stop you from having a go at it! This section will provide the tools and utensils necessary for making delicious homemade violet jelly. Who says you can’t have your cake and eat it too?
The first step is to gather up some mason jars (or jelly jars) or canning jars of various sizes. I like to use a quart-size canning jar. Having quart-size canning jars is recommended as they are great for larger batches. Place these jars in a boiling water bath to sterilize them before use. I sometimes wash jars in the dishwasher on the sanitize setting if it is the first time using them. Make sure all the lids fit securely on each jar so that no bacteria gets in.
Once the jars are washed and sterile, then you’ll need ingredients such as fresh violet blossoms, sugar, (pectin if you want to add), lemon juice, and water. Use a pint jar as a measurer when adding ingredients into the mixture. Once everything is mixed together well, ladle the jelly into separate containers using either plastic spoons or stainless steel ladles with pourable handles. Allow the jelly to cool completely before putting it onto labels or sealing with lids.
Making this homemade violet jelly recipe doesn’t have to be intimidating; just take it one step at a time, and you’re bound to get great results! With this guide in hand, nothing should stand between you and your next batch of succulent violet jelly – except maybe an empty stomach!
Preparation
Preparing this homemade violet jelly recipe is an exciting process – one that requires creativity and a bit of trial and error. To start, you’ll need fresh flowers, enough water to cover the flowers in a pot, some hot jars to ladle jelly into once it’s done cooking, and if available, two tablespoons of lemon juice. Begin by boiling the water in a pot with the flowers until they become soft and fragrant – this should take around 10 minutes. Once finished, strain the mixture through a coffee filter or cheesecloth into a bowl, then let cool to room temperature.
Now you have your beautiful violet water! Next up is adding Pomona’s Pectin (if you are using it), we did not- stir 1/2 teaspoon per cup of liquid until completely dissolved. If desired, add more fresh flower petals for extra flavor before pouring the cooled jelly into sterilized hot jars. Seal tightly and store in the refrigerator for up to 3 weeks so you can enjoy your homemade delicious treat whenever you please! About 1 cup of violets should be enough flowers for this recipe.
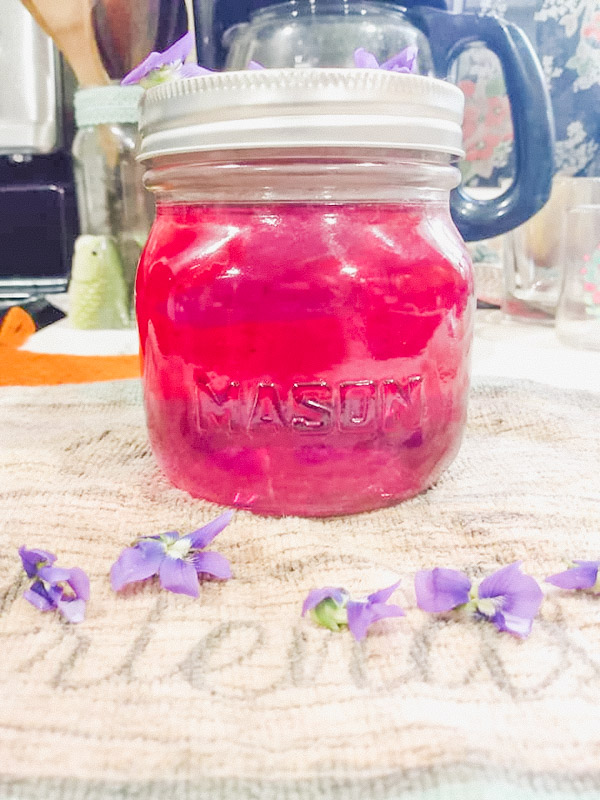
Boiling Mixture
The boiling pot of hot water is like a cauldron, bubbling and steaming with energy. As it begins to build up in intensity, ready to transform the ingredients into something entirely different, one must add patience and care to ensure that the creation will be magical. Making jelly and canning is heavy-duty work, not the day for a small saucepan; use the biggest pots you have for the hot-water bath.
Creating this homemade violet jelly recipe requires some skillful balancing of heat and time. Bring the mixture to a hard boil over high heat, stirring continuously so no clumps form. Once it reaches a full rolling boil, reduce the temperature slightly while continuing to stir until all ingredients have dissolved completely. This should take around 10 minutes.
For an extra special twist on this classic jelly recipe, consider adding edible flowers such as violets or mint leaves for flavor variations; these can be added either before or after boiling the mixture, depending on preference. To finish off your masterpiece, spoon tablespoon-sized dollops of the mixture into clean quart jars (a half quart jar is cute for gift giving) and refrigerate overnight to allow any air bubbles to rise and dissipate from view.
– Boil mixtures over high heat till they reach a full rolling boil
– Reduce the temperature slightly and continue stirring until all ingredients dissolve completely
– Add edible flowers such as violets or mint leaves for flavor variation
– Spoon tablespoon-sized dollops of mixture in clean quart jars (sterile jars) and refrigerate overnight
Adding Colorants
Violet jelly is a beautiful and surprisingly simple treat that can be made at home. Adding colorants to the mixture of violet juice gives your jelly its unique lavender hue (you can also add a blue color if you like) and adds an extra layer of flavor as well!
To start off, you’ll need several large violet leaves, which are easy to find in most health stores or online. Once you’ve gathered your ingredients, dry them out with a paper towel until they’re no longer damp. Next, take four cups of liquid – this could be water or even some cups of violet tea if you’d like to add an extra depth of flavor – and pour it into a saucepan over medium heat. Once it starts boiling, add in two tablespoons of citric acid and one teaspoon of Pomona’s Pectin while stirring constantly. Add in the dried violet leaves and let everything simmer for five minutes before adding flower heads for decoration (optional). When all these components have been added together, bring the mixture up to a full boil for one minute before taking it off the stovetop.
You should now have a beautiful lavender colored concoction ready to cool down! The combination of high-quality ingredients along with the hot temperatures will combine perfectly to create a delicious purple jelly unlike any other. Enjoy your homemade creation!

Flavoring
Now that we have added colorants to our jelly, let’s explore how to give it flavor. One of the most popular flavors for violet jelly is dandelion jelly. It has a sweet yet bitter taste and can make any jelly delightful. You could also try making wild violet jelly using common blue violets found in your area.
To turn these flowers into flavorful jelly, start by preparing all your supplies: jar(s) or container(s), liquid pectin, and a wild plant processor (for extracting juice from leaves or petals). Gather some fresh petals or leaves of violets and process them with a little quantity of water until you get a smooth paste consistency. Then add your low-sugar pectin mix and stir well before pouring it into the jars or containers. Let the mixture thicken up overnight, then serve it as an accompaniment with cream cheese or on its own!
Violet jelly provides an inviting sweetness that will tantalize the taste buds. Get creative with your flavoring–experiment with different combinations to find the perfect combination for you! With just a few ingredients, you can create something delicious and unique.
How Long Does It Take Violet Jelly To Set?
Making violet jelly is a fun and creative process, perfect for those with a subconscious desire for innovation. It takes about 30 minutes to prepare the ingredients needed – including little jars, low sugar pectin, cups of sugar, lemon juice mixture, and the beautiful purple color from your favorite fruit or flower extract. Once everything has been stirred together in a pot on the stovetop, you’ll need to use a water bath canner to place lids on each jar before submerging them in hot canner water.
As long as you keep an eye on it during the boiling process (usually about 10-15 minutes), your jelly will have set by the following day. To test this out ahead of time without having to wait until tomorrow morning, put some cold spoons into the freezer right before beginning preparation and then take one out after it’s finished cooking. If it sticks well enough to hold itself up when turned over onto one of these chilled spoon surfaces, that means that it should be ready to enjoy!
By taking all of these steps and ensuring that you give your jelly plenty of time to cool off and settle properly at room temperature throughout the night, there’s no doubt that you’ll end up with something delicious come morning. With its sweet yet tart flavor profile and captivating hue, homemade violet jelly is sure to become one of your most beloved recipes!
Cooling Process
The first step to making a delicious violet jelly is cooling the infused water. To do this, place it in a dark place such as your refrigerator and allow it to cool overnight. The next day, you’ll be ready for the second step of creating your flower jellies!
To start, gather all your ingredients: fresh violets, aloe vera gel, sugar, lemon juice and agar-agar powder. Put these into a small saucepan and simmer over low heat until the mixture thickens slightly. Once the consistency reaches that of syrup or honey, remove from heat and strain through a fine mesh strainer to separate out any solid bits.
Now that you have your cooled liquid base prepared and strained, here are 3 simple steps to make sure your jelly will set correctly:
1. Pour half of the mixture into each mold or container.
2. Allow the molds to sit at room temperature for 1-2 hours before placing them in the fridge.
3. Let them chill thoroughly – usually 4-6 hours – before serving so they can fully set up.
Young children will love helping out with this project, too – just remember not to give them anything sharp like scissors or knives when handling flowers! With these tips in mind, you’ll soon be able to enjoy homemade violet jellies whenever you want. So go ahead – take some ext time on this one and create an amazing treat!
Pouring And Molding Jelly
Did you know that there are over 500 species of plants with edible flowers? Whether it’s rose petal jelly or fireweed jelly, adding these flavorful and colorful ingredients to your creation can add an extra punch. To make violet jelly, start by combining 2-3 cups of flowers with 3-4 cups of herbal tea (dark blue tea is the best). Boil this mixture until a richly colored liquid forms, then stir in the desired amount of sugar. Once cooled, pour the hot jelly into molds and let cool for several hours before serving. This will give your floral jelly a beautiful shade of purple/violet when done.
For added vitamin C content, consider adding citrus fruits such as oranges or lemons to your recipe. A few slices combined with the flower mixture should do the trick! If you’re looking for something more unique, try using different types of fruit juices instead, like pomegranate juice or cranberry juice – both provide a range of colors from light pink to dark purple depending on their concentrations. Lastly, don’t forget about food coloring if you want to customize your own shade of purple! Simply dissolve some food coloring in warm water and combine it with your finished product prior to pouring into molds. With just a few simple steps, you’ll be able to create delicious and visually stunning violet jellies that look as good as they taste!
Refrigerating My Homemade Violet Jelly Recipe
Once your violet jelly has been boiled to a heavy boil, it’s time to prepare for refrigerating the jelly. It’s a great way to preserve the flavor of last summer and capture the early spring dandelion flowers that you used in your recipe.
To begin, strain out any remaining flower petals or residue before pouring the jelly into an airtight container. Doing this will ensure there are no unexpected surprises when eating your jelly later! You can also add a little bit of sugar or honey if desired.
Finally, place your container in the refrigerator until it is firm—this usually takes about 8-12 hours. Refrigerating your jelly is a great way to make sure all those wonderful flavors stay locked in, so you can enjoy them throughout the year!
How Long Does Violet Jelly Last?
Making a batch of violet jelly is always an exciting experience. The ooze-like consistency and vibrant pink color alone are enough to make your mouth water, but with every bite also comes the floral flavor that only violets can provide. It’s like having a mouthful of flowers!
But how long does this delicious treat last? Well, if you store it properly in either the refrigerator or freezer, it will stay fresh for up to four weeks. This means that any leftovers from making one batch can be enjoyed again at some point during the next month. Also, keep in mind that when heated, the jelly might turn back into its original liquid state due to occasional varicose veins present in violets used for cooking purposes.
Ultimately, by following these steps on how to make violet jelly, you’ll have plenty of time to savor its unique taste before needing to whip up another batch. And who knows, maybe even your friends and family will get hooked after experiencing their first ever mouthful of flowers!
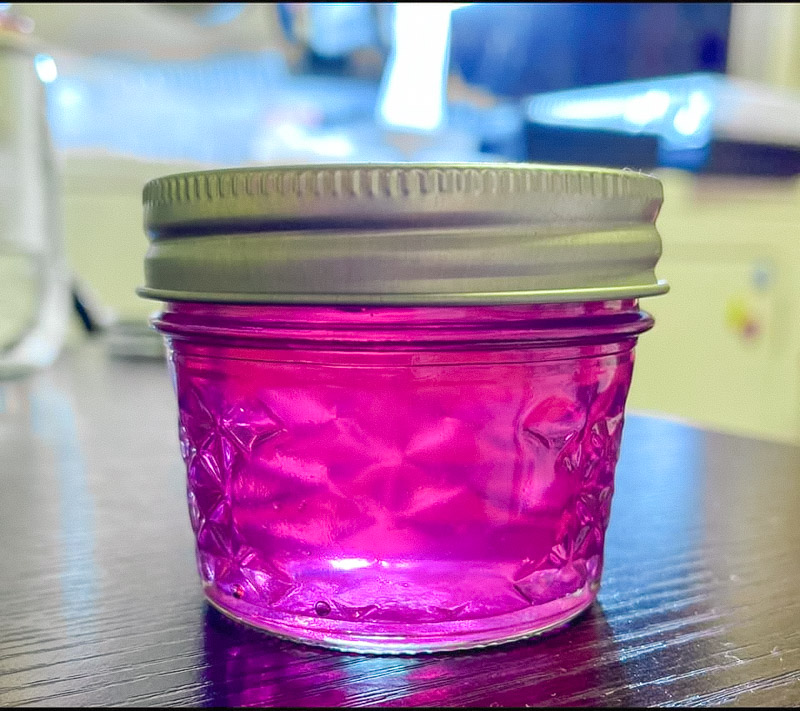
Serving Tips
Presenting the finished product is just as important as creating it. When you make violet jelly, with its soft hue and sweet flavor, you want to give your guests an experience that stands out from the rest.
Here are some tips for serving this delicious dish:
– Place a few spoons of raspberry or strawberry sauce on top for a pop of color and contrast.
– Don’t forget to decorate the plate with edible flowers like violets or pansies.
– Put each portion in individual glasses so they can be served directly at the table.
By adding these small touches when serving, you will create an unforgettable memory for your guests every time! Taking care of details such as presentation allows people to feel special and appreciated, making them more likely to come back next time. Next time you serve up something unique like violet jelly, remember these simple yet effective tips to take it one step further.
Potential Health Benefits
Having discussed the simple serving tips for violet jelly, let’s now explore its potential health benefits. This vibrant-colored treat contains a variety of vitamins and minerals that can be beneficial to our bodies. For starters, it is rich in antioxidants, which help protect our cells from oxidative damage caused by free radicals. Additionally, consuming this delicacy may provide some relief from inflammation and enhance the immune system.
Violet jelly also has the potential to improve digestion due to its high fiber content. Including this treat into your diet can keep you regular as well. It will also aid in weight loss efforts since fiber keeps us feeling fuller longer. Furthermore, eating this sweet delight may reduce blood sugar levels as it does not contain any added sugars or artificial sweeteners.
Finally, there are also many other possible advantages associated with enjoying violet jelly on a daily basis. One might experience improved skin quality since vitamin A aids in collagen production and helps maintain hydration levels in the body for dry skin. Plus, Vitamin C promotes healthy cell growth and regeneration, all resulting in glowy skin! And lastly, thanks to magnesium present in this jelly, one could potentially benefit from better muscle function and cardiovascular health, too!
Troubleshooting
Troubleshooting is an important part of making any recipe. If you find that your violet jelly isn’t quite coming out right, there are a few things to consider. First, be sure to use the exact measurements called for in the recipe. Even small changes can make big differences. Second, make sure all your ingredients have been properly prepared and added at the correct time during the cooking process – this will help ensure everything blends together correctly. Lastly, take some extra time to review instructions while stirring and cook gently until the desired consistency has been achieved. With a little patience and care, you’ll soon master making delicious Violet Jelly!
Creative Variations
When making this homemade violet jelly recipe, there are plenty of creative ways to switch it up! For a summery twist on the classic recipe, try using white wine instead of water. The added acidity will give your jelly an extra burst of flavor and complexity. You can also add some fresh herbs such as thyme or rosemary for even more depth.
For an exotic take on this dish, you could substitute coconut milk or mango nectar for the liquid component. This will make the jelly much creamier than traditional recipes call for. It will also provide a unique tropical taste that’s sure to tantalize your taste buds. Additionally, adding fruits like blueberries or raspberries into the mix provides another layer of sweetness and texture, perfect if you’re looking for something special!
If you want to go all out with your creation? Why not top off the finished product with edible flowers for your flower jelly? Lavender blossoms pair perfectly with purple tones and impart a light floral aroma that is just divine. Get creative and discover what new flavors await when experimenting with different ingredients!
If you love the beautiful color and taste of Violet jelly, you might also want to try making mint jelly.
Conclusion
In conclusion, making violet jelly can be a fun and rewarding experience – it’s simple to prepare with delicious results! With the right ingredients, tools, and instruction, you’ll have a tasty treat that is sure to impress. Not only is this jelly delicious, but it also has potential health benefits due to its antioxidant properties.
I hope I’ve provided enough information for you to feel confident in creating your own homemade version of violet jelly. Plus, if something doesn’t go as planned, don’t worry – there are plenty of troubleshooting tips available so even beginners can make great tasting treats. And don’t forget about all the creative variations too; the options are endless when it comes to flavoring your jellies!
By now, I’m sure you’re looking forward to getting started on making our homemade violet jelly recipe. So why wait? Get out those utensils and let’s get cooking! Be sure and subscribe as we hope to share a violet syrup recipe as well.
Violet Jelly Recipe
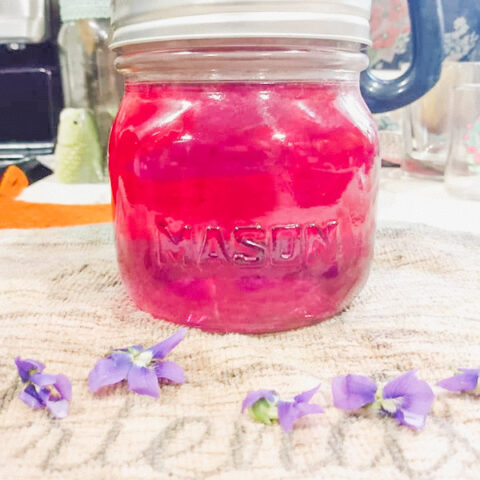
Homemade Violet Jelly Recipe
Looking for something new to share? This fun and simple homemade Violet Jelly recipe will have your friends asking for seconds.
Ingredients
- 1 cup wild violet flowers washed
- 1 cup of sugar
- a squeeze of fresh lemon
- Boiling Water
Instructions
- Pick and wash wild violet flowers.
- Place just the flowers, no stems or leaves in a mason jar
- Cover with about a cup of boiling water.
- Let sit overnight.
- Strain into another jar using a coffee filter.
- Add a couple of drops of fresh lemon juice to change color from blue to lavender.
- Pour into a saucepan and add sugar (equal amount of the strained liquid) Heat on med-low heat and stir until sugar has dissolved about 5 minutes.
- Let cool and pour into a sterilized Mason jar
- Keep in the refrigerator for 1 month or water bath for 15 min to keep on the shelf.
My Favorite Canning Items:
- Jelly Jars
- Fermentation Kit
- Water Bath Canner
- Canning Funnel
- Canning Bubble Popper
- Magnetic Lid Wand
- Stainless Steel Stock Pot
- Canning Tongs
Follow Us on Social Media
The Oklahoma Homesteader Facebook Page
U.S. Homesteading for Beginners Facebook Group