How to Make Almond Milk at Home (Easy Guide)
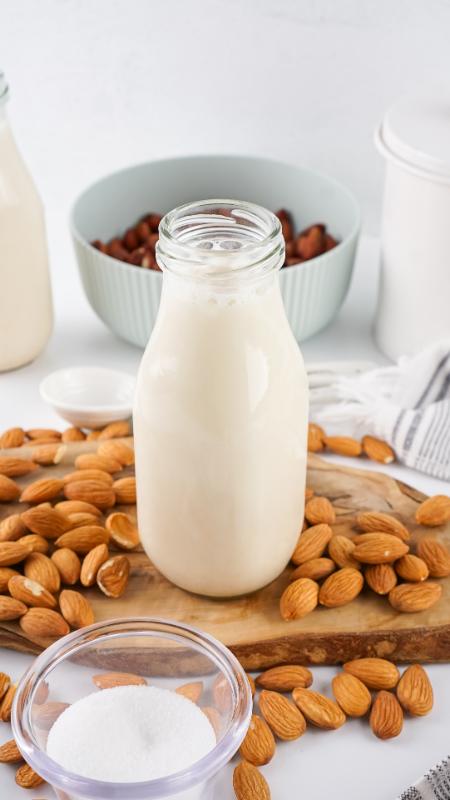
There’s something incredibly satisfying about making a staple food from scratch. Homemade almond milk is one of those recipes that seems intimidating until you try it. Then you realize just how simple, affordable, and delicious it really is.
One of the things I love most about homesteading is learning that you don’t have to depend on the grocery store for everything. Whether you live on several acres or in a small apartment, making your own almond milk is one more skill that helps you take control of what you’re feeding your family.
The best part? You know every ingredient that goes into it.
Unlike many store-bought almond milks that contain gums, preservatives, oils, and added sugars, this homemade version is made with simple ingredients and can be customized exactly the way your family likes it.
Why We Make Homemade Almond Milk
We started making almond milk because we wanted something fresher with fewer ingredients. Once we tasted homemade, it was hard to go back.
Making your own almond milk allows you to:
- Control every ingredient.
- Skip unnecessary preservatives and fillers.
- Adjust the sweetness to your liking.
- Create vanilla or chocolate versions.
- Save money over time.
- Learn another simple homesteading skill.
For me, that’s what homesteading is all about—learning practical skills that make life healthier and more self-sufficient.
Ingredients
- 1 cup raw almonds
- 6½ cups water, divided
- ¼ teaspoon salt
Optional Flavor Variations
Vanilla Almond Milk
- 1 tablespoon vanilla
Sweetened Almond Milk
- 1 tablespoon maple syrup or 2 dates
Chocolate Almond Milk
- 1 tablespoon cocoa powder (or more to taste)
Equipment You’ll Need
- Blender
- Fine mesh strainer
- Cheesecloth
- Large bowl
- Glass storage jar or container
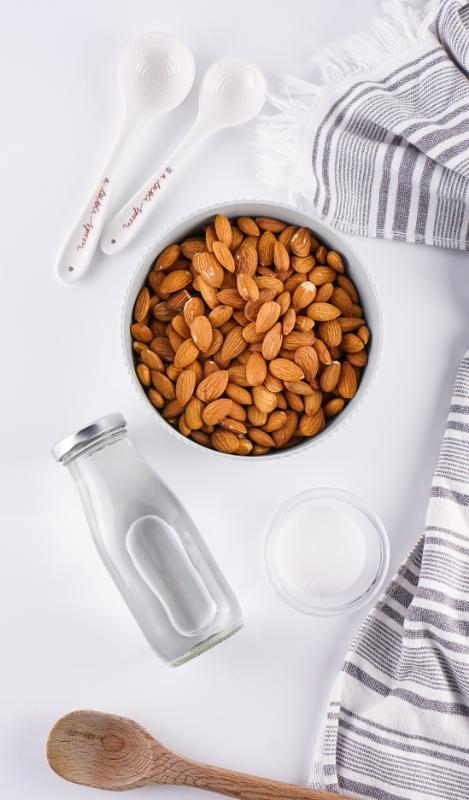
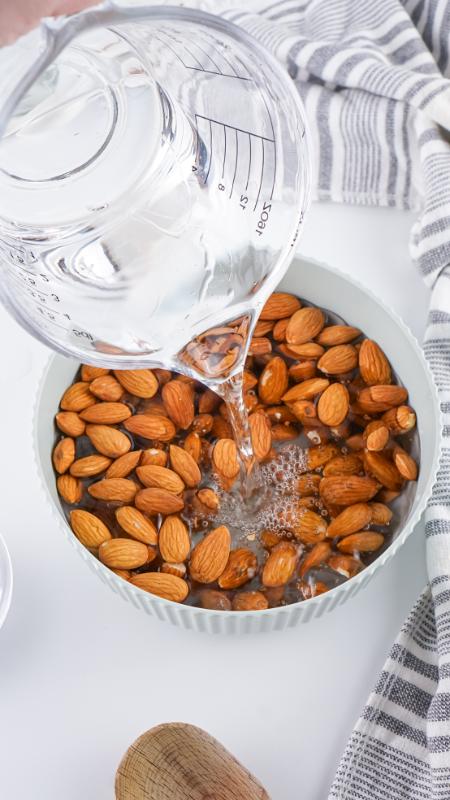
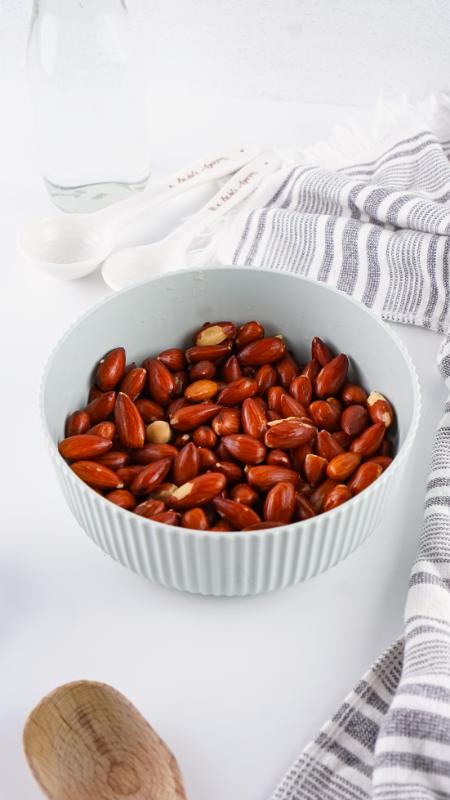
How to Make Almond Milk
- Place the almonds in a bowl and cover them with water (about 1½ cups works well). Let them soak overnight. For the creamiest almond milk, I actually prefer soaking them for several days.
- Drain and rinse the almonds thoroughly.
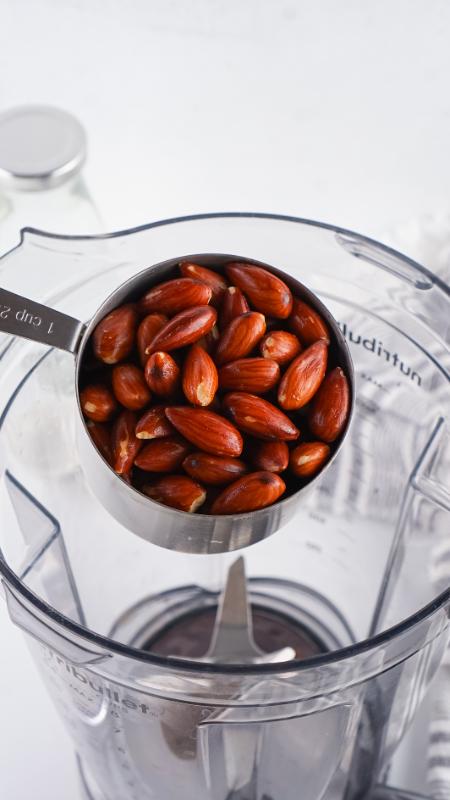
- Add the almonds, 4 cups of fresh water, salt, and dates (if using) to a blender.
- Blend on medium-high for 1½–2 minutes.
- Line a fine mesh strainer with a doubled layer of cheesecloth and place it over a large bowl.
- Slowly pour the almond mixture through the cheesecloth. Gently squeeze or let gravity do most of the work. Repeat the straining process if you’d like an extra-smooth milk.
- Stir in the vanilla after straining if making vanilla almond milk.
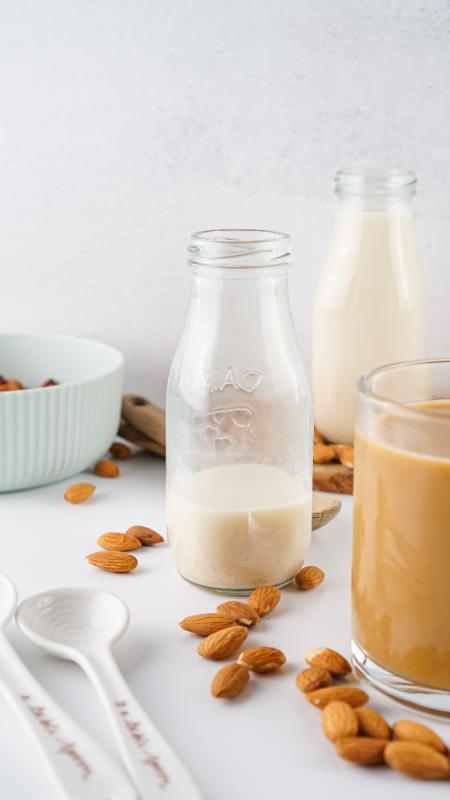
- Pour into a sealed glass jar and refrigerate for up to 4 days. Shake well before each use since natural separation is completely normal.
Melissa’s Homestead Tips
Soak Longer for Creamier Almond Milk
One thing I’ve learned after making this multiple times is that soaking longer makes a noticeable difference. The almonds will turn darker as they soak up the water.
Most recipes recommend soaking overnight, but I often soak mine for several days. The almonds become softer, blend more easily, and produce an even creamier milk.
My Roasted Almond Experiment
Here’s something I haven’t seen many people talk about. Most recipes will tell you not to use roasted almonds because they’ll make your almond milk bitter. I wasn’t convinced, so I spent a couple of weeks testing different soaking times.
What I found surprised me. If you’re using dry-roasted almonds, soak them for one full week before making almond milk.
Every batch I tested lost that bitter flavor and turned out rich, smooth, and surprisingly creamy. I haven’t tested soaking beyond one week, so I can’t say what happens after that, but one week consistently produced excellent results. Sometimes a little patience really does pay off.
Need Almond Milk Today?
Forgot to soak your almonds?
No problem.
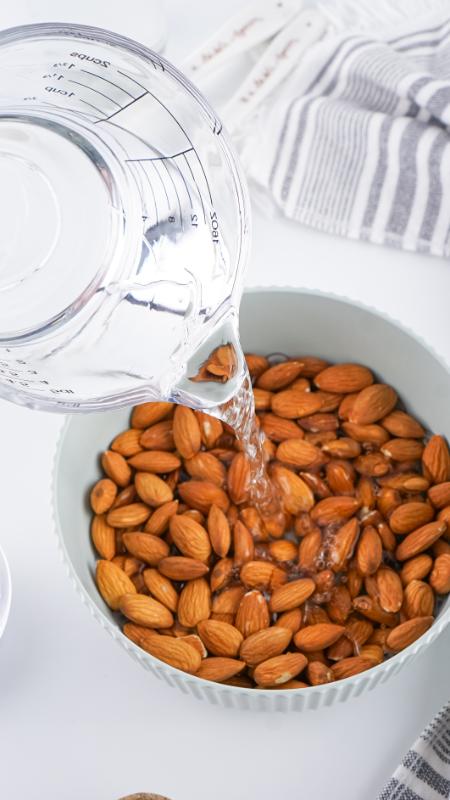
Bring some water to a boil, pour it over the almonds, and let them sit for about 2 hours. The finished almond milk won’t be quite as creamy as almonds soaked overnight or longer, but it’s still delicious and works great if you’re short on time.
Don’t Throw Away the Almond Pulp
One of my favorite homesteading habits is finding ways to reduce waste.
After straining your almond milk, you’ll have almond pulp left behind.
Instead of tossing it, try using it in:
- Muffins
- Pancakes
- Smoothies
- Oatmeal
- Homemade granola
- Energy bites
- Cookies
You can even dry the pulp and grind it into homemade almond meal for baking.
Ways to Use Homemade Almond Milk
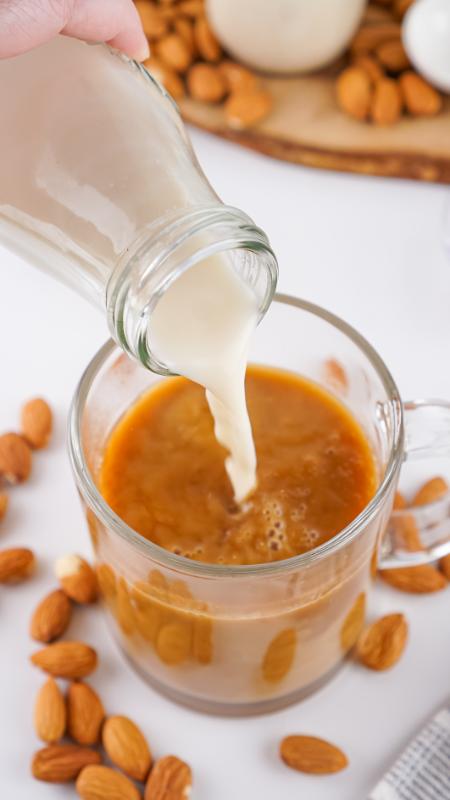
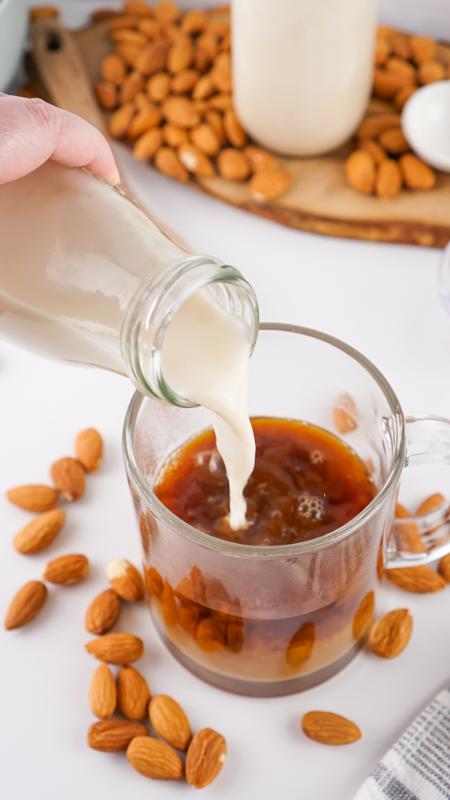
Once you have fresh almond milk in your refrigerator, you’ll find yourself reaching for it often.
It’s delicious in:
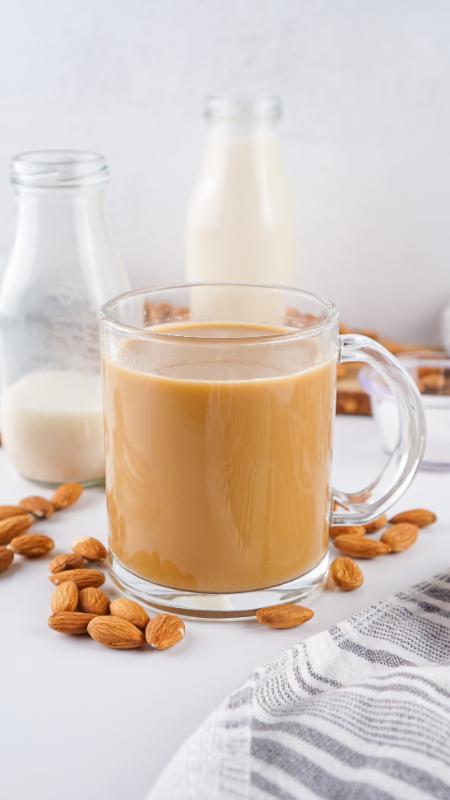
- Coffee
- Smoothies
- Overnight oats
- Homemade hot chocolate
- Pancakes
- Waffles
- Muffins
- Creamy soups
- Mashed potatoes
- Homemade ice cream
- Baking recipes
Can You Freeze Homemade Almond Milk?
Personally, I don’t.
I’ve experimented with freezing it, and I wasn’t happy with the texture after it thawed.
That’s completely my preference, so you’re welcome to give it a try and see what you think.
Since this recipe comes together so easily, I prefer making fresh batches as I need them.
Common Mistakes to Avoid
If you’re making almond milk for the first time, here are a few things to watch for:
- Don’t skip the soaking step unless you’re using the quick-soak method.
- Always rinse the almonds before blending.
- Don’t panic if the milk separates in the refrigerator—this is completely normal.
- Store it in a sealed container.
- Shake before serving.
- Save the almond pulp instead of throwing it away.
Why Learning Skills Like This Matters
One of the biggest misconceptions about homesteading is that you need acres of land and a barn full of animals.
The truth is, homesteading starts with learning skills.
Every time you make something from scratch—whether it’s almond milk, bread, homemade cleaners, or tomato sauce—you become a little more independent from the grocery store.
Those small skills add up over time.
My hope is that this blog inspires you to try one new thing at a time. Before long, you’ll be surprised by just how much you’re able to make yourself.
Because homesteading isn’t about where you live.
It’s about choosing to learn, grow, and create with your own two hands.
How to Make Almond Milk at Home
Homemade Almond Milk is fresh, smooth, and easy to make. Soaked almonds blend into creamy milk you can flavor with vanilla, cocoa, or natural sweeteners. It’s budget‑friendly, customizable, and perfect for everyday use.
Ingredients
- 1 Cup Raw Almonds
- 6 ½ Cups Water, divided
- ¼ Teaspoon Salt
Instructions
- Place the almonds in a bowl and cover them with water (I use about 1 ½ cups). Let it rest overnight. For best results, let them soak for a couple of days.
- Drain and rinse almonds.
- Place the almonds, 4 cups of water, salt, and dates (if adding) in a blender and blend on medium or high for 1.5-2 minutes.
- Place a fine mesh strainer over a bowl, rest a doubled piece of cheesecloth over the strainer, and pour the almond mixture through it. You may need to shake it a bit to get it to all go through. Depending on your preferences, you may want to do this more than once.
- Once you’re finished straining, this is when you would stir in the vanilla.
- Store in a sealed jar or container, in the fridge, for up to 4 days. Shake before use.
Notes
Nutrition Information
Yield 4 Serving Size 1 cupAmount Per Serving Calories 371Total Fat 31gSaturated Fat 3gUnsaturated Fat 28gSodium 151mgCarbohydrates 13gFiber 8gSugar 3gProtein 13g
Nutrition information is calculated using an ingredient database and should be considered an estimate. In cases where multiple ingredient alternatives are given, the first listed is calculated for nutrition. Garnishes and optional ingredients are not included.
-
Homemade Stage 1 Baby Food with Fresh Fruit
Make homemade stage 1 baby food with fresh fruit and simple ingredients. Includes strawberry, blueberry and banana recipes.
-
How to Make Homemade Buttermilk (Perfect for Baking)
Learn how to make homemade buttermilk in minutes. A simple, perfect substitute for baking and everyday recipes.
-
Easy Rustic Homemade Tomato Paste (No Additives)
Make rustic homemade tomato paste with fresh tomatoes. No additives, rich flavor, and perfect for preserving your garden harvest.
-
Homemade Hot Dog Buns (Soft and Easy Homestead Recipe)
These homemade hot dog buns bake up soft, golden, and perfect for any backyard meal. The dough comes together with simple ingredients and a gentle rise that keeps each bun tender. They hold their shape without feeling heavy, making them ideal for hot dogs, sausages, or easy weeknight sandwiches.
-
How to Freeze Homemade Stock
Freezing homemade chicken stock is a great way to preserve its flavor and nutrition. Let the stock cool completely, then strain out any solids. Pour into freezer-safe containers, leaving space for expansion. Ice cube trays or souper cubes are perfect for small portions. Once frozen, transfer cubes to a labeled freezer bag. Stock keeps well in the freezer for up to 6 months.
-
Make your own homemade pasta
Welcome to the delightful world of homemade pasta! If you’ve ever savored the taste of fresh pasta, you know there’s nothing quite like it. Making pasta from scratch may seem daunting, but it’s simpler than you think and deeply satisfying. In this post, we’ll guide you through the process, from flour to fork! The Joy…