Homemade Cookies and Cream Ice Cream (No Churn!)
This homemade cookies and cream ice cream is rich, fluffy, and easy to whip up with just a few ingredients. If you’re like me and enjoy creating treats from scratch on the homestead, you’ll love how simple and satisfying this recipe is.
There’s something so nostalgic and comforting about cookies and cream ice cream. It’s one of those flavors that pleases kids and adults alike—creamy, sweet, and loaded with chocolate cookie bits in every bite. And guess what? You don’t need an ice cream machine to make it at home! Also check out our Keto Ice Cream Bites.

Why You’ll Love This Homemade Ice Cream
- No churn needed – no special equipment required
- Uses pantry staples – cookies, cream, sugar, and vanilla
- Customizable – add more cookies, swirl in fudge, or make it with homemade vanilla extract
- Freezer-friendly – just prep and freeze
It’s the perfect treat for those hot Oklahoma summers when you want something cold and creamy without the drive to town!


Ingredients for Homemade Cookies and Cream Ice Cream
You’ll need just a few simple ingredients to get started:
- 2 cups heavy cream
- ¾ cup granulated sugar
- 20–30 regular chocolate sandwich cookies (like Oreos), divided
- 2 teaspoons vanilla extract
Tip: Use real vanilla extract if you have it on hand—especially if it’s homemade! It makes all the difference.
Step-by-Step Instructions
1. Whip the Cream
In a large mixing bowl, whip the heavy cream until soft peaks form. You want it light and fluffy—not stiff.
2. Remove Filling from Some Cookies
Take 15 to 20 of the chocolate sandwich cookies and remove the cream filling. Set the filling aside—you’ll use it in the next step!
3. Blend the Cookies into Crumbs
Add the cookies without the filling to a blender or food processor. Pulse about 3 times for 1 second each. You want coarse crumbs, not fine powder.
4. Sweeten the Whipped Cream
Fold the vanilla, sugar, and the reserved cookie filling into the whipped cream. The filling helps sweeten and flavor the base even more.
5. Add Crushed Cookies
Fold in the cookie crumbs gently to keep the texture light and fluffy.
6. Add Chopped Cookie Chunks
Take the remaining cookies and chop them into fourths or sixths. Fold those cookie chunks into the mixture for that perfect cookies-and-cream bite.
7. Freeze the Homemade Cookies and Cream Ice Cream
Pour the mixture into a 6-cup (1.5-quart) freezer-safe dish or loaf pan. Cover and freeze for 4–6 hours or overnight.


Tips for the Creamiest Texture in Your Homemade Cookies and Cream Ice Cream
- Don’t over-whip the cream. Stop at soft peaks to avoid a grainy texture.
- Use a metal pan for quicker freezing.
- Add a pinch of salt to enhance the sweetness and flavor if desired.
- Let it sit for 5–10 minutes at room temp before scooping for the perfect consistency.
A Sweet Treat for Any Season
Whether you’re enjoying a summer afternoon on the porch or looking for a comforting winter treat (yes, we still eat ice cream in winter in Oklahoma!), this homemade cookies and cream ice cream is sure to be a hit with your family. You can even let the kids help mix in the cookies—it’s a fun way to get them involved in the kitchen.

Homemade Cookies and Cream Ice Cream (No Churn!)
No-churn cookies and cream ice cream made with real ingredients—perfect for a creamy, homemade treat on the homestead!
Ingredients
- 2 cups heavy cream
- ¾ cup granulated sugar
- 20–30 chocolate sandwich cookies (like Oreos), divided
- 2 teaspoons vanilla extract
Instructions
Whip the Cream In a large mixing bowl, whip the heavy cream until soft peaks form. The texture should be light and fluffy, not stiff.
Remove Cookie Fillings: Take 15–20 of the cookies and remove the cream filling. Set the filling aside for the next step.
Blend the Cookies into Crumbs: Add the cookies (without filling) to a blender or food processor. Pulse about three times to create coarse crumbs.
Sweeten the Whipped Cream: Gently fold in the vanilla extract, sugar, and the reserved cookie filling. This adds extra flavor and sweetness to the base.
Add Crushed Cookies: Fold in the coarse cookie crumbs until evenly distributed, keeping the mixture light and airy.
Add Chopped Cookie Chunks: Chop the remaining cookies into fourths or sixths and fold into the mixture for chunks in every bite.
Freeze the Ice Cream:Pour the mixture into a 6-cup (1.5-quart) freezer-safe dish or loaf pan. Cover and freeze for 4–6 hours or overnight.
Notes
Don’t over-whip the cream—stop at soft peaks.
Use a metal pan for faster freezing.
Add a pinch of salt to enhance the flavor.
Let it sit at room temp for 5–10 minutes before scooping for the
best texture.
Make It a Homestead Favorite
One of my favorite things about homesteading is getting back to basics and creating food from scratch. This easy ice cream recipe is a fun, homemade dessert you can feel proud of—no artificial ingredients, no weird additives—just sweet, creamy goodness.
Let me know if you give it a try, or if you want a printable recipe card to keep in your kitchen binder!
-
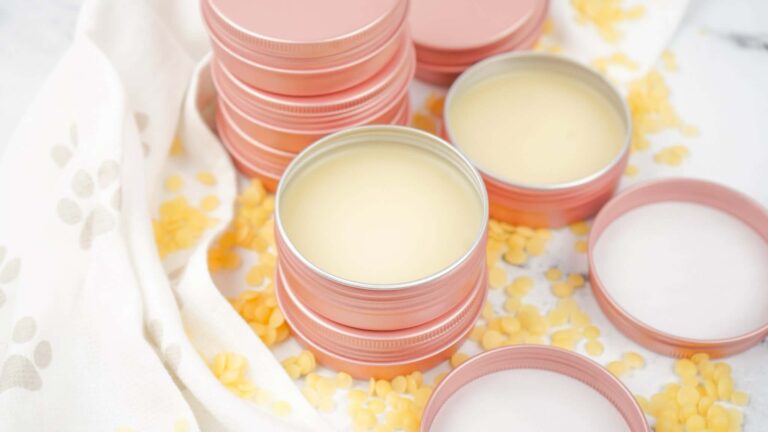
Homemade Dog Paw Balm for Soft, Healthy Paws
Learn how to make homemade dog paw balm with simple, pet-safe ingredients to soothe dry, rough, and cracked paw pads.
-
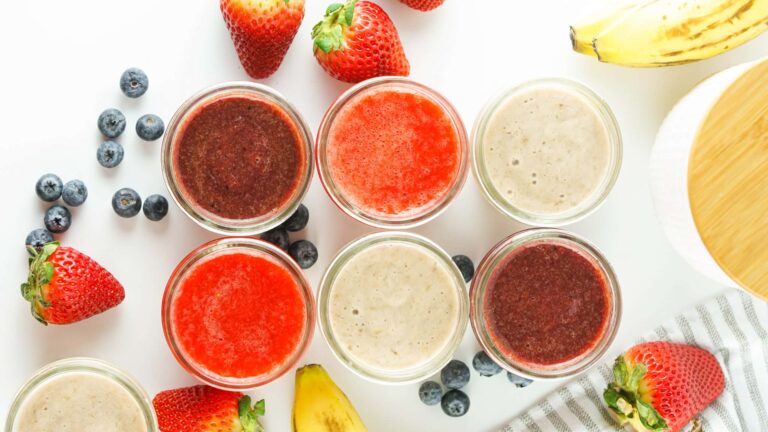
Homemade Stage 1 Baby Food with Fresh Fruit
Make homemade stage 1 baby food with fresh fruit and simple ingredients. Includes strawberry, blueberry and banana recipes.
-
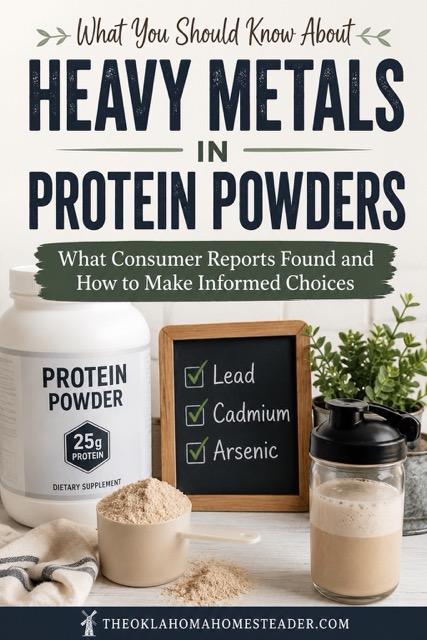
Heavy Metals in Protein Powders: What to Know
Heavy metals in protein powders? Learn what Consumer Reports found and how to make informed supplement choices.
-
Cook | Desserts | Instant Pot | Recipe
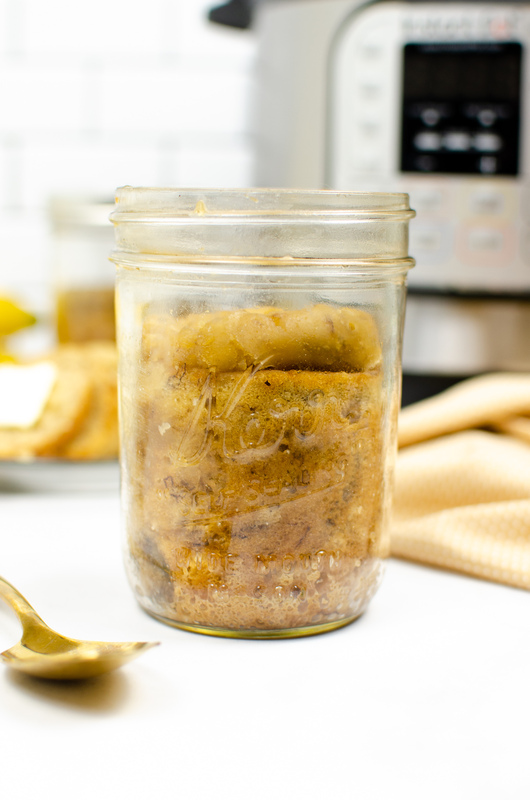
Instant Pot Banana Bread in a Jar
Instant Pot Banana Bread in a Jar is a cozy, single‑serve treat made with simple ingredients and steady, even pressure‑cooking. These little jars cool quickly, store beautifully, and make an easy grab‑and‑go snack for busy homestead days.
-
Cook | Drinks | Homemade Pantry | Recipe
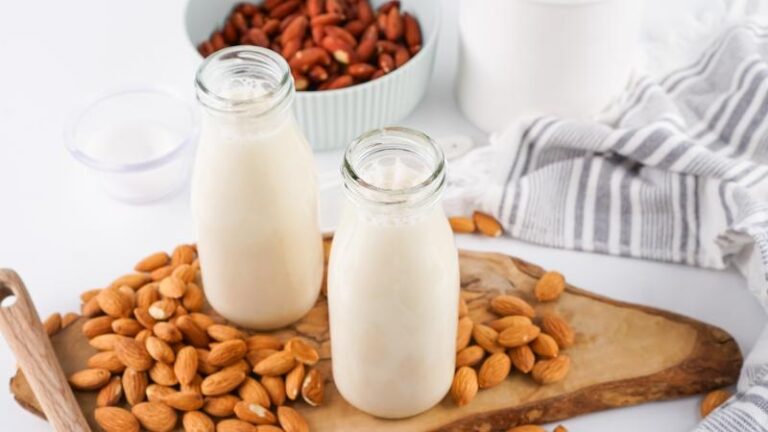
How to Make Almond Milk at Home (Easy Guide)
How to Make Almond Milk at Home with simple ingredients, easy steps, and helpful tips for fresh, creamy homemade milk.
-
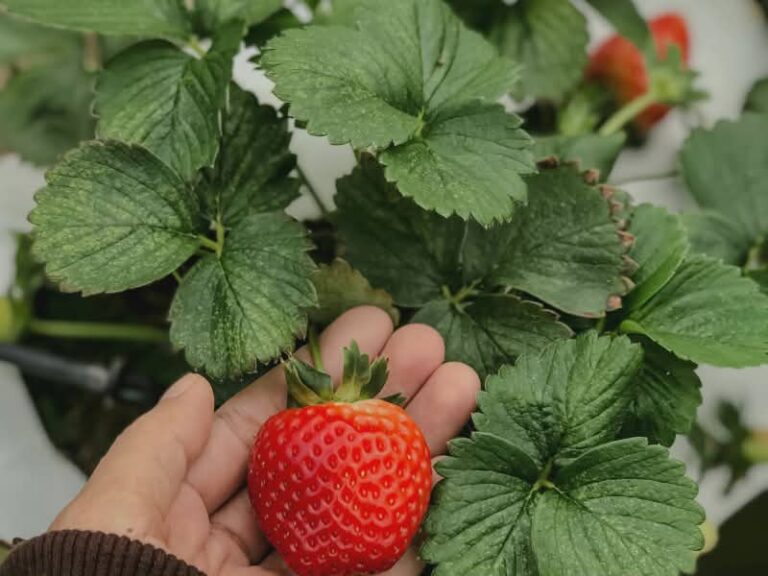
Strawberry Leaf Benefits: Ways to Use Strawberry Leaves
Discover strawberry leaf benefits and learn how to use strawberry leaves in tea, smoothies, salads, and more.