How to Make Homemade Lip Gloss
If you’re like me and love creating your own natural beauty products, homemade lip gloss is a fun and easy place to start. With just a few simple ingredients, you can whip up custom shades that look beautiful and feel nourishing, all without any synthetic additives.
Whether you’re making these for yourself, gifts, or your homestead market table, this is a beginner-friendly recipe you’ll come back to again and again.

What Is Homemade Lip Gloss Made Of?
Homemade lip gloss is typically made with a carrier oil for shine and hydration, and mica powders or red iron oxide for color. You can add a drop of essential oil if you’d like a hint of flavor or scent, but that part is completely optional.
Because you’re in control, you can skip the harsh chemicals and dyes often found in store-bought glosses and create something safer and more natural.

Best Ingredients to Use for DIY Lip Gloss
Here’s a breakdown of the ingredients and why they work:
- Carrier Oil: I love using jojoba oil for a lightweight feel, but castor oil will give a thicker, glossier finish. You can also try sweet almond, grapeseed, or even fractionated coconut oil.
- Mica Powders: These are natural mineral powders that come in a wide range of colors. Choose your favorites and mix and match to create custom shades. Make sure it’s labeled as cosmetic grade or safe for skin use.
- Red Iron Oxide: This is a great alternative to mica for rich red tones. It blends beautifully into oil. Make sure it’s labeled as cosmetic grade or safe for skin use.
- Essential Oils (Optional): Just one drop per 10 ml container is enough. Peppermint, vanilla, or orange essential oils are great options.
- Lip Gloss Containers: You can use clear lip gloss tubes or little pots—whichever works best for your needs.
Tools You’ll Need
Making lip gloss doesn’t require fancy equipment. Here’s what I use:
- A pourable container (like a small glass measuring cup or silicone beaker)
- A stirring stick or spoon
- Small funnels or pipettes (for filling tubes neatly)
- Lip gloss tubes or pots for storage
- Paper towels (because this can get a little messy!)

Step-by-Step Instructions
Ingredients:
- Carrier oil (jojoba, castor, or your choice)
- Mica powders or red iron oxide
- 1 drop essential oil per 10 ml container (optional)
- Lip gloss containers
Instructions:
- Add some carrier oil to a pourable container—just enough for one tube to start.
- Add a pinch of mica powder or red iron oxide—make sure it’s labeled as cosmetic grade or safe for skin use. Stir well. Start with ¼ teaspoon and adjust until you get your desired color.
- Add one drop of essential oil if using.
- Using a funnel or pipette, pour the mixture into your lip gloss container.
- Repeat for each color or gloss you’d like to create!
Tips for Customizing Your Gloss
- Shimmer & Shine: Add a tiny bit of cosmetic-grade glitter for sparkle.
- Thicker Texture: Use more castor oil or add a small amount of beeswax if you want a gloss that stays put longer.
- Scent Ideas: Peppermint gives a fresh tingle, while orange and vanilla add a sweet touch.
- Mix Your Colors: Try blending mica shades like rose gold and bronze for unique, multidimensional tones.
How Long Will Homemade Lip Gloss Last?
Your homemade gloss should last around 6–12 months, depending on the freshness of your oils and whether you used essential oils (which can act as mild preservatives). Store in a cool, dry place and avoid getting water into your containers to prevent spoilage.
Homemade lip gloss is such a simple project with a big payoff. Once you try it, you might never go back to store-bought again. Whether you want a subtle shimmer or bold color, the possibilities are endless—and it feels great knowing exactly what’s in your beauty products. Download our PDF printable recipe card.

Homemade Lip Gloss
Materials
- Carrier oil (e.g. jojoba or castor)
- Mica powder or red iron oxide
- 1 drop essential oil (optional)
- Lip gloss containers
Tools
- A pourable container (like a small glass measuring cup or silicone beaker)
- A stirring stick or spoon
- Small funnels or pipettes (for filling tubes neatly)
- Lip gloss tubes or pots for storage
- Paper towels (because this can get a little messy!)
Instructions
1. Add carrier oil to a small cup.
2. Stir in mica or iron oxide.
3. Add essential oil if desired.
4. Pour into gloss container.
Notes
Castor oil = thicker gloss.
1/4 tsp mica powder is a good start.
Red iron oxide makes great reds.
And there you have it—your very own custom lip gloss, made with just a few simple ingredients and tools. Whether you’re crafting a batch for yourself, gifting to friends, or experimenting with fun color combos, making lip gloss is a creative (and addictive!) DIY that’s as fun as it is functional. Don’t be afraid to play around with textures, shades, and scents to find your perfect formula. Your lips—and your wallet—will thank you!
Ready to mix up your next signature gloss?
-
Halotherapy: What It Is and How It Can Help
Learn what halotherapy is, how salt therapy may support respiratory health, who should avoid it, and ways to try it at home.
-
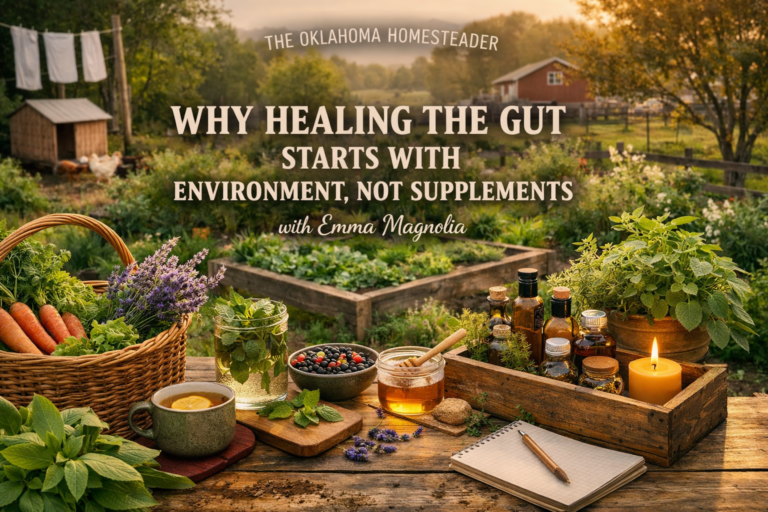
Why Healing the Gut Starts With Environment, Not Supplements
Emma Magnolia is a holistic health educator, therapeutic bodyworker, and lifestyle practitioner who discusses that supplements can help us have our best gut health possible, they are not the foundation. Instead, it is the daily conditions surrounding digestion that best support a healthy gut.
-
Growing Aloe Vera and Using It for Home Remedies
Learn how to grow aloe vera and use it for simple home remedies like burns, skin care, and natural healing.
-
Heavy Metal Toxins: How to Avoid Them Naturally
Learn what heavy metal toxins are, common sources, and simple ways to reduce exposure naturally in your daily life.
-
An Apple Cider Vinegar Bath: The Benefits (and How I Use It)
Discover the benefits of an apple cider vinegar bath and how to use it in the shower for healthy, balanced skin naturally.
-
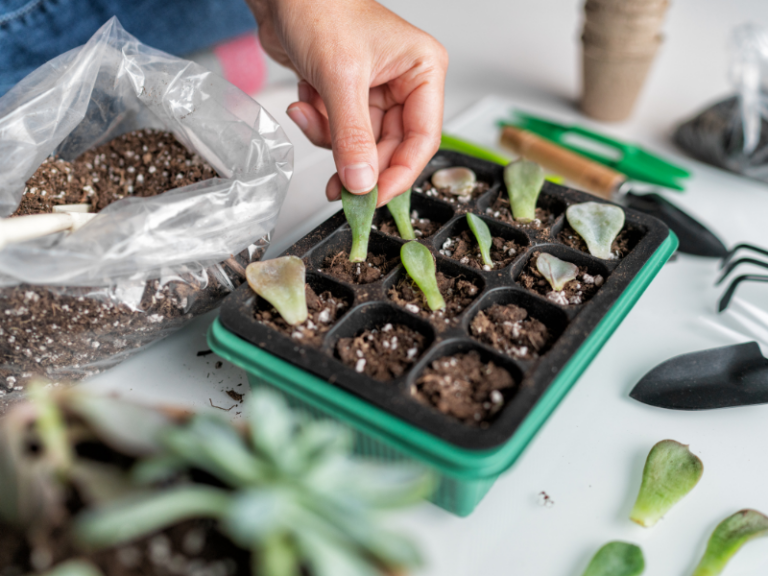
Propagating Houseplants: Growing Your Indoor Garden for Free
Learn how to propagate houseplants and grow new plants for free using simple, beginner-friendly methods at home.