How to Make Homemade Vanilla Bean Paste
If you love baking from scratch or creating homemade pantry staples, vanilla bean paste is a must-have. It adds a rich, aromatic flavor that’s more intense than vanilla extract alone — and it’s surprisingly easy to make at home! With just three ingredients, you can whip up your own batch in minutes, and it keeps beautifully in the fridge.
Whether you’re making cookies, custards, or even DIY gifts, this homemade vanilla bean paste is one you’ll turn to over and over.

Ingredients You’ll Need
This recipe yields about 6–8 ounces of paste — perfect for frequent bakers or gifting in small jars.
- 20 small vanilla beans
- ½ cup vegetable glycerin (food-grade)
- 1 teaspoon vanilla extract
You can use fresh vanilla beans or beans that have already been soaking in vanilla extract — either works great!

How to Make Homemade Vanilla Bean Paste
- Chop the Beans:
Slice or snip your vanilla beans into small pieces. This helps them blend more evenly. - Blend:
Add the chopped beans, glycerin, and vanilla extract to a food processor. Blend on high until it becomes a thick but smooth paste. You don’t want it too watery or too chunky — aim for a rich, spreadable texture. - Adjust if Needed:
If your mixture seems too thick, add a little extra glycerin (a teaspoon at a time). If it’s too thin, let it rest for a bit and re-blend to thicken.
Vanilla Bean Paste Conversion Chart
Replacing vanilla extract with vanilla bean paste is easy because the substitution is usually 1:1. Use 1 teaspoon vanilla bean paste for every 1 teaspoon vanilla extract. For a stronger vanilla flavor, increase the paste by about ¼ teaspoon. Vanilla bean paste is also an excellent substitute for one whole vanilla bean, with 1 tablespoon of paste replacing the seeds from a single bean.
Best Blenders to Use
A powerful blender or food processor helps create a silky, evenly textured vanilla bean paste. High-performance models from Vitamix are excellent for breaking down whole vanilla beans into an ultra-smooth consistency. More budget-friendly options from Ninja also work well, especially when making smaller batches. If using a standard food processor, chop the beans into smaller pieces before blending for the best results.
The Best Containers for Storing Homemade Vanilla Bean Paste
Store homemade vanilla bean paste in small amber or clear glass jars with airtight lids to help preserve its flavor and aroma. Four-ounce and eight-ounce mason jars are ideal because they’re easy to sterilize, reusable, and convenient for portioning. Swing-top glass jars also work well, provided they have an airtight seal. Avoid plastic containers, which can absorb odors and may affect the flavor over time.

Substitutions You Can Try
- Glycerin substitute: You can use a neutral-flavored alcohol (like vodka) for a thinner, extract-style paste, but it won’t be quite as syrupy.
- Vanilla extract substitute: Skip it entirely if your beans are fresh and potent — the extract just boosts the aroma a little.
Homemade Vanilla Bean Paste Without Corn Syrup
Many commercial vanilla bean pastes use corn syrup as a thickener. Fortunately, it’s easy to make a delicious version without it.
Your recipe uses food-grade vegetable glycerin instead of corn syrup, creating a smooth texture while allowing the vanilla flavor to shine.
Other corn syrup-free alternatives include:
- Food-grade vegetable glycerin (best overall)
- Agave nectar (vegan)
- Honey (not vegan)
- Maple syrup (adds subtle maple flavor)
- Brown rice syrup (mild sweetness)
Each creates a slightly different consistency, but all eliminate the need for corn syrup while producing an excellent homemade vanilla bean paste. Vegetable glycerin remains the closest match to commercial paste because it is nearly flavorless and creates a thick, glossy texture without overpowering the vanilla.
Troubleshooting
Homemade vanilla bean paste is simple to make, but a few common issues can occur during storage. If you notice the paste separating, don’t worry—this is completely normal. Simply stir or shake it well before each use to redistribute the vanilla seeds and thickener. If your paste becomes gritty, the vanilla bean pieces may have been chopped too coarsely. Blending the mixture a bit longer or allowing it to mature for another week often creates a smoother consistency.
This homemade formula does not have a verified shelf life. Do not assume it has the same storage life as a commercially formulated vanilla paste.
How Long Does Homemade Vanilla Bean Paste Last?
A tested storage duration has not been established for this recipe. The earlier month-by-month storage estimates have been removed. Follow the storage directions for a commercial product when using one; those directions do not validate this homemade mixture.

How to Use
Swap vanilla extract for vanilla bean paste in virtually any recipe to enjoy richer flavor and the classic look of real vanilla bean flecks.
- Baking: Perfect for cookies, cakes, custards, and frostings.
- Beverages: Add a tiny spoonful to coffee or lattes.
- Homemade gifts: Add to holiday gift baskets or jar it up with a ribbon and tag.
Vanilla Bean Paste vs. Vanilla Extract: What’s the Difference?
Vanilla bean paste delivers richer flavor and a more appealing look than standard extract. It combines concentrated extract with real vanilla seeds, giving baked goods those signature black specks. The flavor is stronger and more complex, so it shines in custards, buttercream, cheesecake, ice cream, and sugar cookies. You can swap paste for extract at a 1:1 ratio. For bolder flavor, use about 1¼ teaspoons of paste for every teaspoon of extract. The thicker texture also adds slight body to frostings, glazes, and sauces without changing the recipe.
Is Homemade Vanilla Bean Paste Worth the Cost?
Compare the cost of your beans, food-grade glycerin, and extract with the amount of paste your batch actually makes. Divide the total ingredient cost by the finished ounces, then compare that with the price per ounce of the store-bought paste you use. Prices and bean sizes vary, so homemade paste is not automatically less expensive.
Choosing the Best Vanilla Beans for Homemade Paste
The variety of vanilla bean you choose has a noticeable impact on the flavor of your finished paste. Madagascar Bourbon vanilla beans are the most popular choice because they deliver the classic rich, creamy vanilla flavor most people expect in cakes, cookies, and frostings. They have deep, warm notes with hints of caramel that work well in almost every dessert. Tahitian vanilla beans offer a completely different experience. Their flavor is lighter, more floral, and slightly fruity with delicate cherry and anise notes. Tahitian beans shine in whipped cream, custards, fruit desserts, and lighter pastries where their unique aroma can stand out. If you’re making vanilla bean paste for everyday baking, Madagascar beans are usually the best all-purpose option. For special recipes, experimenting with Tahitian beans—or even blending the two varieties—can create a custom vanilla paste with remarkable depth and complexity.
Where Can I Get Quality Vanilla Beans?
The quality of your vanilla bean paste starts with high-quality beans. Reputable suppliers such as Nielsen-Massey, Vanilla Bean Kings, and Aloka Vanilla are popular among home bakers and professional chefs. Look for plump, flexible beans with a glossy appearance for the richest flavor and highest moisture content.
More Ways to Use Vanilla Bean Paste
Vanilla bean paste isn’t just for cookies and cakes. Stir a teaspoon into Greek yogurt, overnight oats, oatmeal, smoothies, whipped cream, coffee, or homemade ice cream for rich vanilla flavor. It also works well in homemade vanilla sugar and can even be added to DIY body scrubs, bath salts, lip balms, and sugar scrubs for a luxurious natural fragrance.
How to Scale the Recipe
This recipe is easy to adjust based on the number of vanilla beans you have on hand. Simply keep the ingredient ratios the same. For half a batch, use 10 small vanilla beans, ¼ cup food-grade vegetable glycerin, and ½ teaspoon vanilla extract. For a quarter batch, use 5 small beans, 2 tablespoons glycerin, and ¼ teaspoon extract. Bean sizes vary, so keep the texture in mind when adjusting the glycerin.
Use the printable recipe card below for the ingredient amounts and instructions.

Homemade Vanilla Bean Paste
Vanilla bean paste is a must-have. It adds a rich, aromatic flavor that’s more intense than vanilla extract alone — and it’s surprisingly easy to make at home! With just three ingredients, you can whip up your own batch in minutes, and it keeps beautifully in the fridge.
Ingredients
- 20 small vanilla beans
- ½ cup vegetable glycerin (food-grade)
- 1 teaspoon vanilla extract
Instructions
Chop the Beans: Slice or snip your vanilla beans into small pieces. This helps them blend more evenly.
Blend: Add the chopped beans, glycerin, and vanilla extract to a food processor. Blend on high until it becomes a thick but smooth paste. You don’t want it too watery or too chunky— aim for a rich, spreadable texture.
Adjust if Needed: If your mixture seems too thick, add a little extra glycerin (a teaspoon at a time). If it’s too thin, let it rest for a bit and re-blend to thicken.
Notes
Use a high-speed blender or food processor to break down the beans thoroughly.
Don’t discard spent beans from other vanilla recipes — reuse them here for extra value!
Use food-grade glycerin when making homemade vanilla bean paste. Food-grade glycerin is essential because it's intended for consumption. Cosmetic-grade glycerin may contain impurities or additives not safe to ingest. Using food-grade ingredients ensures your vanilla paste is both safe and high-quality for culinary use.
You’ll see tiny vanilla flecks in your baked goods and taste the deep, warm notes of real vanilla — it’s a small upgrade that makes a big difference. Once you’ve made your own vanilla bean paste, you’ll never want to go back to store-bought. It’s rich, fragrant, and full of real vanilla flavor—perfect for enhancing your favorite recipes. Plus, it’s a rewarding way to make the most of every bean and avoid unnecessary additives. See the storage note above before preparing a batch.
-
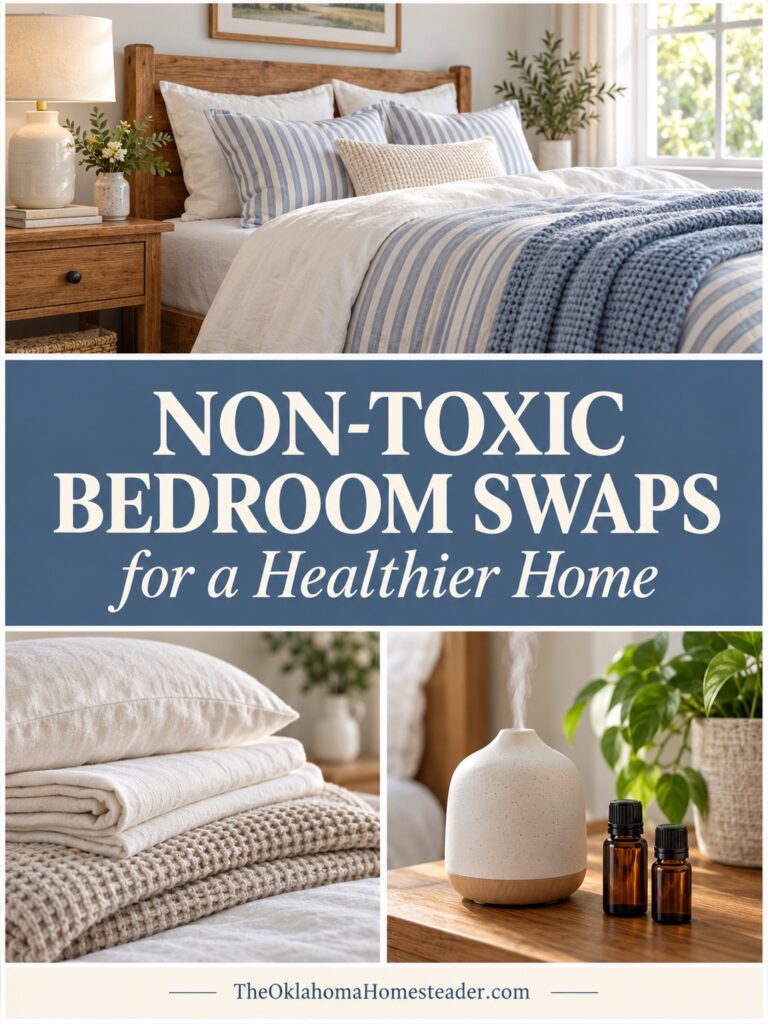
Non-Toxic Bedroom Swaps for a Healthier Home
Non-Toxic Bedroom Swaps to create a healthier sleep space with simple, practical changes anyone can make. Check out our list!
-
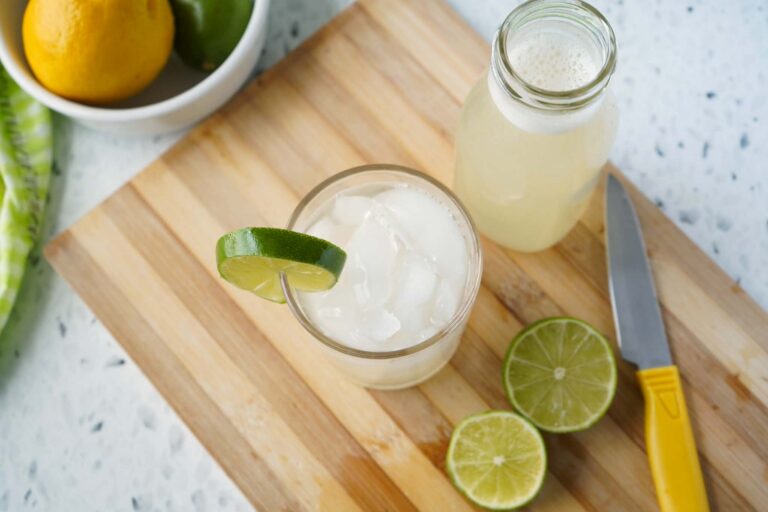
Homemade Electrolyte Drink: Easy Hydration Recipe
A homemade electrolyte drink gives you control over the ingredients, the flavor, and the sweetness, making it an easy alternative to store‑bought options when you need extra hydration. You can mix a small batch, adjust it to your taste, and keep it chilled in the refrigerator for busy days outside. It’s simple, customizable, and a practical recipe to have on hand whenever you want a clean, refreshing way to replace electrolytes
-
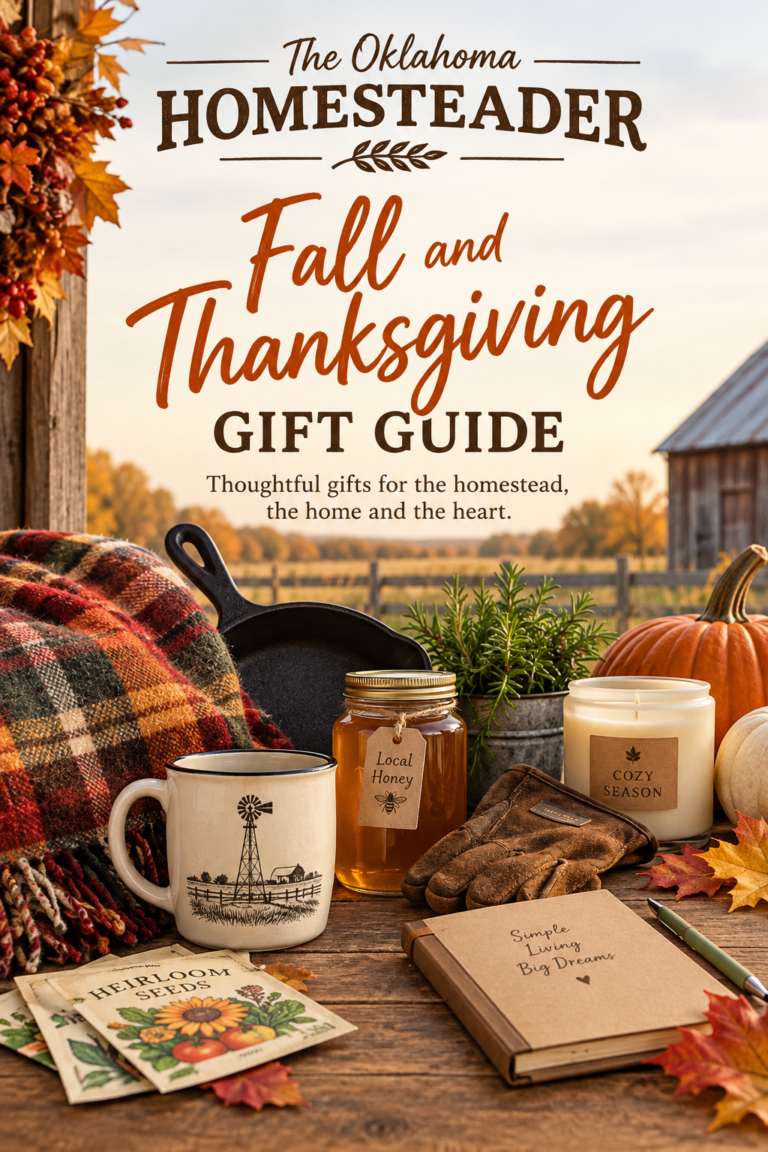
Fall & Thanksgiving Homestead Gift Guide
Celebrate the season with our Fall & Thanksgiving Homestead Gift Guide! Discover thoughtful gifts for gardeners, home cooks, and country living enthusiasts. From cozy fall clothing and kitchen essentials to garden supplies and sweet treats, these finds bring a little extra warmth to the season. Whether you’re shopping for Thanksgiving or getting a head start on holiday gifting, you’ll find practical gifts for a homegrown lifestyle.
-
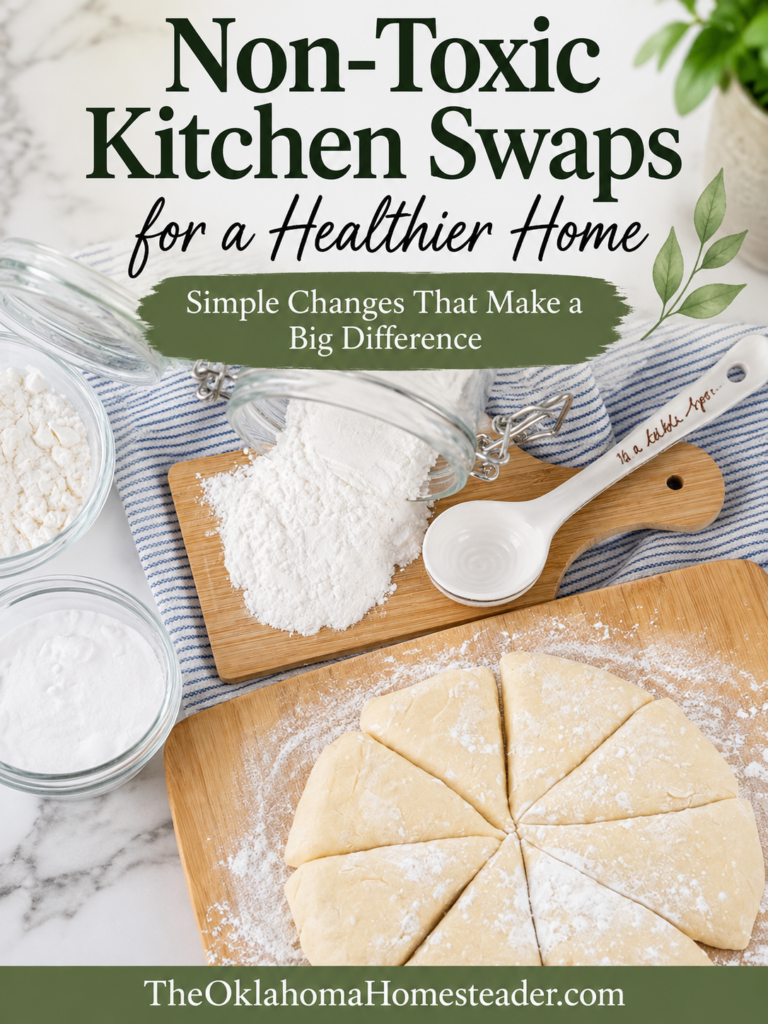
Non-Toxic Kitchen Swaps for a Healthier Home
Non-Toxic Kitchen Swaps to create a healthier kitchen with simple product changes and practical cooking tips.
-
Homemade Dishwasher Powder: Easy DIY Detergent Recipe
Homemade Dishwasher Powder made with simple ingredients for an easy, affordable alternative to store-bought dishwasher detergent.
-
Fall Wax Melts Recipe with Essential Oils
These fall wax melts bring warm, cozy scents to your home with just a few basic ingredients. They’re easy to make, budget‑friendly, and perfect for anyone who loves natural, homemade products. The blend of cinnamon, clove, orange, and cedarwood creates a comforting autumn aroma that feels right at home in any farmhouse kitchen. Make a batch for your own warmer or package them as sweet seasonal gifts.